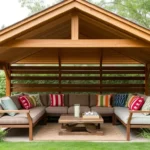
Transforming your backyard into a haven of relaxation and style doesn’t have to be a daunting task, whether you’re a seasoned DIY enthusiast or just beginning your home improvement journey. Pergolas offer a perfect blend of shade and elegance, creating a cozy retreat right outside your door. Simple DIY pergola kits can empower you to design a stunning outdoor space that’s both functional and inviting, making your backyard the go-to spot for gatherings or quiet reflection.
In this article, we’ll guide you through the essentials of selecting and assembling a pergola kit that suits your backyard’s unique personality. From understanding material choices to mastering installation tips, you’ll gain the confidence to embark on this rewarding project. With a little effort and creativity, you’ll soon be enjoying a backyard transformation that combines beauty and value with the joy of your own craftsmanship.
Choosing the Right Pergola Kit

When selecting a pergola kit, it’s crucial to consider the materials that will best suit your backyard environment and maintenance preferences. Pergola kits often come in wood, vinyl, or aluminum, each offering distinct benefits. For instance, pressure-treated wood provides a classic look and durability, but requires regular sealing, while aluminum offers a modern appearance with minimal upkeep. Consider your climate and personal aesthetic preferences to choose the right material.
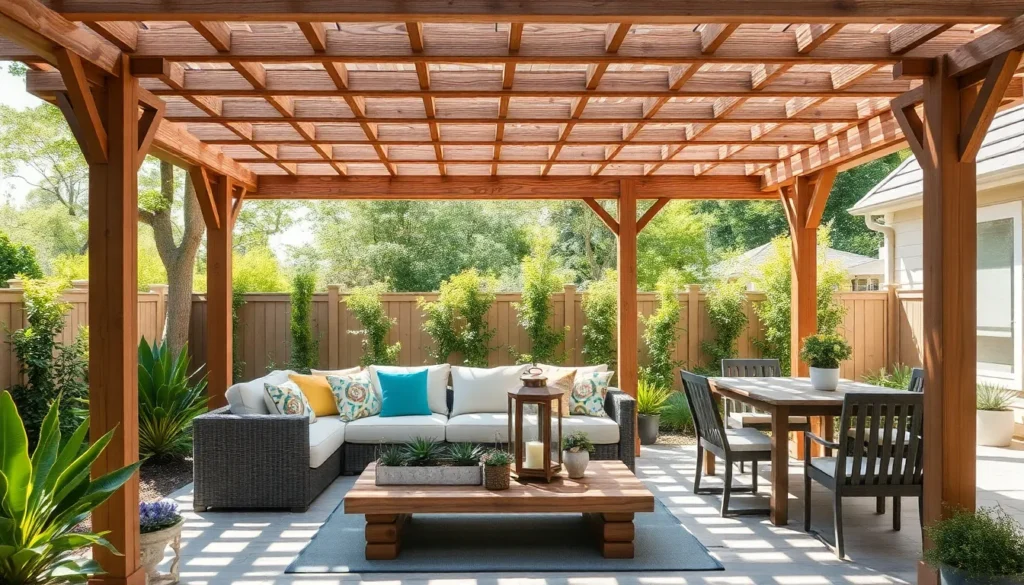
Additionally, size and design elements are critical when choosing a pergola kit. Measure your outdoor space accurately to ensure your pergola fits well without overwhelming the area. For beginners, a pergola with pre-drilled holes and step-by-step instructions can simplify the assembly process. For those more experienced in DIY projects, consider kits with customizable options, such as adjustable rafters or decorative end cuts, to add a personalized touch. By carefully selecting these elements, you can ensure your pergola not only enhances your backyard but also meets your practical needs.
Essential Tools for Assembly
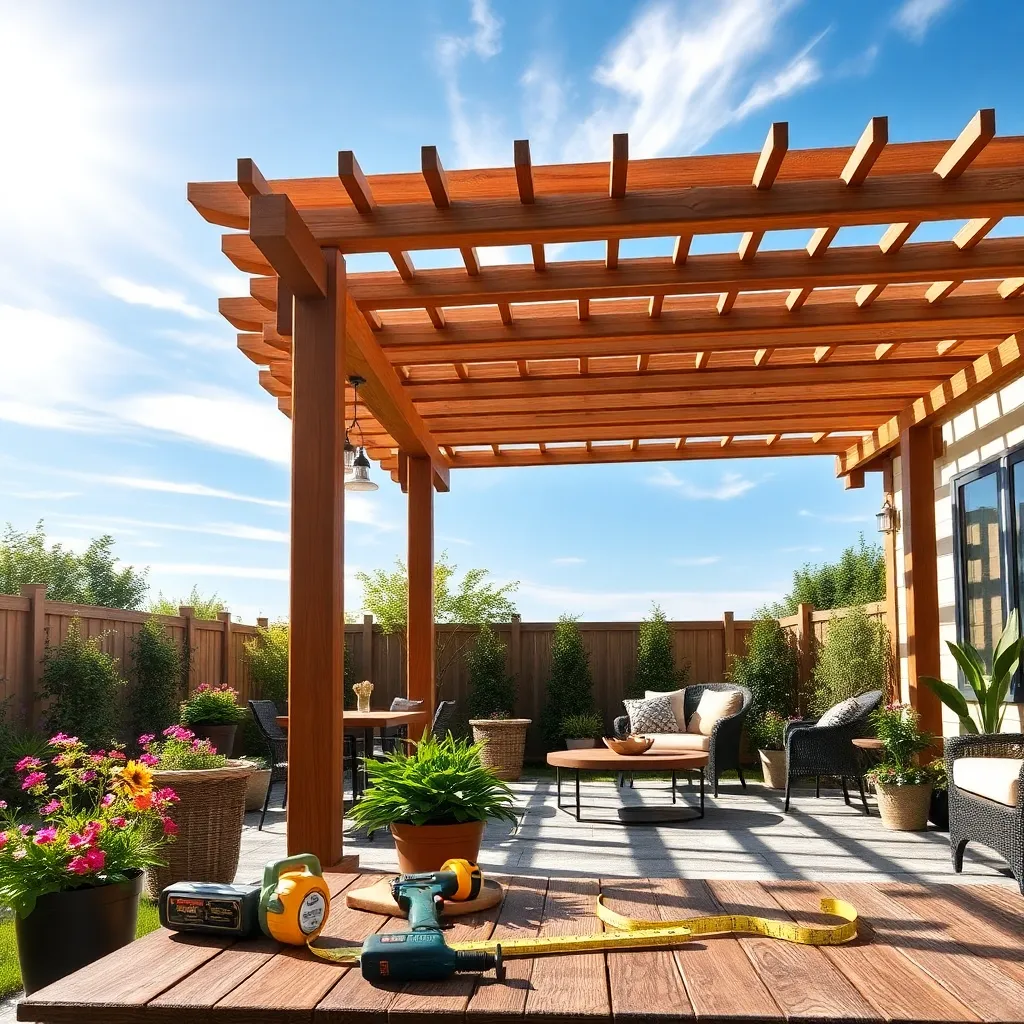
Before diving into the assembly of your DIY pergola kit, it’s crucial to gather the essential tools that will make the process smooth and efficient. A basic toolkit should include a hammer, measuring tape, screwdriver, and a level to ensure precise construction. For more advanced assembly, consider having a power drill and a socket wrench set handy. These tools will not only aid in the assembly but also ensure your pergola is sturdy and properly aligned.
In addition to tools, consider having some protective gear like gloves and safety glasses to ensure your safety during the build. A ladder is essential for reaching higher sections and securing the pergola in place. For those looking to add a professional touch, a miter saw can be useful for any custom cuts or adjustments needed. With the right tools and a bit of patience, your pergola will be a stunning addition to your backyard, offering both functionality and style.
Step-by-Step Pergola Installation
When you’re ready to install your pergola, start by selecting a location that provides both aesthetic appeal and functional use. Choose an area with firm, level ground, away from large tree roots or potential water runoff. Mark out the dimensions of your pergola using stakes and string to ensure accuracy before digging. For most DIY kits, you’ll need to dig post holes about 12 inches in diameter and 24 inches deep, depending on your frost line. Use a post-hole digger for precision and fill the base of each hole with a few inches of gravel for drainage.
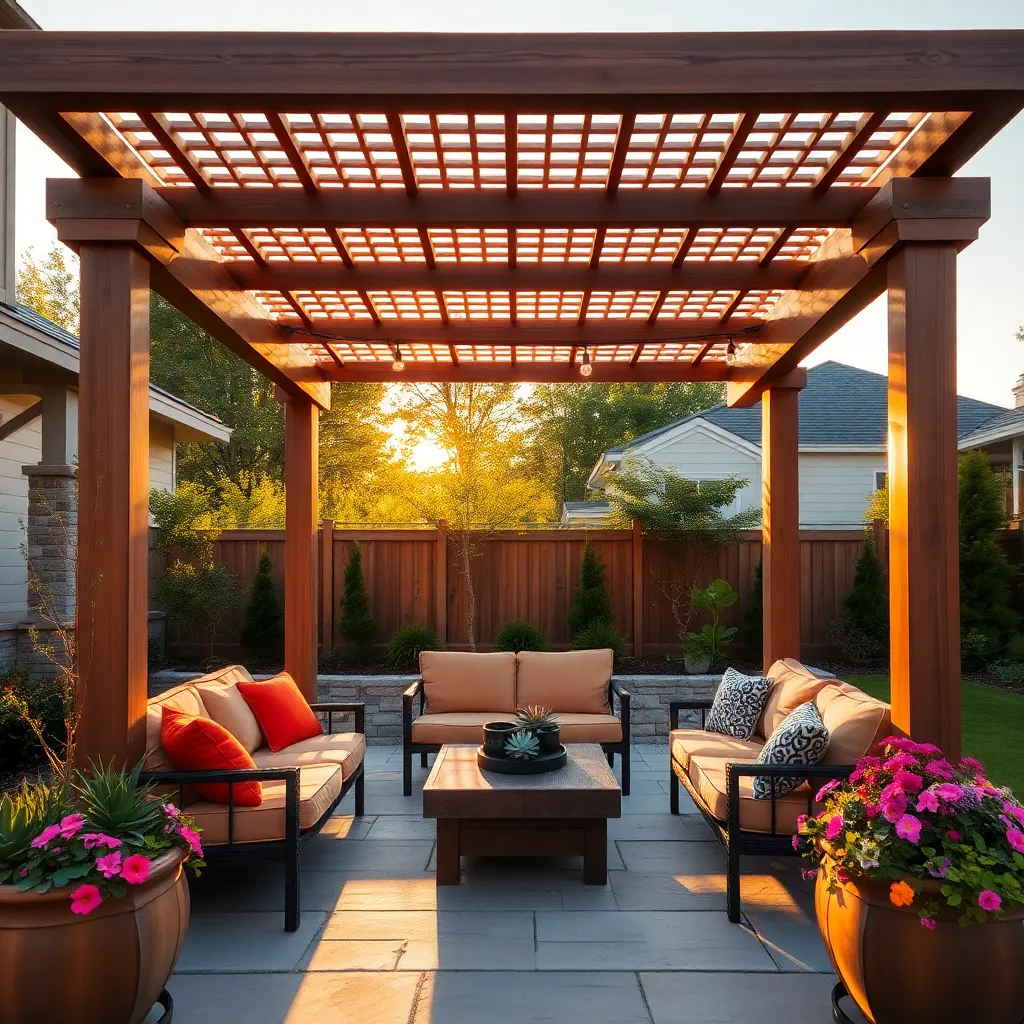
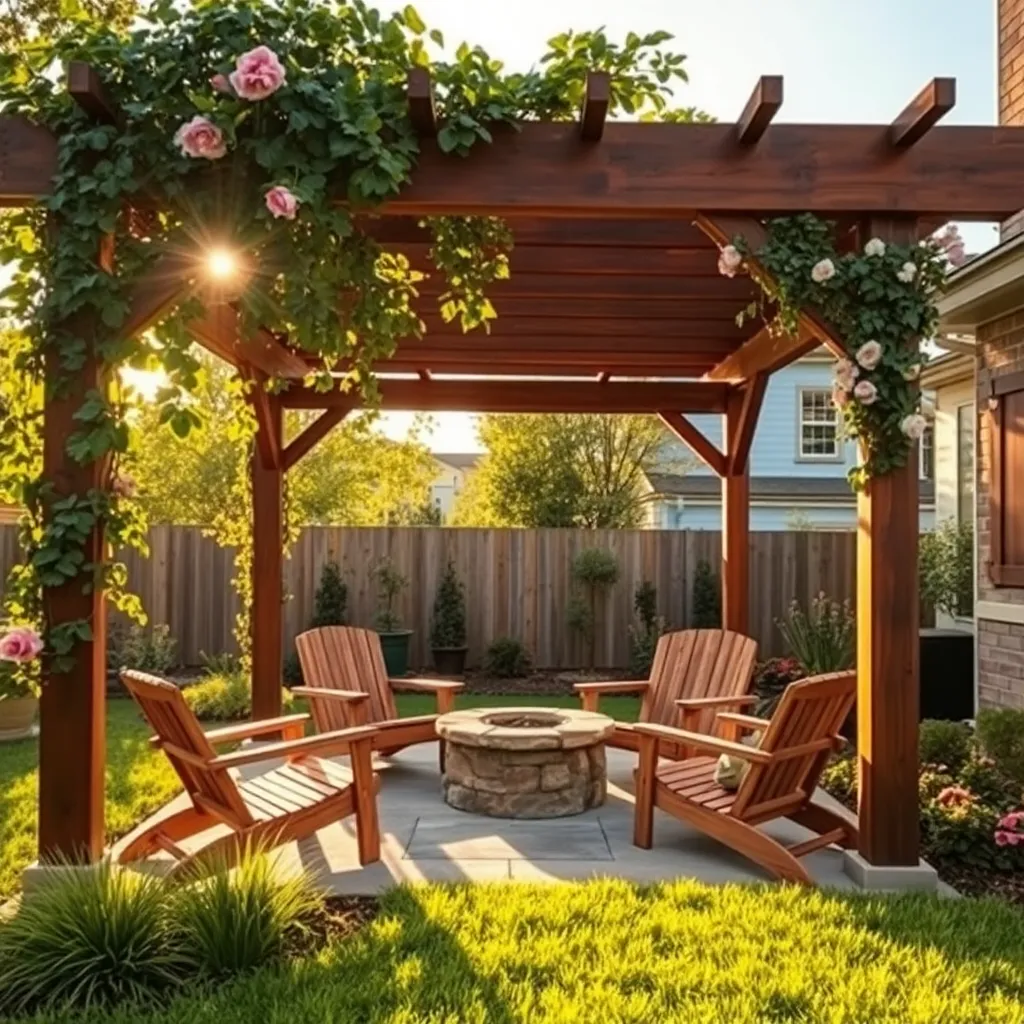
Next, position the pergola posts in the holes and secure them with concrete mix, ensuring they are plumb and level. Allow the concrete to cure fully before proceeding, typically 24-48 hours, depending on weather conditions. Assemble the cross beams and rafters according to the kit’s instructions, using galvanized screws for durability against weather elements. For a more customized look, consider adding lattice panels or climbing plants like wisteria or grapevines to provide shade and enhance the pergola’s design. Remember, careful attention to detail during installation will ensure a sturdy and attractive structure that enhances your outdoor space for years to come.
Customizing Your Pergola Design
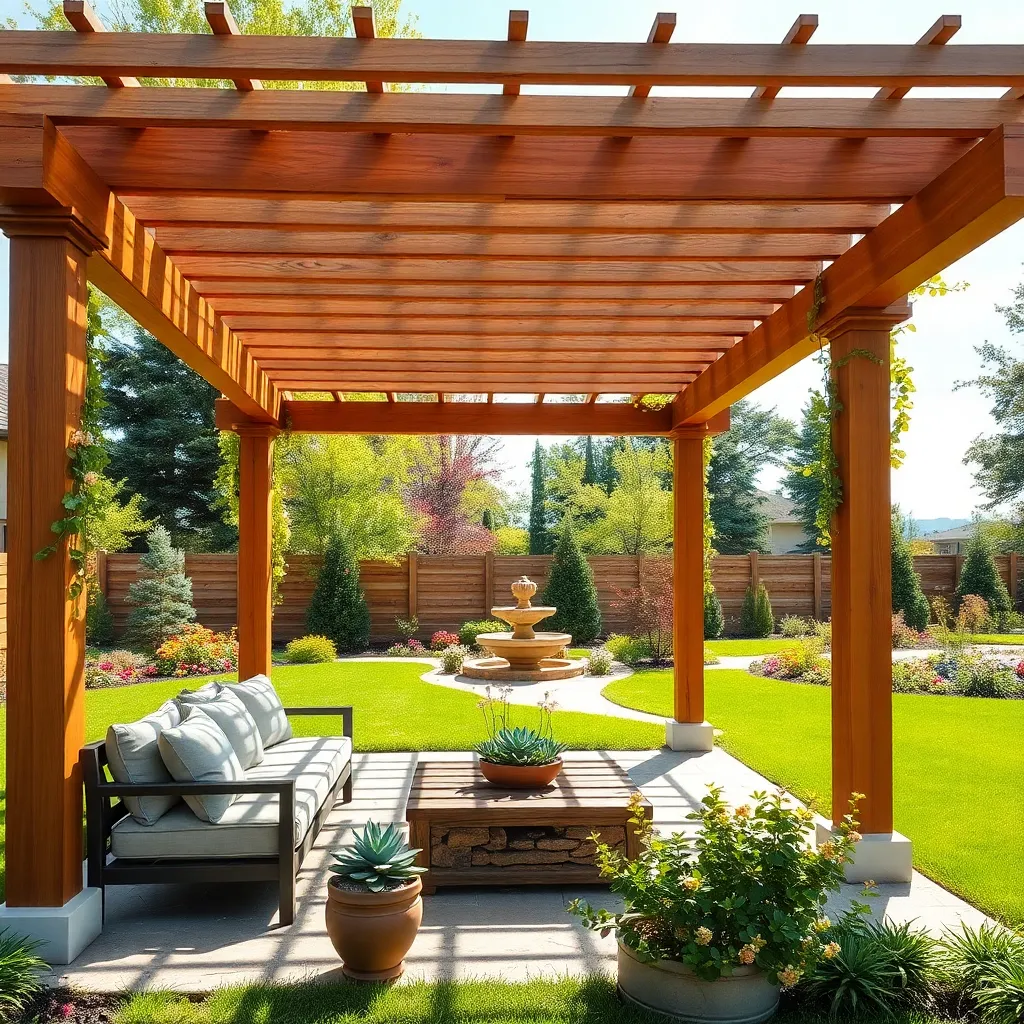
When customizing your pergola design, consider the materials that best suit your climate and aesthetic. For a warm, classic look, opt for cedar or redwood, which are naturally resistant to decay and insects. If you’re looking for a budget-friendly option, pressure-treated pine is durable and can be stained or painted to match your garden’s theme. For a modern twist, consider using metal or vinyl, which require less maintenance and offer a sleek finish. Choose materials that complement your backyard’s existing features to create a harmonious outdoor space.
Incorporating unique design elements can elevate your pergola from simple to stunning. Customize the dimensions to fit your space by adjusting the height and width; a standard pergola typically measures around 8 feet tall and 12 feet wide, but larger spaces can accommodate bigger structures. Add decorative touches like latticework or climbing plants to enhance privacy and shade. For advanced customization, install integrated lighting or a retractable canopy to make your pergola usable both day and night. Remember, personal touches make your pergola truly yours, so let your creativity guide you.
Maintaining Your Backyard Pergola
To ensure your backyard pergola stands the test of time, regular maintenance is key. Start by inspecting the structure for any signs of wear, such as loose screws or fading wood. Use a weather-resistant sealant on wooden pergolas to protect against moisture and UV rays, applying it every year to maintain its strength and appearance. For metal pergolas, check for rust and use a rust-inhibiting primer and paint to keep the structure in top condition.
Beyond basic upkeep, consider seasonal cleaning to keep your pergola looking fresh. Gently wash the pergola with a mixture of mild soap and water, using a soft brush or cloth to remove dirt and debris. For an extra touch, incorporate climbing plants like wisteria or honeysuckle, which can add shade and a touch of natural beauty. Ensure the plants are pruned regularly to prevent any structural damage as they grow. With these simple steps, your pergola will remain a stunning feature in your backyard for years to come.
Conclusion: Creating Beautiful Outdoor Spaces
In exploring “Simple DIY Pergola Kits for Your Backyard,” we’ve uncovered five essential relationship concepts: collaboration, communication, shared goals, adaptability, and nurturing an environment of togetherness. By working together on a pergola project, you and your partner can strengthen your bond through collaboration and communication, transforming visions into reality. Setting shared goals ensures that both of you are aligned, while adaptability allows you to embrace and overcome challenges that arise. Ultimately, nurturing a space that encourages quality time together fosters a deeper connection.
Now, take a moment to discuss with your partner what your dream backyard oasis looks like. Outline your steps and dive into the project with enthusiasm and unity. As you embark on this journey, remember to bookmark this article, ensuring that these relationship-enhancing insights are always within reach.
Looking ahead, your relationship’s success hinges on these foundational concepts—embrace them with every new project and challenge life throws your way. With each nail and beam, you’re not just building a pergola; you’re crafting a resilient and flourishing partnership. Save this article as your blueprint for relationship success, and let it guide you toward a future filled with love and shared accomplishments.