Transforming your backyard into a personal oasis doesn’t have to be a daunting task, whether you’re a seasoned DIY enthusiast or just starting your home improvement journey. Pergolas, with their blend of form and function, offer a stylish solution to enhance your outdoor space, providing both shade and a touch of elegance. In this article, we’ll guide you through the world of simple DIY pergola kits, breaking down everything you need to know to confidently embark on this rewarding project.
You’ll discover how these kits can be tailored to fit any backyard, regardless of its size or shape, and learn tips to seamlessly incorporate them into your existing landscape. From selecting the right materials to understanding the assembly process, we’ll equip you with practical insights to bring your vision to life. Prepare to elevate your outdoor living experience with a pergola that not only complements your style but also invites you to spend more time enjoying the great outdoors.
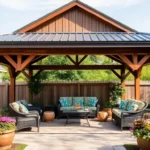
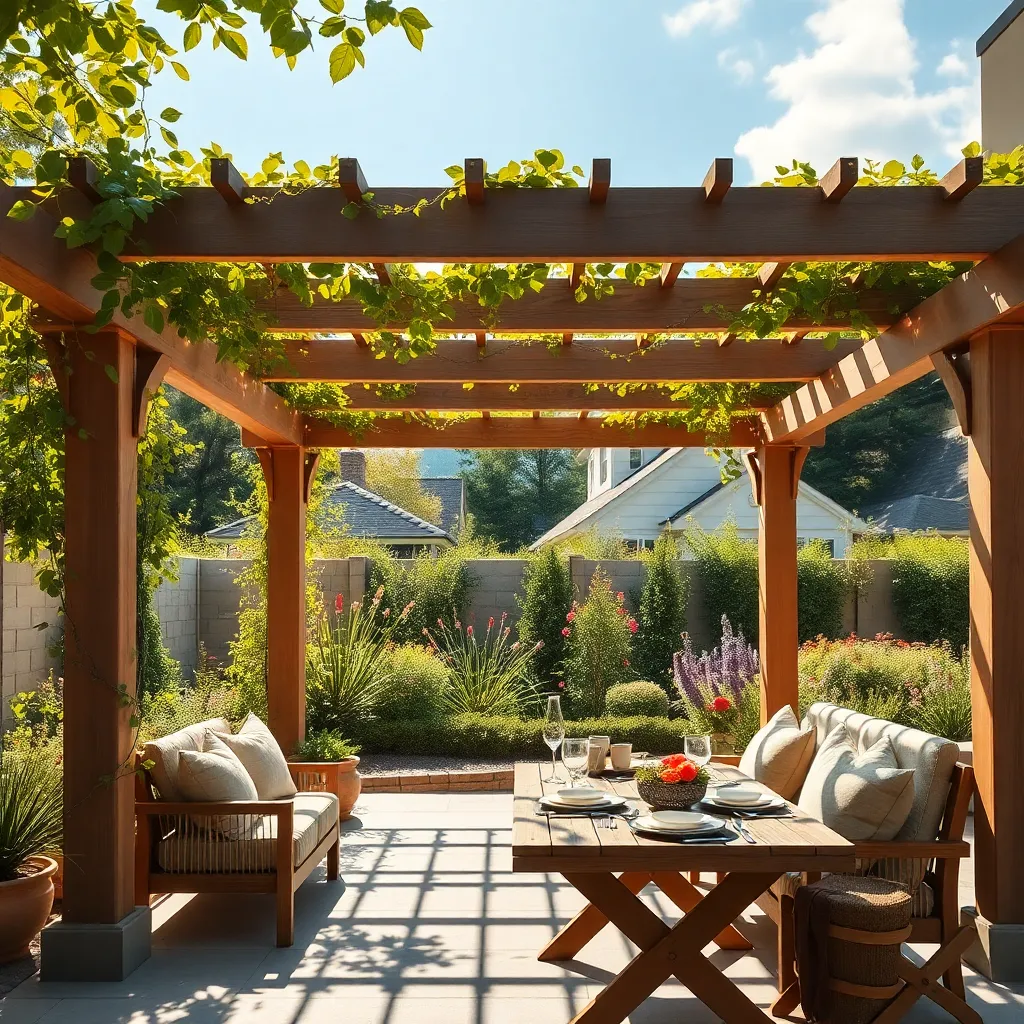
Choosing the Right Pergola Kit
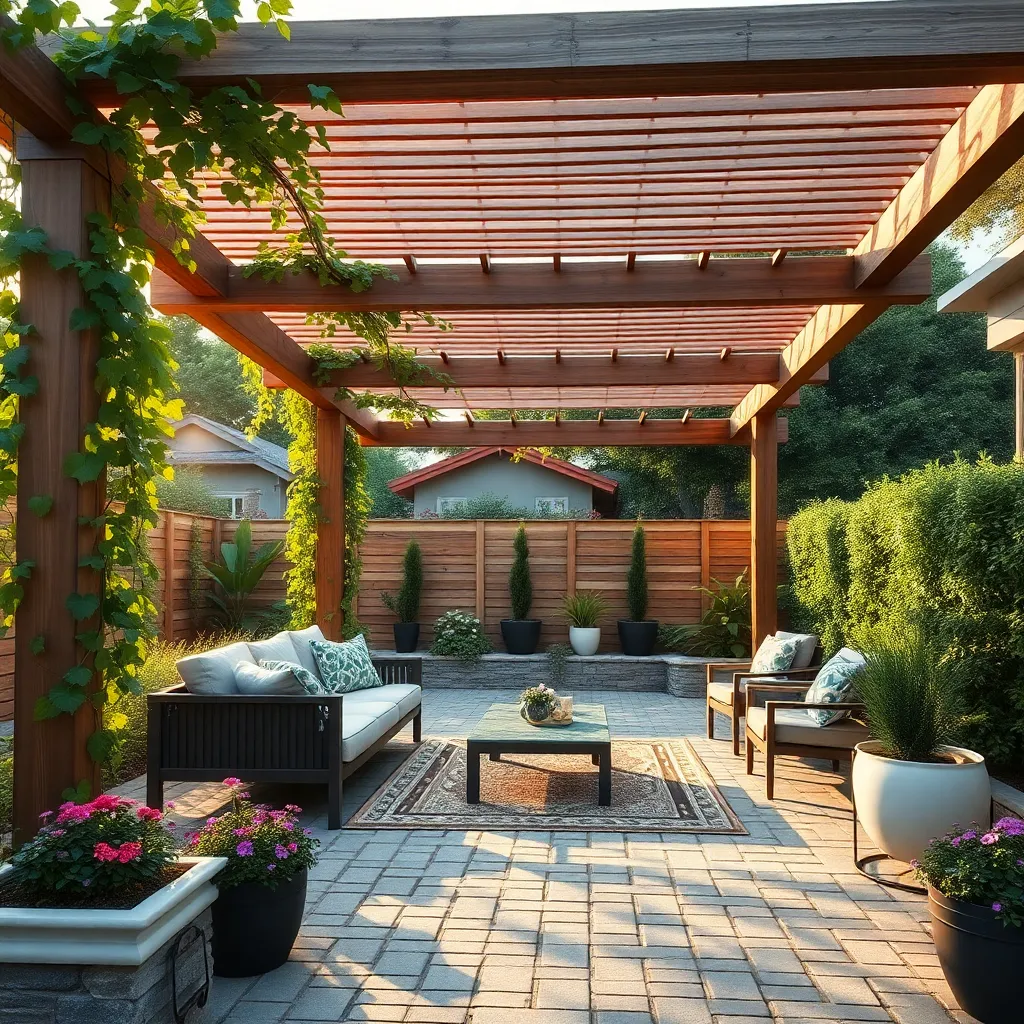
When choosing the right pergola kit for your backyard, consider the size and purpose of your space. If you have a small patio, a compact kit with dimensions of around 8’x8′ can maximize your area without overwhelming it. For larger spaces, a more expansive kit measuring 12’x16′ or more offers ample room for outdoor dining or lounging. It’s important to select materials that suit your climate—opt for cedar or redwood for natural rot resistance, or choose powder-coated aluminum for a low-maintenance, modern look.
Another key factor is the design and style of your pergola. Pergolas with flat roofs lend a contemporary feel, while those with arched tops can add a touch of elegance. For a classic aesthetic, consider a traditional lattice design, which allows for both shade and climbing plants. Advanced DIYers might explore kits that offer customization options, like adjustable louvered roofs for controlling sunlight exposure. Always ensure that your chosen kit includes comprehensive instructions and all necessary hardware for a smooth installation process.
Essential Tools for Pergola Assembly
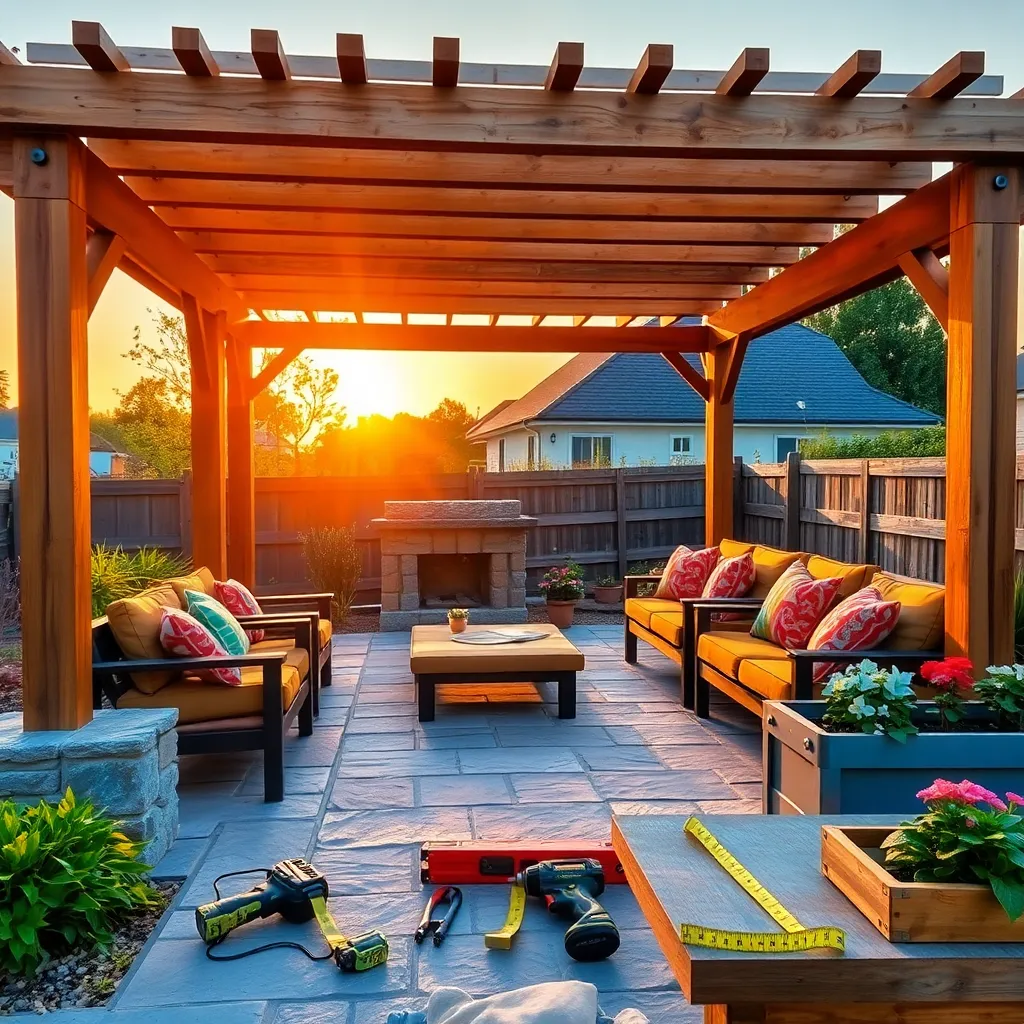
To assemble your pergola with ease, having the right tools on hand is crucial. A sturdy ladder is essential for reaching high beams safely, while a power drill with a set of bits will make quick work of any necessary holes. Additionally, use a rubber mallet for securing joints without damaging the wood. For beginners, investing in a level ensures that your structure is perfectly aligned, while more experienced DIYers might find a ratchet set handy for tightening bolts with precision.
Consider the materials you’ll be working with, as different woods or metals might require specific tools. For example, if your kit includes stainless steel components, using stainless steel-specific drill bits will prevent wear. Adding a measuring tape to your toolkit will help ensure accurate spacing between posts, creating a professional finish. Finally, a hammer can be used for nailing down any decorative elements, like lattice work or shade cloth, enhancing both the beauty and functionality of your pergola. By having these tools ready, you’ll streamline the assembly process and enjoy your new outdoor retreat sooner.
Step-by-Step Pergola Installation Guide
To begin your pergola installation, first choose a location that receives optimal sunlight and complements your backyard layout. Ensure the ground is level before proceeding. You’ll need pressure-treated wood for durability, and a set of pre-cut beams and rafters if you’re using a DIY kit. Gather your essential tools, like a drill, level, and tape measure, to ensure accuracy during assembly. For a basic pergola, consider using 4×4 posts for support and 2×6 beams for the roof structure, keeping your design both sturdy and visually appealing.
Next, secure your pergola posts in concrete footings to provide a solid foundation, essential for withstanding weather elements. Use a post hole digger to create holes at least 24 inches deep to stabilize the structure. Assemble the beams and rafters according to your kit’s instructions, ensuring all joints are tightly fastened. For an advanced touch, add a lattice design on the top for a classic look and enhanced shade. Finally, seal the wood with a weather-resistant finish to extend the life of your pergola, making it a long-lasting addition to your outdoor space.
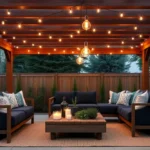
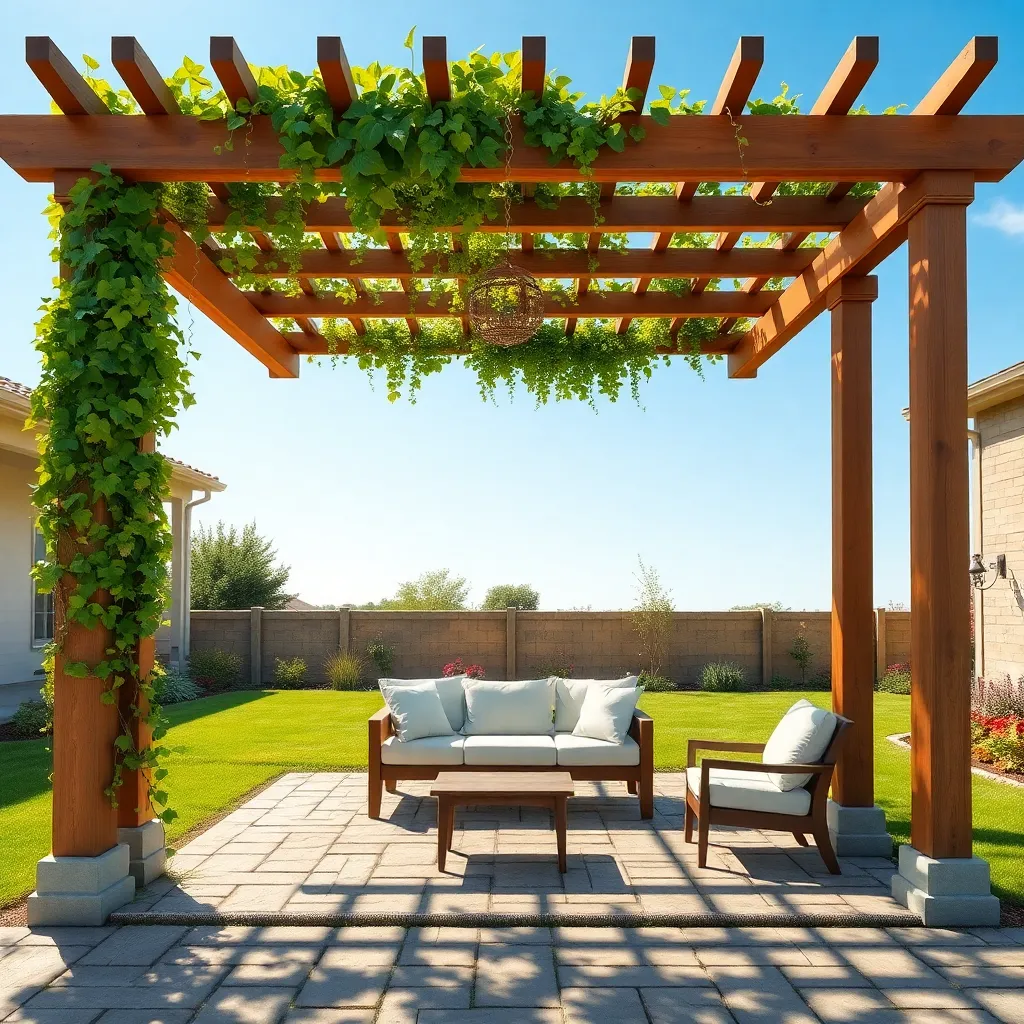
Customizing Your Pergola for Style
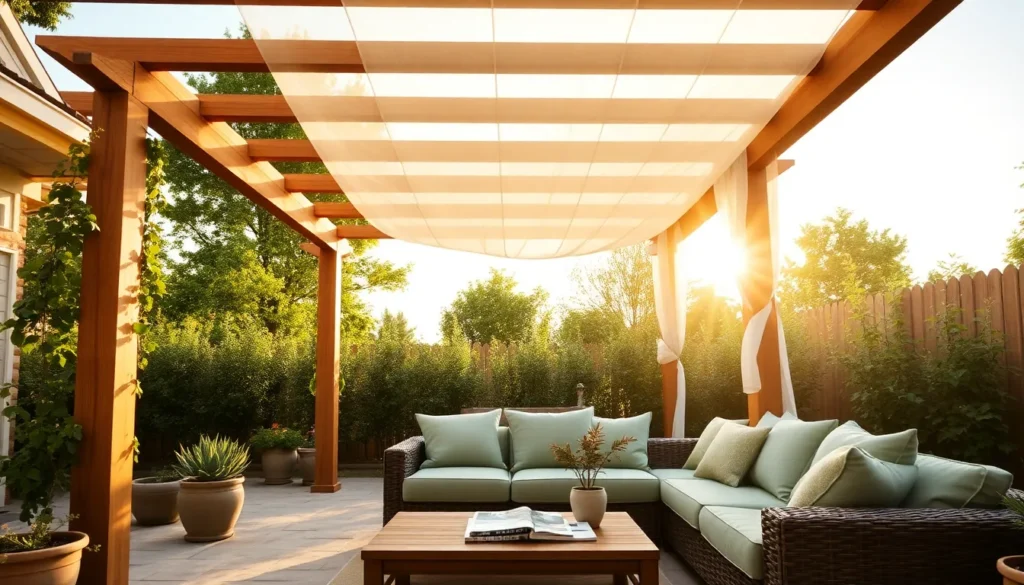
Customizing your pergola is an excellent way to marry functionality with personal style. Start by selecting materials that complement your home’s exterior, such as using stained wood for a rustic charm or painted aluminum for a sleek, modern look. Add personality with decorative elements like latticework or a retractable canopy, which not only enhances aesthetics but also provides adjustable shade.
- Choose weather-resistant materials to ensure longevity.
- Incorporate solar-powered lights for an eco-friendly glow at night.
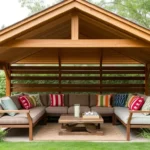
For a more advanced customization, consider integrating built-in features that elevate your outdoor experience. Install a built-in bench along one side of the pergola for additional seating, or add hanging planters for a lush, green touch. If you have a green thumb, introducing climbing plants like wisteria or jasmine can create a natural canopy over time. Be sure to measure your space carefully and plan for adequate support when adding heavier elements. These thoughtful customizations can transform a simple pergola into a stunning backyard retreat.
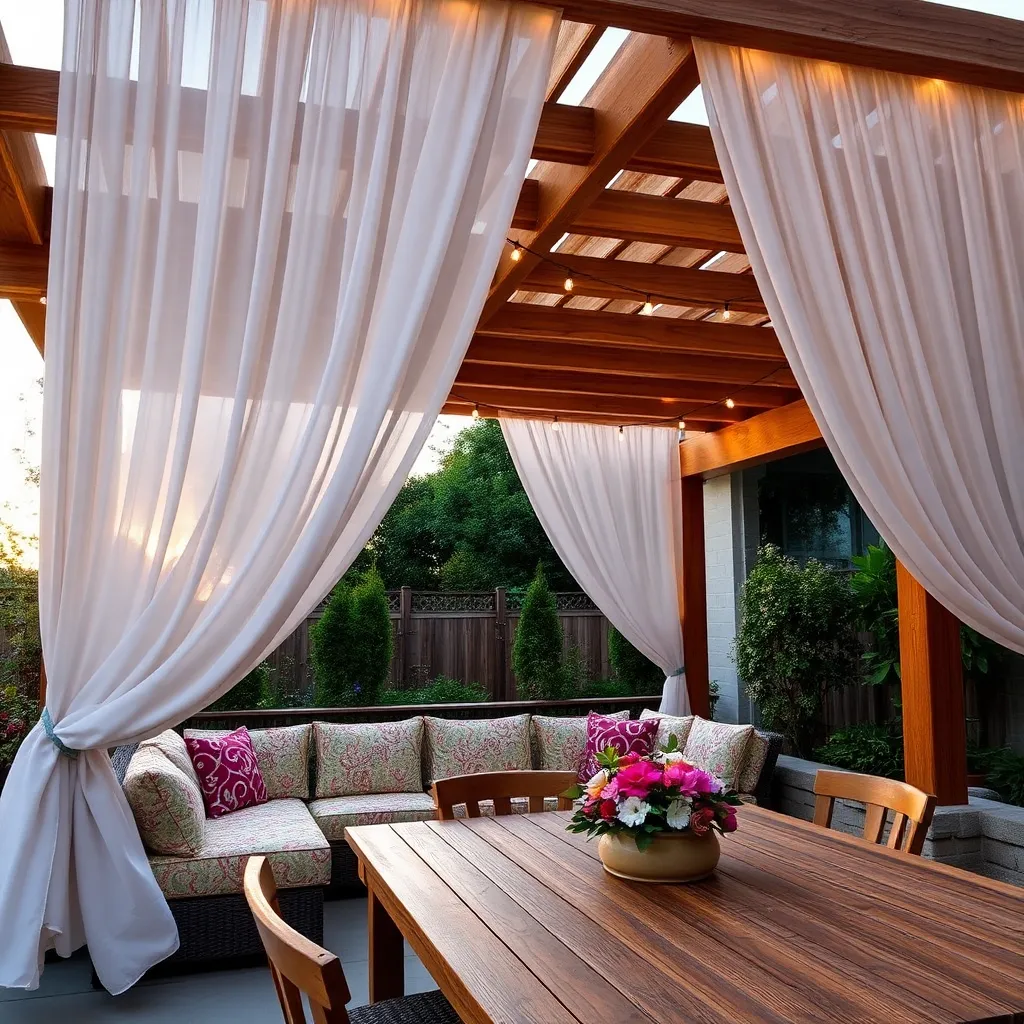
Maintaining Your Backyard Pergola
Regular maintenance is essential to keep your pergola looking fresh and inviting. Start by routinely inspecting the structure for any signs of wear, such as loose bolts or peeling paint. Tighten any hardware as needed and consider repainting wooden pergolas every two to three years with a high-quality, weather-resistant paint. For metal pergolas, a rust-resistant sealant applied annually can significantly extend their lifespan.
Cleaning is another crucial aspect of pergola upkeep. Use a gentle cleaner and a soft brush to remove dirt and debris, ensuring you rinse thoroughly with a hose. For those with climbing plants, trim back any overgrowth to prevent structural strain. Advanced gardeners might explore adding UV-protective screens or retractable canopies for added shade and weather resilience. These enhancements not only protect from the elements but also contribute to the pergola’s overall aesthetic appeal.
Conclusion: Creating Beautiful Outdoor Spaces
In exploring ‘Simple DIY Pergola Kits for Your Backyard,’ we delved into five vital relationship concepts. First, we learned the importance of creating shared projects that deepen bonds. Second, we discussed how teamwork in building a pergola fosters cooperation and communication. Third, the project exemplifies setting and achieving mutual goals, strengthening your partnership. Fourth, the process of selecting and assembling a pergola encourages compromise and negotiation. Finally, we reflected on the joy of creating a personal retreat, nurturing both individual and relational growth.
As a next step, consider planning a weekend to start your pergola project. This will not only transform your backyard but also enrich your relationship with shared experiences and accomplishments.
Remember to bookmark this article for easy access to these insights and practical tips whenever you need inspiration for relationship-building activities.
Looking ahead, embracing these concepts can pave the way to a thriving and resilient partnership. By investing in shared projects and goals, you lay the foundation for a future brimming with connection and fulfillment. Empower yourselves to create lasting memories and a stronger relationship, and keep this article handy as a trusted guide in your journey.