Imagine transforming your backyard into a personal oasis with a pavilion that offers both style and function—all without straining your budget. Whether you’re a seasoned DIY enthusiast or just dipping your toes into home improvement projects, creating an inviting outdoor space can be both achievable and rewarding. This journey is not just about adding a structure; it’s about crafting a retreat that reflects your personality and meets your needs.
In this article, you’ll discover practical tips and creative ideas to design a stunning pavilion that enhances your outdoor living experience. From selecting cost-effective materials to maximizing space, we’ll guide you through the process with easy-to-follow steps. Let’s embark on this exciting endeavor together, ensuring that your backyard becomes a cherished extension of your home.
Assess Space and Site Conditions
Before building your backyard pavilion, it’s crucial to assess the available space and site conditions. Begin by measuring the area where you plan to build, ensuring there is enough room not only for the structure itself but also for access and surrounding use. Consider the topography of your yard—flat surfaces make construction easier, but if your space is sloped, you might need to level the ground or incorporate terracing. Pay attention to any existing trees or plants that might provide natural shade or need to be accommodated in your design.
Next, evaluate the environmental conditions, such as sunlight exposure and prevailing winds, as these will influence your pavilion’s design and materials. A spot that receives ample sunlight might benefit from a pavilion with a solid roof or adjustable panels to control shade. For areas prone to wind, consider using sturdy materials like pressure-treated wood or metal for stability and anchoring the structure securely into the ground. By carefully considering these factors, you’ll ensure your pavilion is both functional and durable, enhancing your outdoor space for years to come.
Choose Cost-Effective Materials
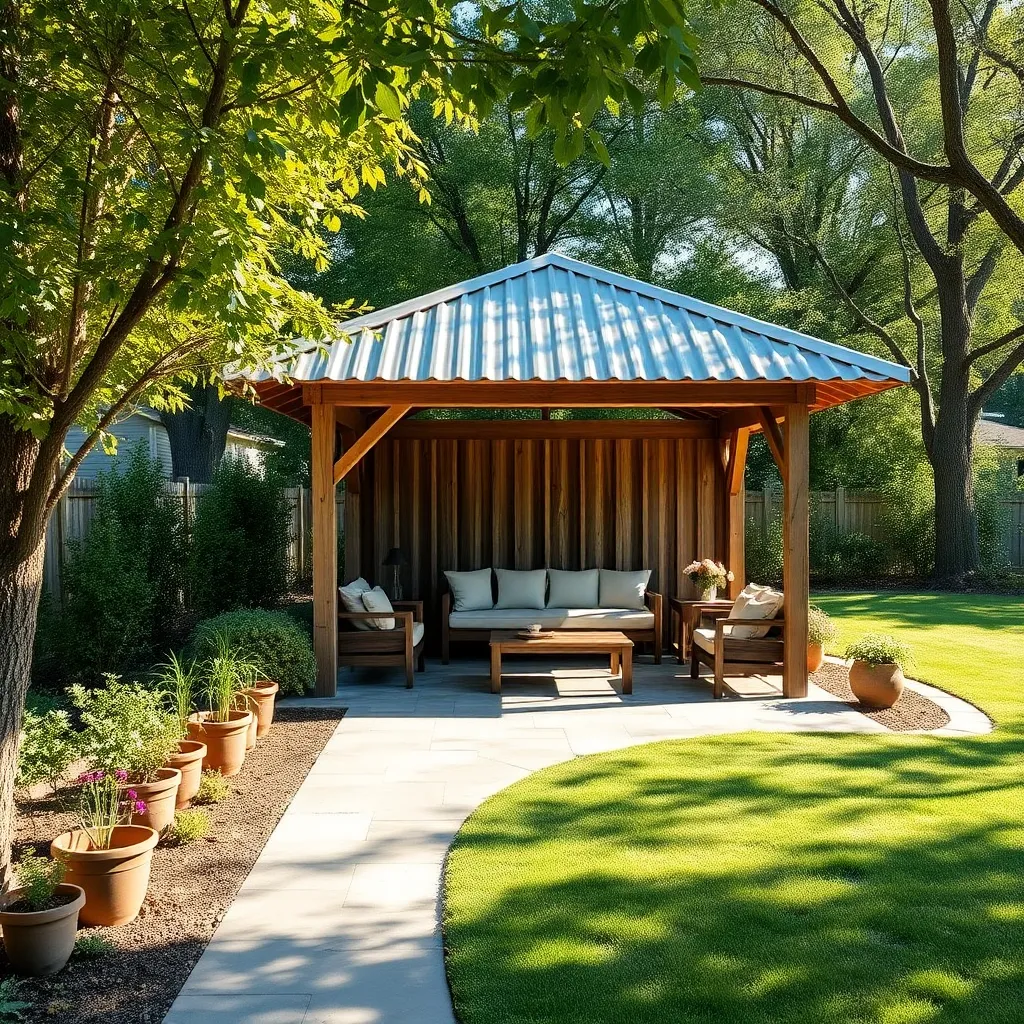
When building a backyard pavilion on a budget, selecting cost-effective materials is crucial. Pressure-treated lumber is a popular choice for its affordability and durability, making it ideal for framing and support beams. For roofing, consider corrugated metal sheets or polycarbonate panels which are both lightweight and cost-effective, providing adequate protection from the elements without breaking the bank. These materials are not only easy to work with but also widely available at most home improvement stores.
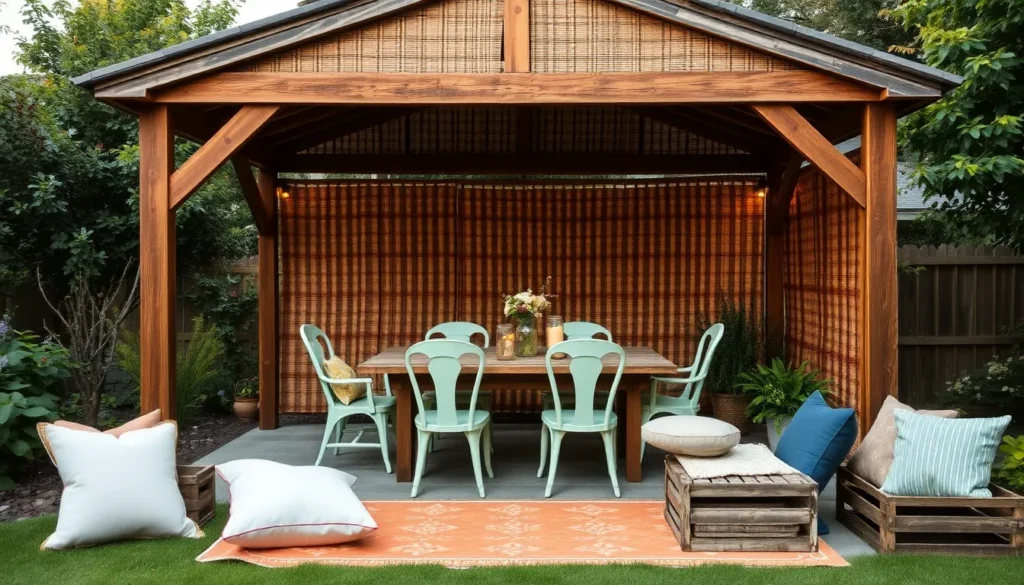
For a touch of style without extra expense, use reclaimed wood or pallet wood for accents or decorative features. These materials can add rustic charm and are often available for free or at a low cost from local businesses. Additionally, consider using concrete blocks for the foundation, as they offer stability and are inexpensive compared to poured concrete. Whether you’re a beginner or a seasoned DIY enthusiast, these materials provide a perfect balance of function and aesthetics for your pavilion project.
Design a Simple Pavilion Plan
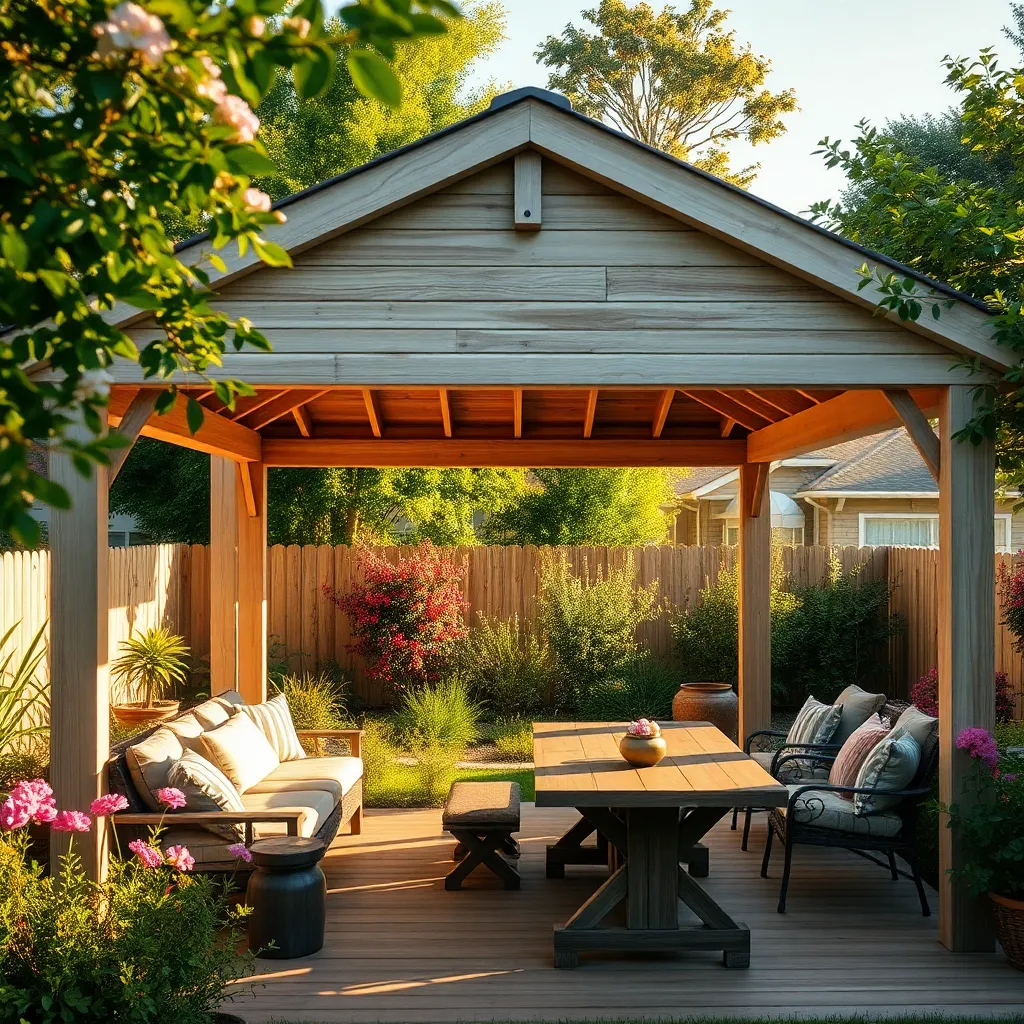
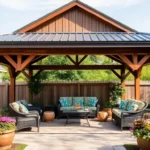
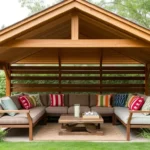
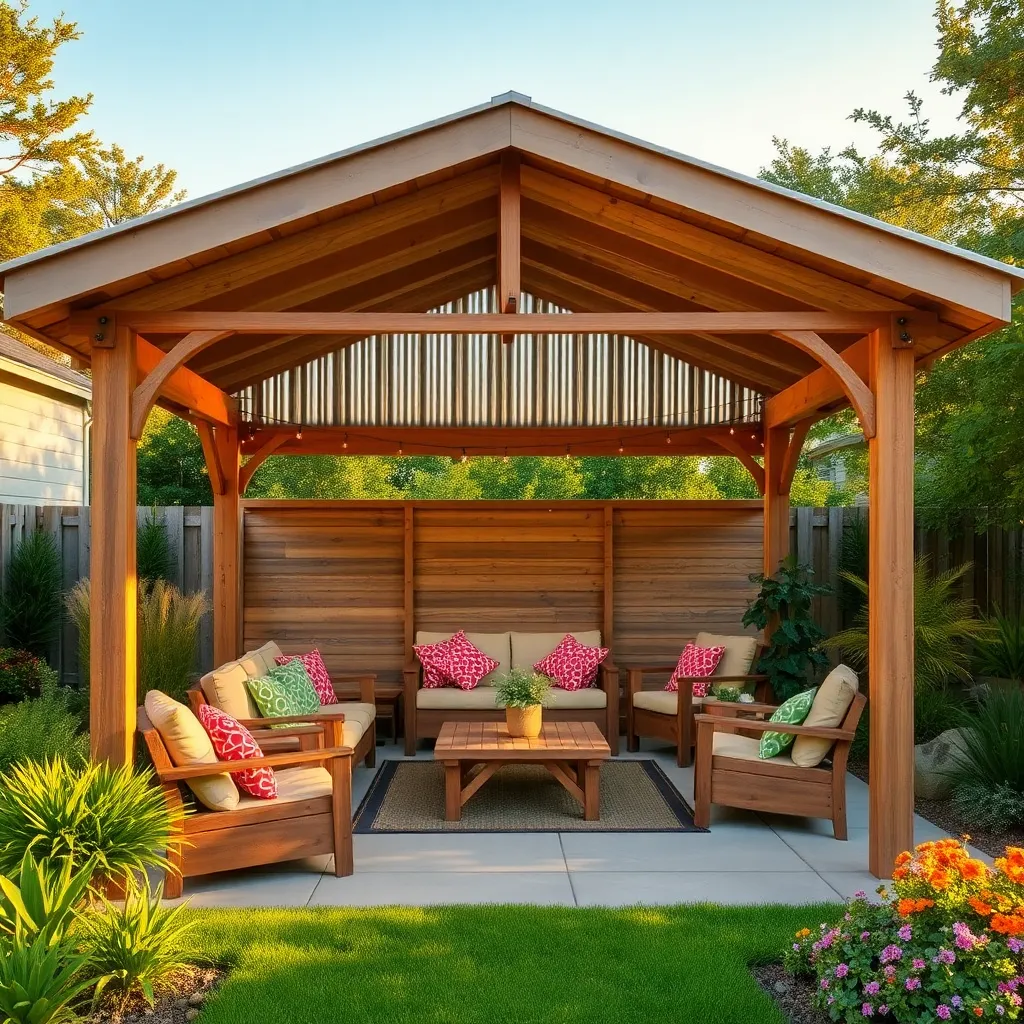
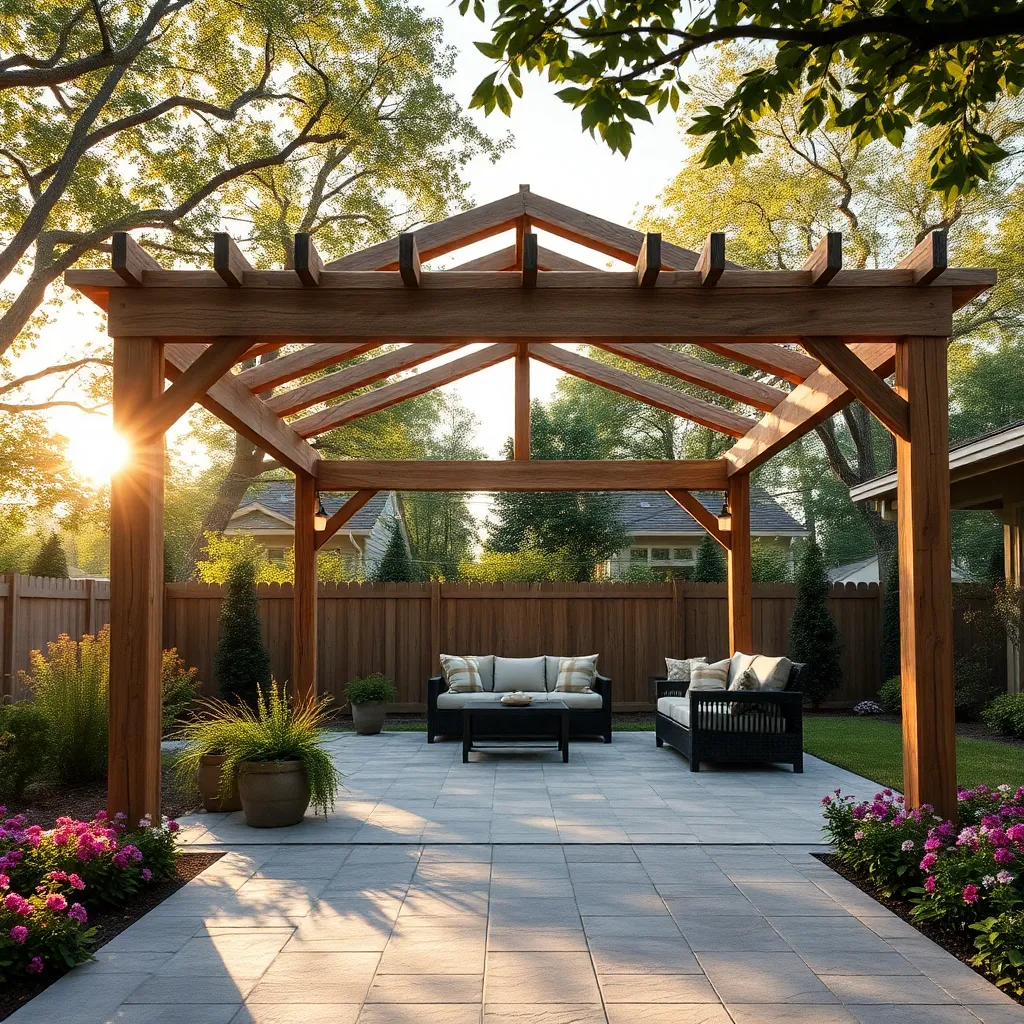
To design a simple pavilion plan that is both budget-friendly and functional, start by determining the intended size and location of your pavilion. A typical pavilion is around 10×10 feet, which provides ample space for seating and small gatherings. Choose a flat, well-drained area in your yard to minimize foundation work. Use pressure-treated lumber for the structure to ensure durability against the elements, and consider a gable roof design with a 30-degree pitch to effectively shed rain and snow.
Focus on design elements that enhance both aesthetics and utility. Opt for a simple post-and-beam construction as it’s easy to assemble and highly stable. For added flair, consider incorporating decorative brackets or trim that complement your home’s architecture. Beginners can keep the design straightforward, while more advanced DIYers might integrate features like built-in benches or a small bar area. Ensure all hardware, such as bolts and screws, is galvanized to prevent rust, prolonging the life of your pavilion.
Construct a Sturdy Frame
To construct a sturdy frame for your backyard pavilion, start by selecting durable materials such as pressure-treated wood or steel. Pressure-treated wood is an economical choice that resists rot and insects, making it ideal for outdoor structures. For a basic frame, use 4×4 posts as your vertical supports and 2×6 beams for the horizontal sections. Ensure the posts are set securely in concrete footings at least 12 inches deep to provide stability and prevent shifting.
For enhanced durability, consider adding cross-bracing between the posts using metal brackets or wood planks. This will help the pavilion withstand strong winds and other environmental stresses.
- Use galvanized screws and connectors to prevent rust and corrosion.
- Ensure the frame is level and square by using a spirit level and measuring tape frequently during construction.
These steps will provide a robust framework that forms the backbone of your pavilion, giving you a reliable and long-lasting outdoor structure.
Install Roofing and Finishing Touches
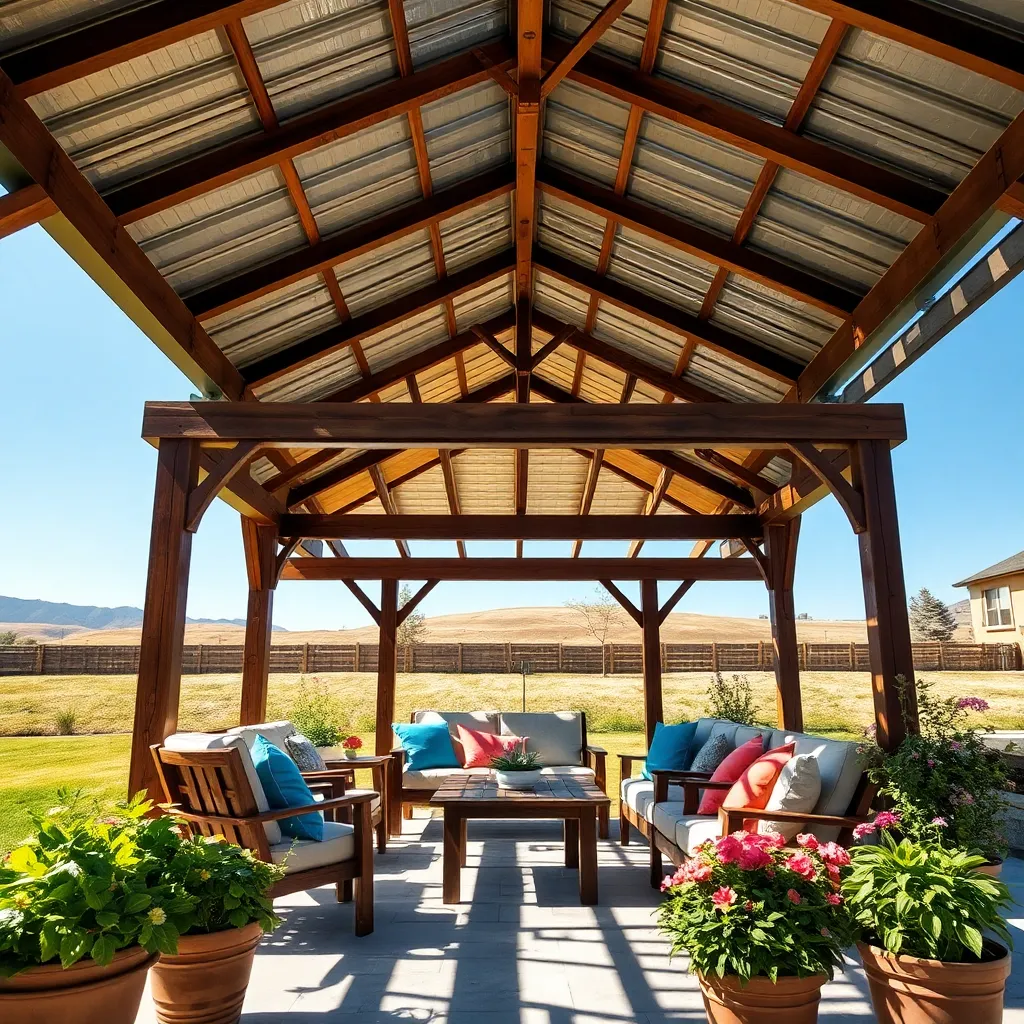
Once your pavilion’s frame is up, it’s time to install the roofing, which is crucial for protection against the elements. Opt for durable, budget-friendly materials like corrugated metal or polycarbonate panels, which are not only affordable but also easy to install. Ensure the roof is slightly sloped to facilitate water runoff and prevent pooling, which can damage the structure over time. For a more refined look, consider adding a fascia board around the edges of the roof.
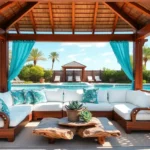
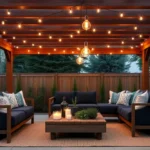
Adding finishing touches transforms your pavilion from a basic shelter into a cozy backyard retreat. Consider incorporating design elements like decorative brackets or a coat of weather-resistant paint to enhance both durability and aesthetics. Don’t forget lighting; solar-powered LED string lights are an energy-efficient choice that provides ambiance without the need for wiring. Finally, integrate comfortable seating and planters with lush greenery to make the space inviting and functional.
Conclusion: Creating Beautiful Outdoor Spaces
In exploring the creation of a backyard pavilion on a budget, we’ve uncovered five essential relationship concepts: collaboration, communication, compromise, creativity, and commitment. First, collaboration reminds us that working together can transform visions into reality. Communication is key; sharing ideas and expectations ensures everyone is on the same page. Compromise allows us to adapt and balance differing needs, while creativity helps us find innovative solutions within our means. Lastly, commitment to the project and each other strengthens bonds and builds lasting memories.
An actionable step you can take right now is to initiate a conversation with your partner or family about what each of you envisions for your outdoor space. This dialogue is an opportunity to practice these relationship skills and set a collaborative plan in motion.
Be sure to bookmark this article as a handy reference for your pavilion project and as a reminder of the relationship skills that can enhance your bond. Remember, as you build your backyard haven, you are also nurturing a foundation for relationship success that will flourish in the future. Together, you can create spaces—and relationships—that are both beautiful and enduring.