Imagine stepping into your backyard and finding a beautiful pavilion—a perfect oasis to relax, entertain, and enjoy nature. Whether you’re a seasoned homeowner looking to revamp your outdoor space or a beginner eager to make your yard more inviting, creating a backyard pavilion doesn’t have to break the bank. This guide will show you how to blend style, functionality, and budget-friendly solutions to craft a stunning outdoor retreat.
In the following sections, you’ll discover practical tips and creative ideas for designing a pavilion that suits your taste and budget. From selecting the right materials and design to incorporating personal touches, we’ll walk you through each step with enthusiasm and clarity. Get ready to transform your backyard into a haven of comfort and charm, where every moment spent outside feels like a mini escape.
Assess Available Space and Budget
Before embarking on your backyard pavilion project, it’s essential to assess the available space you have. Start by measuring your yard to determine a suitable area for the pavilion, ideally choosing a location that offers both privacy and a good view. Consider factors like proximity to your home for convenience and access to utilities if needed, ensuring there’s sufficient room for the structure and any desired landscaping or furniture.
Once you have a clear understanding of your space, establish your budget to guide your material and design choices. For budget-friendly construction, opt for cost-effective materials like pressure-treated wood or recycled materials, which can provide durability without breaking the bank. Advanced gardeners might explore DIY kits or second-hand materials to further reduce costs, ensuring you achieve a balance between affordability and the aesthetic appeal of your pavilion.
Choose Cost-Effective Pavilion Design
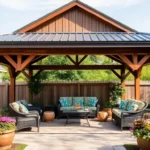
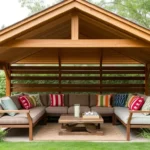
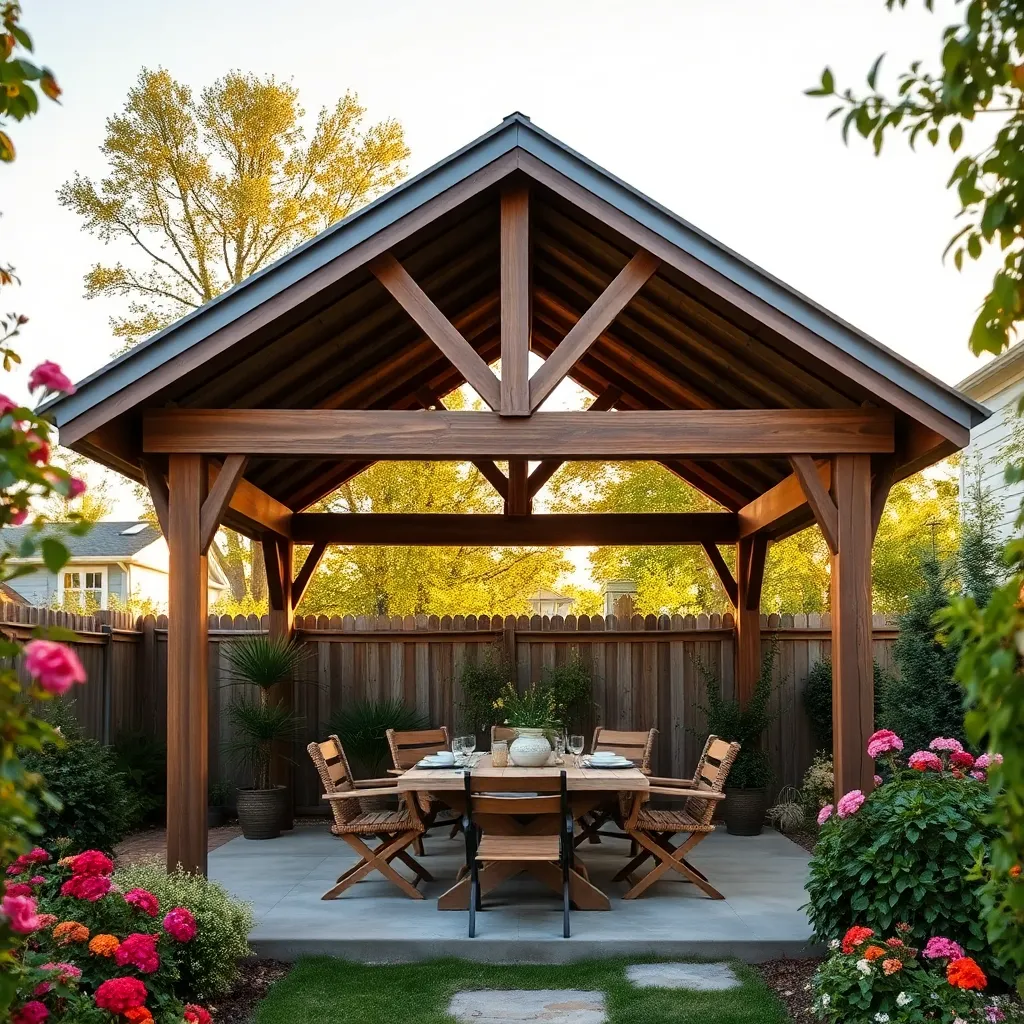
To create a cost-effective backyard pavilion, consider using affordable materials like pressure-treated wood, which is both durable and budget-friendly. Opt for a simple, rectangular design with a flat or low-pitched roof to reduce construction complexity and material costs. For added savings, you can source reclaimed wood or corrugated metal for a rustic touch, which not only cuts costs but also adds character. Beginners can start with a basic 10×12-foot pavilion plan, providing ample space for most outdoor activities without overwhelming the budget.
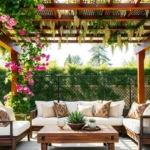
Advanced DIY enthusiasts might explore incorporating built-in seating or planter boxes to enhance functionality while keeping costs low. Using interlocking deck tiles for flooring offers a simple installation method that doesn’t require extensive groundwork. To maximize your pavilion’s usability, consider adding weather-resistant curtains or shades for shelter from the sun and rain, which can be installed with minimal expense. By focusing on these design elements, you can create a beautiful and practical pavilion that enhances your outdoor space without breaking the bank.
Source Affordable Building Materials
To keep your pavilion project within budget, consider sourcing affordable building materials from local suppliers or salvage yards. Reclaimed wood is a great option for creating a rustic look without the high cost of new lumber. Additionally, check online marketplaces for second-hand materials like metal roofing panels or paving stones that can provide both durability and charm at a fraction of the price. These sources often offer unique materials that can add character and individuality to your pavilion.
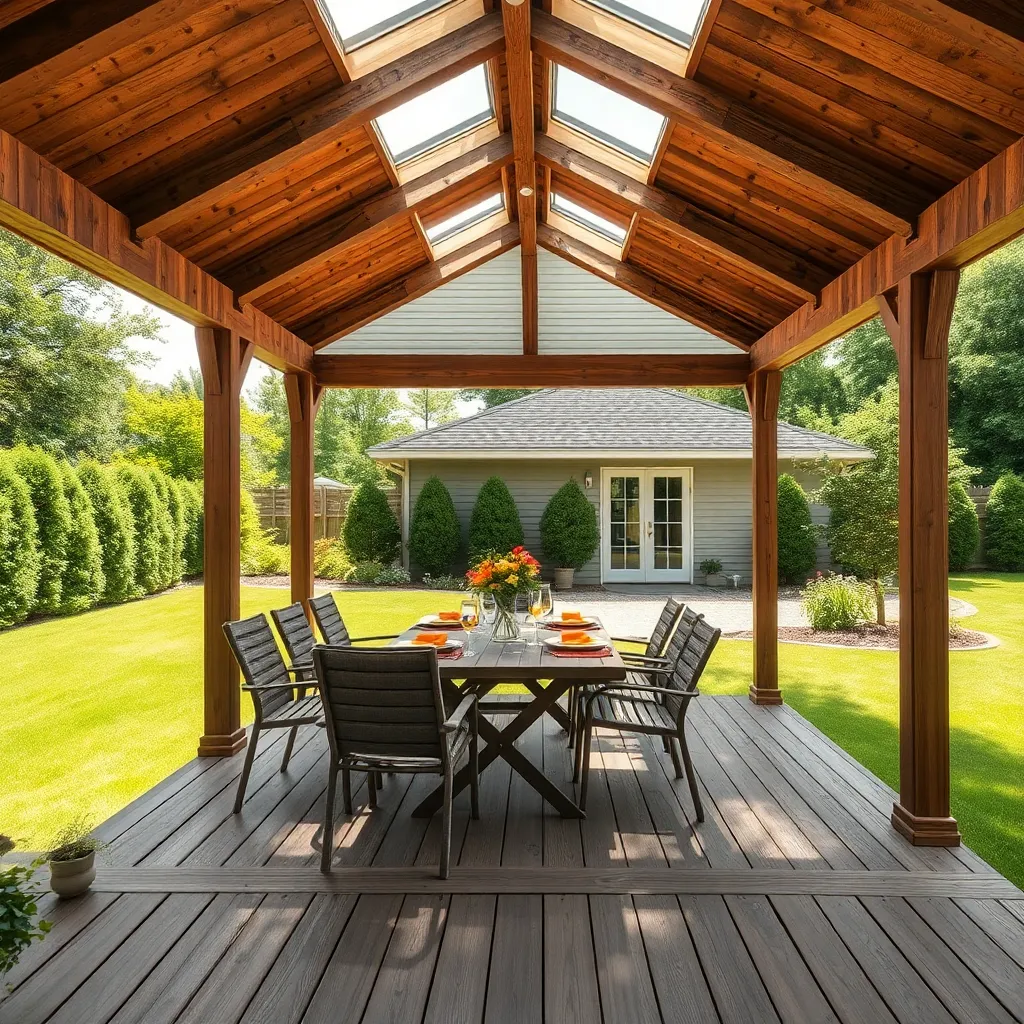
For those with a bit of DIY savvy, you can reduce costs by utilizing simple construction techniques with readily available materials. For instance, using pressure-treated lumber for the frame ensures longevity and resistance to weather, while polycarbonate panels can be an affordable alternative to glass for roofing, providing ample light while protecting from the elements. By carefully choosing materials and techniques that match both your design and budget, you can create a stylish and functional pavilion without breaking the bank.
Construct Sturdy Pavilion Frame
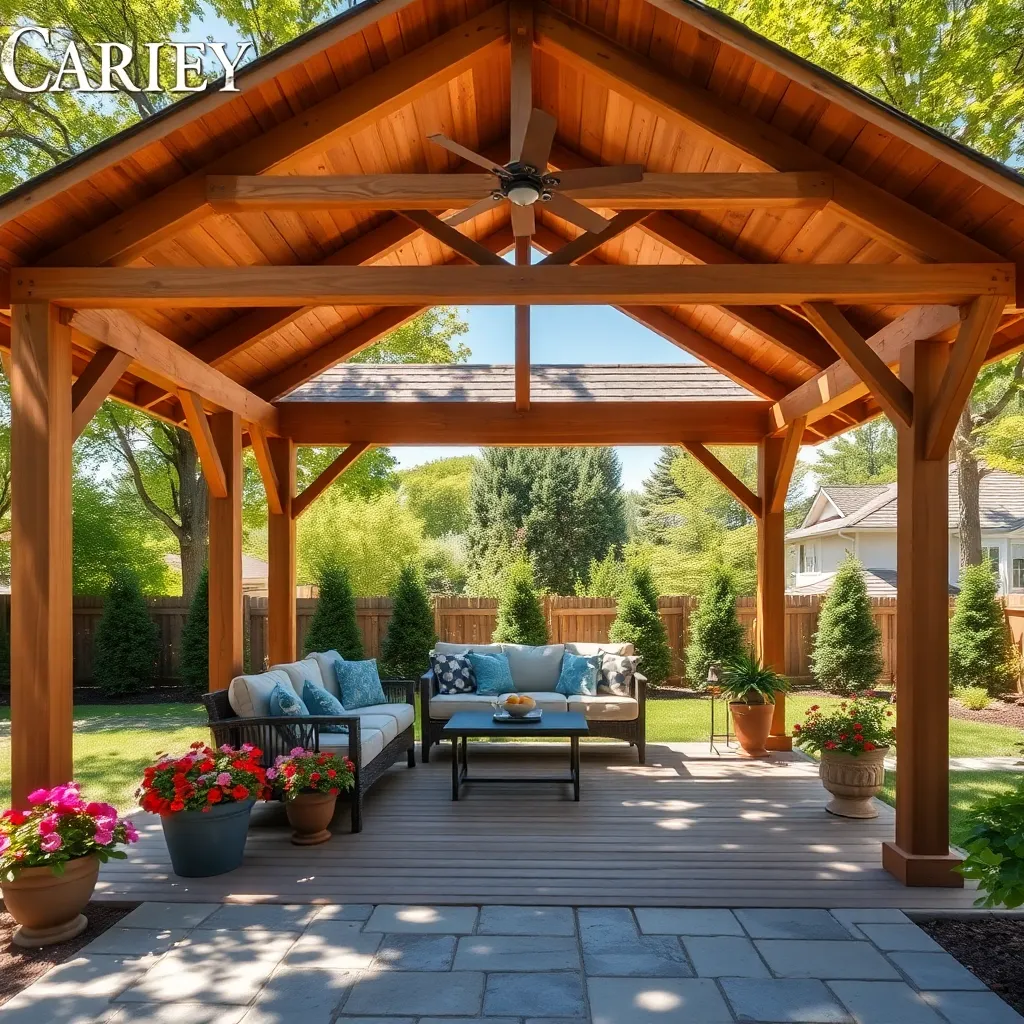
Begin by selecting durable materials such as pressure-treated lumber or cedar, which are both resilient and resistant to outdoor elements. Ensure each post is at least 4×4 inches in thickness to provide solid support for the pavilion. For stability, set the posts in concrete footings, which should extend below the frost line if you’re in a cold climate. Use a level to confirm that each post is perfectly vertical before the concrete sets, ensuring a straight and sturdy structure.
Once the posts are in place, connect them with horizontal beams using galvanized steel brackets for extra strength and corrosion resistance. Consider using 2×6 or 2×8 beams for the roof frame to support additional weight, such as roofing material or hanging plants. For a more advanced touch, incorporate decorative elements like lattice work or pergola beams, which not only enhance the pavilion’s aesthetic but also provide partial shade. Regularly check that all connections are tight and secure, helping to extend the life of your pavilion.
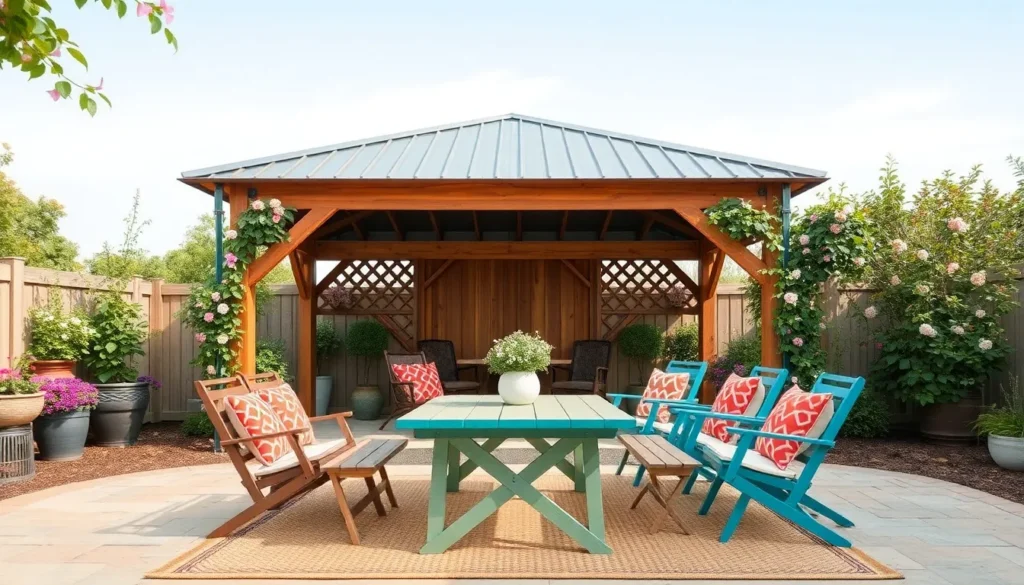
Install Budget-Friendly Roofing and Finish
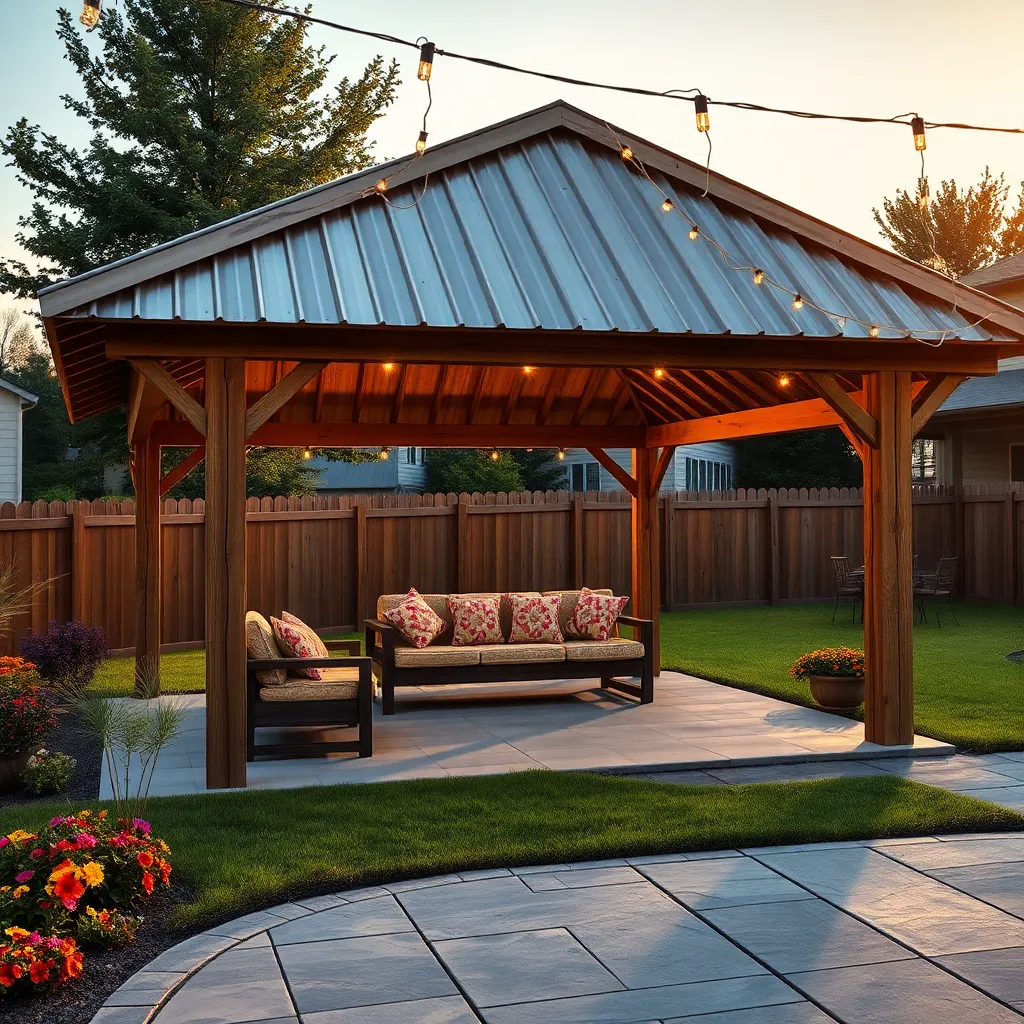
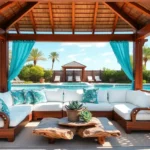
To keep your pavilion project budget-friendly while ensuring it withstands the elements, consider using corrugated metal or polycarbonate roofing. Both options are cost-effective, durable, and easy to install. Corrugated metal provides excellent protection from rain and sun, while polycarbonate panels offer transparency that allows natural light to filter through. For a snug fit, ensure you measure your pavilion’s roof dimensions accurately and purchase materials slightly larger to allow for overhang.
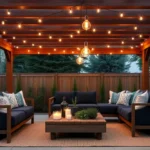
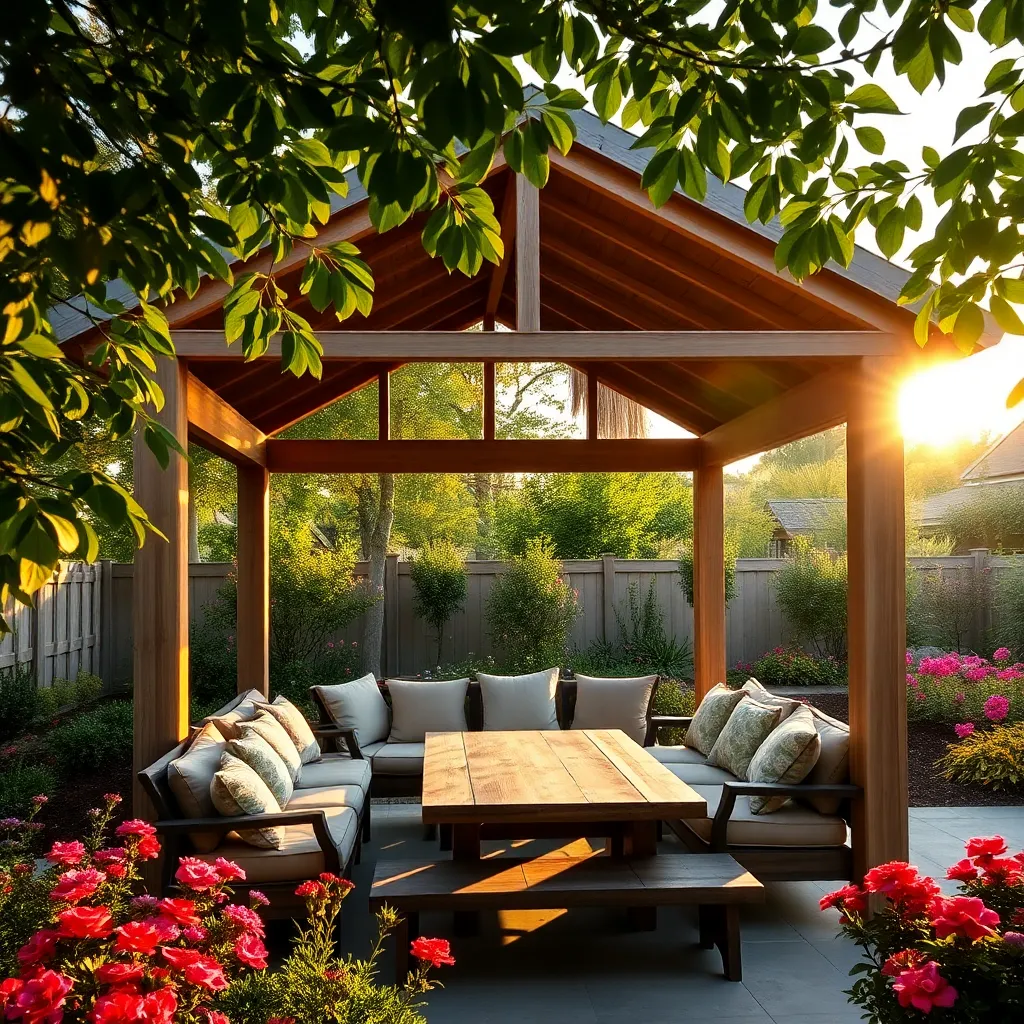
Enhance your pavilion’s aesthetic appeal with a simple finish using wood stain or weather-resistant paint. This not only protects the structure but also adds a touch of personal style. Beginners can start with a clear sealant to protect the wood from moisture, while more advanced DIYers might explore using contrasting colors or decorative trims to highlight features. Remember to choose finishes that are specifically designed for outdoor use to maximize longevity and ensure your pavilion remains a welcoming retreat for years to come.
Conclusion: Creating Beautiful Outdoor Spaces
Creating a backyard pavilion on a budget is not just about enhancing your outdoor space, but also about strengthening your relationship by building something meaningful together. In this article, we explored five essential relationship concepts: communication, collaboration, compromise, creativity, and celebration. By fostering open communication, you can align your vision for the project. Through collaboration, you can distribute tasks based on each other’s strengths. Embracing compromise will help you navigate any differences in opinion, while creativity allows you to personalize your pavilion uniquely. Finally, celebrating your shared achievements will reinforce your bond.
As an actionable next step, schedule a planning session with your partner to discuss your ideas and create a budget-friendly blueprint together. This initial meeting will set the stage for a successful project and strengthen your teamwork.
Don’t forget to save or bookmark this article for future reference, so you can revisit these key relationship concepts as you embark on this journey. Investing time and effort in such shared projects not only enriches your physical environment but also lays the groundwork for lasting relationship success. Here’s to building not just a pavilion, but also a stronger, more connected partnership.