Imagine transforming your backyard into a cozy retreat with the simple elegance of a pergola—an inviting structure that offers both style and shade. Whether you’re a seasoned DIY enthusiast or just starting your journey into home improvement, building a pergola can be an incredibly rewarding project that enhances your outdoor living space. This guide will walk you through the process, breaking down each step to ensure you can tackle this project with confidence and creativity.
In this article, you’ll discover how to select the perfect materials, master essential construction techniques, and customize your pergola to suit your unique taste and needs. From laying the foundation to adding those final personal touches, we’ll provide you with the insights and encouragement needed to create a stunning outdoor feature. Let’s embark on this journey together, transforming your vision into a beautiful reality that beckons you to relax and enjoy the outdoors.
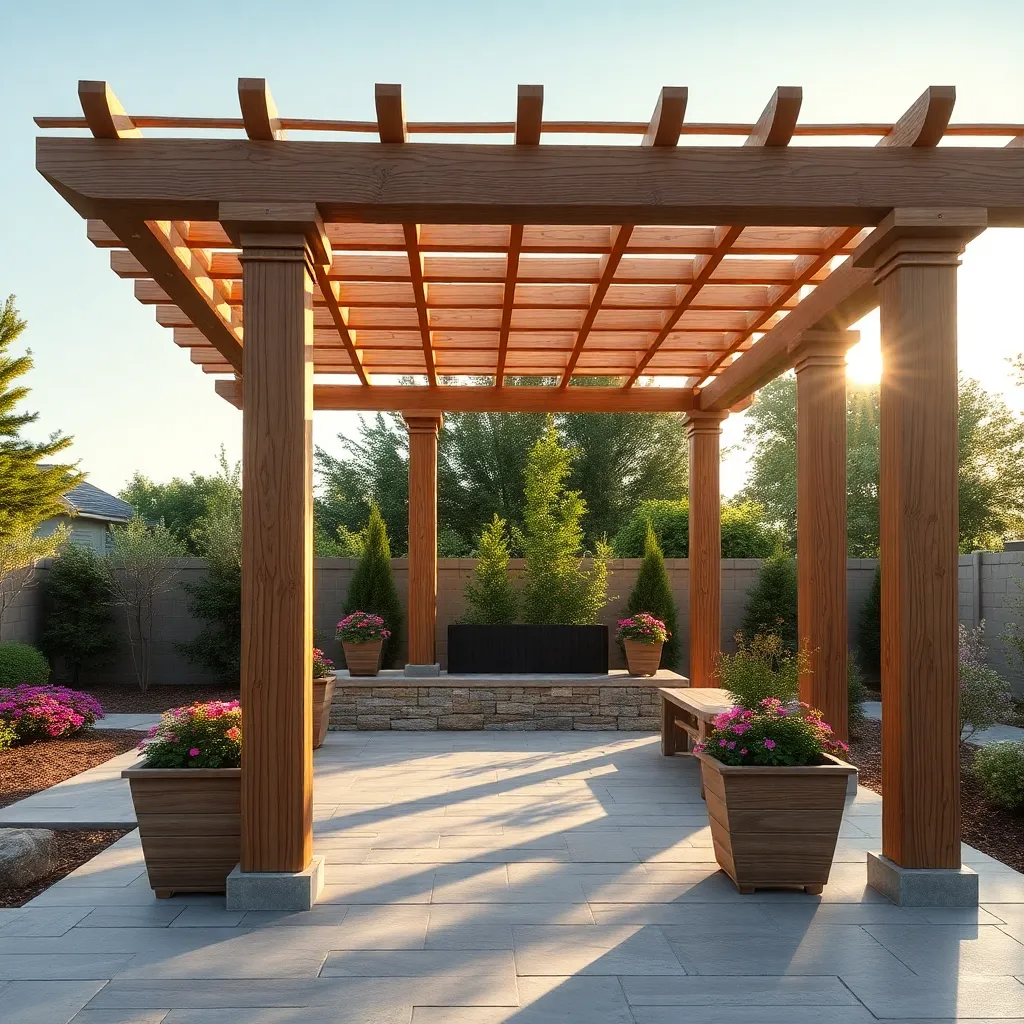
Choose Pergola Design and Size
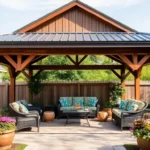
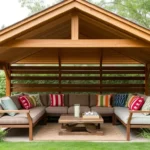
When choosing a pergola design, consider the style and function you desire for your outdoor space. Beginners might start with a simple, rectangular design using pressure-treated wood, which is both durable and cost-effective. For a more advanced approach, consider using natural cedar or redwood for a classic look that resists decay and insects naturally. Incorporating latticework or decorative beams can add visual interest and provide additional shade.
Determining the right size for your pergola is crucial to ensure it complements your outdoor area without overwhelming it. Measure the area where you plan to build, keeping in mind that a standard pergola is typically 8 to 10 feet tall and can range from 8×8 feet to 16×20 feet, depending on your space and needs. Ensure sturdy construction by using 4×4 or 6×6 posts for stability, and consider anchoring the posts with concrete for increased durability. Advanced builders might explore custom dimensions to better fit unique spaces or integrate seating and planters for a cohesive design.
Gather Necessary Tools and Materials
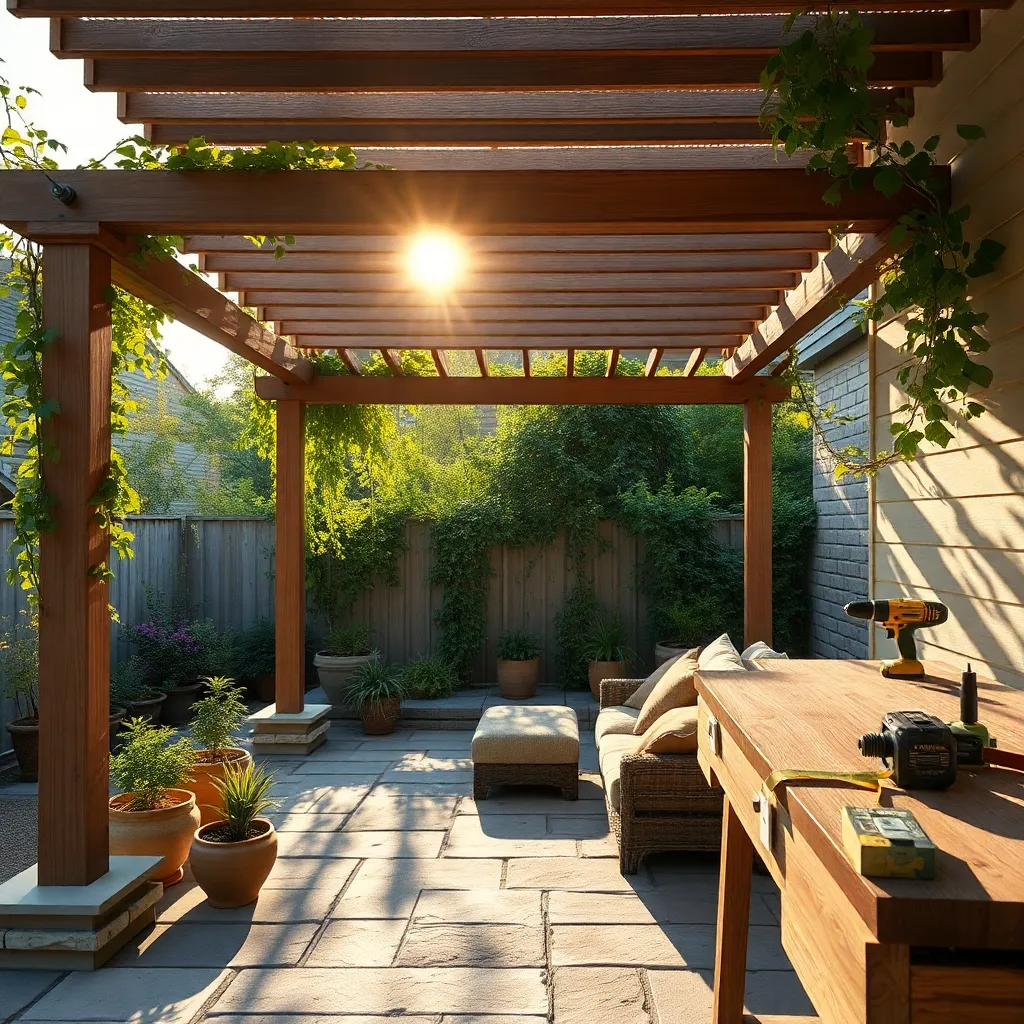
Before you start building your pergola, it’s essential to gather the necessary tools and materials to ensure a smooth construction process. For the basic tools, you’ll need a tape measure, a level, a carpenter’s square, and a power drill. Additionally, having a post-hole digger, a circular saw, and a ladder on hand will make the job much easier. These tools are crucial for achieving precise cuts and ensuring your structure is level and stable.
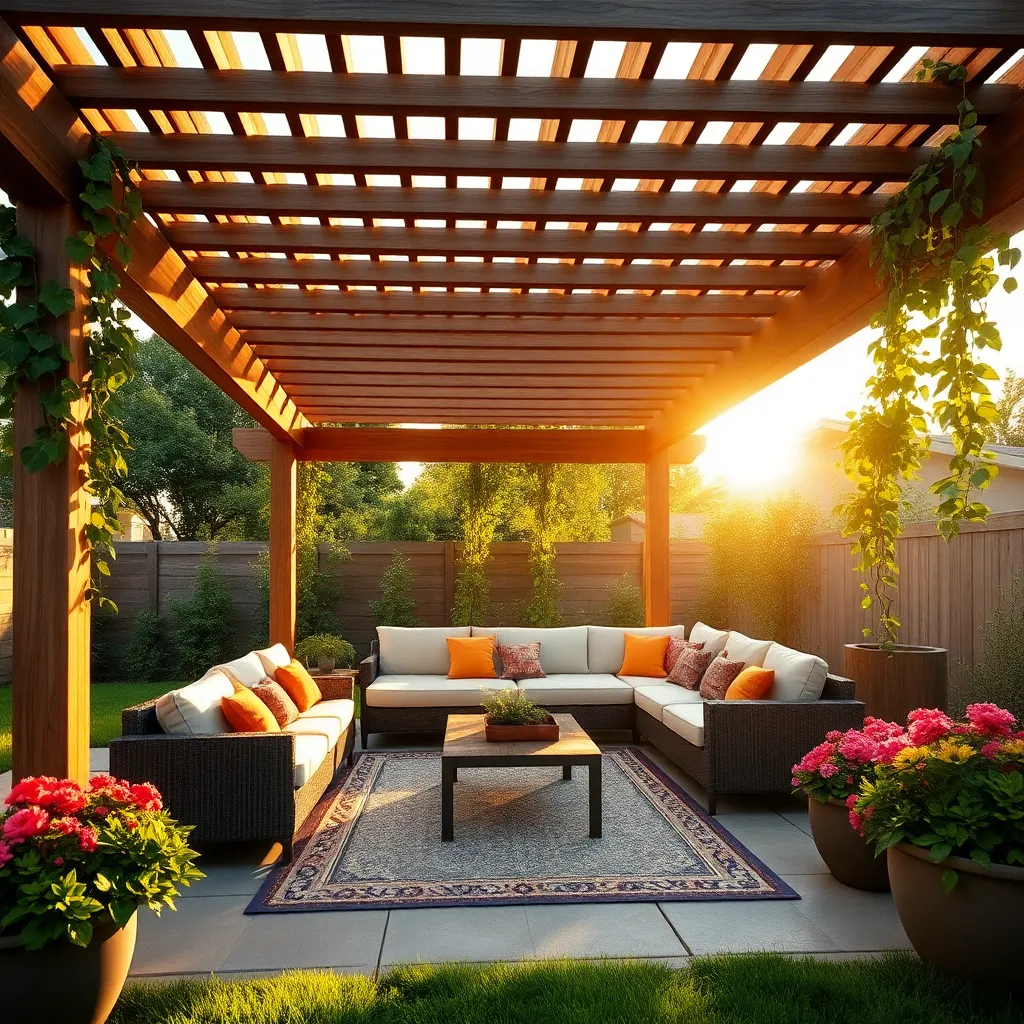
When it comes to materials, select weather-resistant wood such as cedar or pressure-treated pine to enhance durability. Consider using galvanized screws and bolts, which resist rust and increase longevity. For a pergola with a standard size of around 10×10 feet, you’ll typically need six 4×4 posts, 2×6 beams, and 2×4 rafters. If you’re aiming for a more advanced design, think about adding lattice panels for additional shade or incorporating climbing plants to create a natural canopy. Taking the time to choose quality materials will pay off in a long-lasting and beautiful addition to your outdoor space.
Mark and Prepare Pergola Site
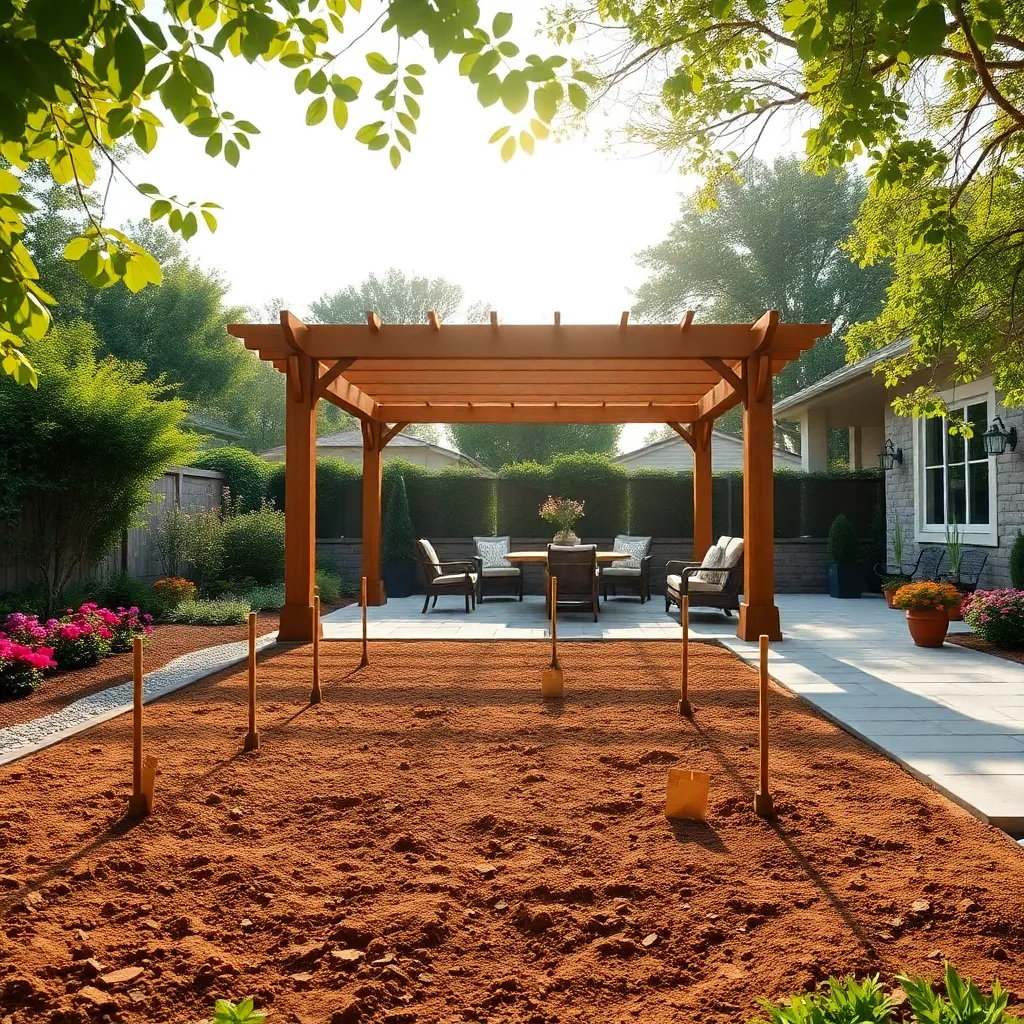
Before you start building, it’s essential to mark and prepare the pergola site accurately. Begin by selecting a flat, stable area in your yard that receives the desired amount of sunlight or shade, as pergolas are often used to define outdoor spaces for relaxation or dining. Use stakes and string to outline the pergola’s footprint, ensuring it’s square by measuring diagonally from corner to corner. Consider a standard pergola size of 12×16 feet, but adjust according to your available space and intended use.
Once marked, prepare the ground by clearing any grass or debris and leveling the area to create a stable foundation. For a more professional finish, excavate the site to a depth of 6 inches and fill it with compacted gravel or sand to enhance drainage and stability. This step is crucial to prevent future structural issues. For advanced tips, consider installing concrete footings to anchor the pergola posts securely, especially in regions with high winds. This preparation ensures your pergola is both beautiful and resilient.
Install Upright Posts Securely
Once your pergola site is prepared, it’s time to install the upright posts securely. Begin by selecting durable materials like pressure-treated wood or cedar, which are resistant to decay and insects. Use a post hole digger to create holes at least 24 inches deep and 12 inches wide for each post, ensuring they are evenly spaced according to your pergola design. For added stability, consider reinforcing the holes with gravel or concrete. This creates a solid foundation that prevents shifting and enhances the longevity of your structure.
Next, position each post in the center of its hole, and use a level to ensure it stands perfectly vertical. Bracing is crucial—attach temporary supports to keep the posts upright while the concrete sets. Allow the concrete to cure for at least 24 hours before removing the braces. For those looking for additional stability, using metal post anchors can be a great option, providing extra reinforcement against wind and weather. This step is vital, as a well-secured base guarantees that your pergola will withstand the elements and provide a lasting outdoor retreat.
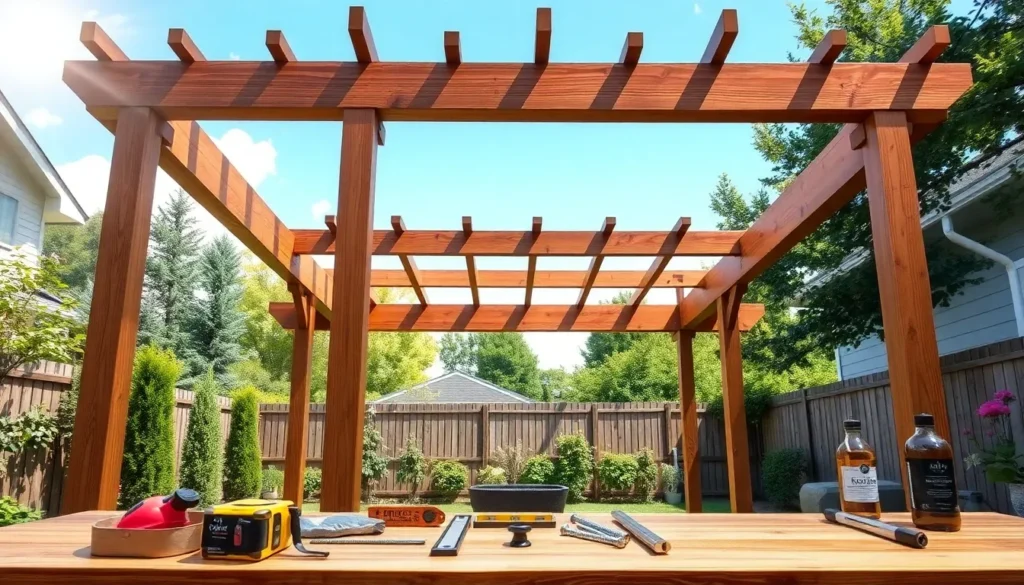
Attach Beams and Cross Rafters
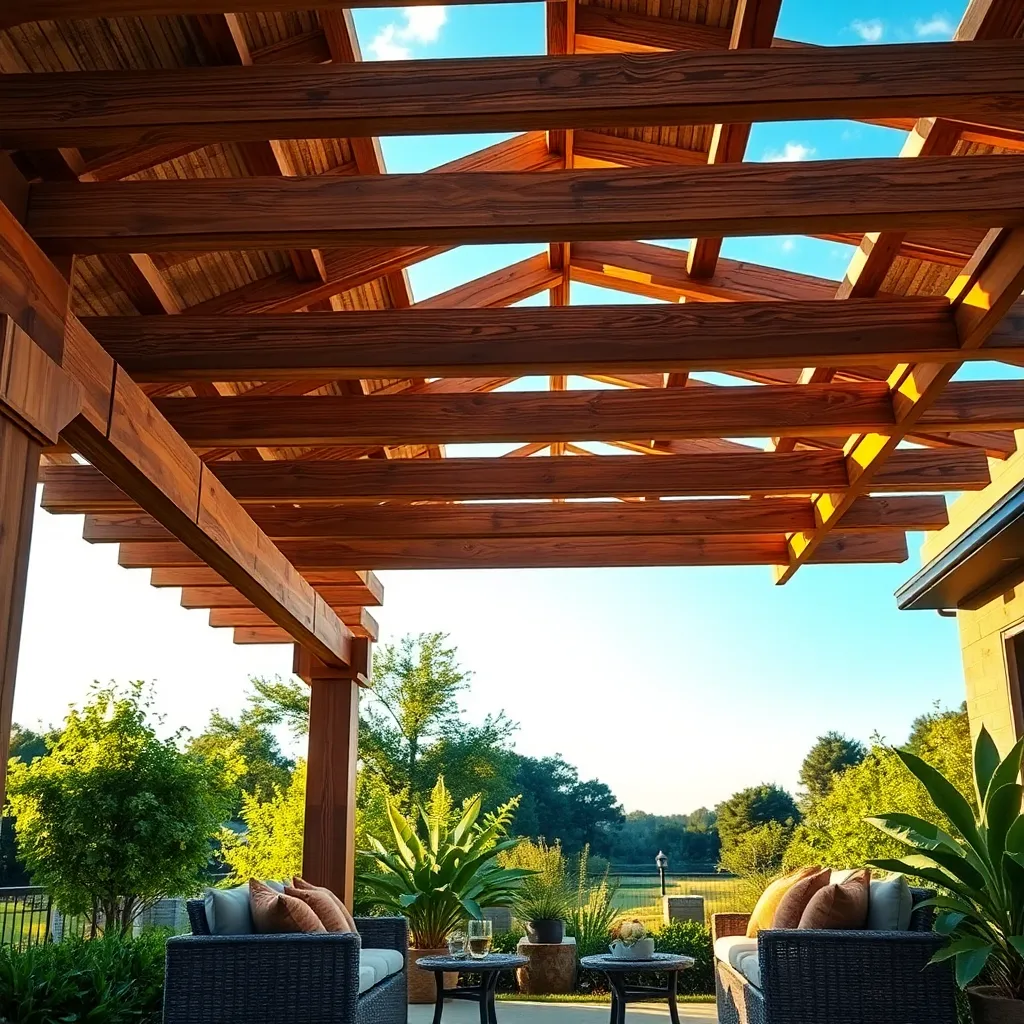
Now that your upright posts are securely installed, it’s time to attach the beams and cross rafters to form the framework for your pergola. Begin by selecting sturdy beams, ideally made from pressure-treated wood or cedar, to withstand the elements. Measure and cut the beams to extend about 12 inches beyond the outer edges of the upright posts for a balanced overhang. Secure the beams to the posts using galvanized lag screws, ensuring they are level and aligned properly. This creates a solid structure that will support the rafters and add stability to your pergola.
For the cross rafters, plan to space them evenly along the main beams, typically 12 to 24 inches apart, depending on the desired amount of shade and the overall design. Use a spacer block to maintain uniform gaps, enhancing the visual appeal and structural integrity of the pergola. Attach the rafters with deck screws or joist hangers, ensuring they are positioned perpendicular to the beams. For a more decorative touch, consider cutting the ends of the rafters into a decorative angle or curve, adding a personalized flair to your outdoor shelter.
Conclusion: Creating Beautiful Outdoor Spaces
In this journey of building a pergola, we’ve uncovered five essential relationship concepts: communication, trust, teamwork, patience, and celebration. Just as you lay a solid foundation for your pergola, a strong relationship begins with clear and open communication. Trust is the sturdy framework that supports every beam and board. Teamwork ensures that every piece fits perfectly, while patience allows for growth and adjustment. Finally, celebrating each milestone, whether it’s placing the last beam or sharing a moment of connection, strengthens your bond.
Now, take an actionable step: choose one area where your relationship could use reinforcement and discuss it with your partner today. This immediate action not only nurtures your relationship but also sets the stage for continued growth.
As you embark on this journey toward deeper connection, remember to save this article as a handy reference. Bookmark it now, so the insights and steps remain a guiding light whenever you need them.
Looking ahead, know that with each intentional action you take, you’re crafting a beautifully resilient relationship. Embrace the process, and watch your relationship flourish into a sanctuary of love and understanding.