Imagine transforming your backyard into a personal oasis with just a touch of craftsmanship and creativity. Whether you’re a seasoned DIY enthusiast or embarking on your first outdoor project, building a pergola can redefine your outdoor living space, offering both charm and functionality. This guide will walk you through each step, making the process not only manageable but also enjoyable, heightening your home’s appeal and usability.
In this article, you’ll discover practical insights on selecting materials, planning dimensions, and executing construction with precision. We’ll break down the seemingly daunting task into easy-to-follow steps, ensuring that your pergola becomes a stunning centerpiece for relaxation and gatherings, no matter your skill level. Embrace the journey of outdoor enhancement with confidence, and let your backyard be the envy of the neighborhood!
Select and Measure Pergola Site
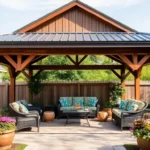
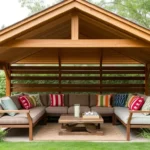
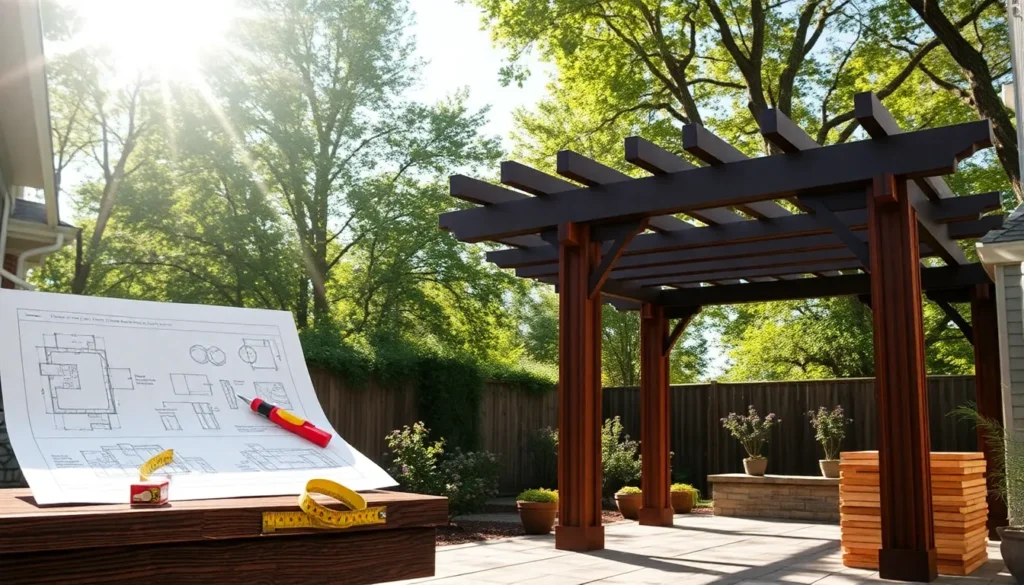
Choosing the right location for your pergola is crucial for both aesthetics and functionality. Start by assessing your outdoor space to identify a flat, stable area that can support the structure. Consider the sun’s path when selecting the site, aiming for a spot that provides a good balance of sunlight and shade throughout the day. Ensure there’s enough space for the pergola’s dimensions and any additional seating or plants you plan to incorporate. For optimal results, measure and mark your chosen area with stakes and string, ensuring the dimensions align with your design plans.
When measuring for your pergola, it’s essential to account for both the height and width, keeping in mind local building codes and potential view obstructions. A standard pergola height ranges from 8 to 12 feet, but adjust this based on personal preference and site conditions. Use a measuring tape to ensure precision, and consider using a laser level for accuracy on uneven terrain. For advanced tips, experienced builders recommend integrating your pergola with existing landscape features, like pathways or garden beds, to create a cohesive outdoor design. Always double-check measurements before proceeding to the construction phase to avoid costly mistakes.
Gather Required Materials and Tools
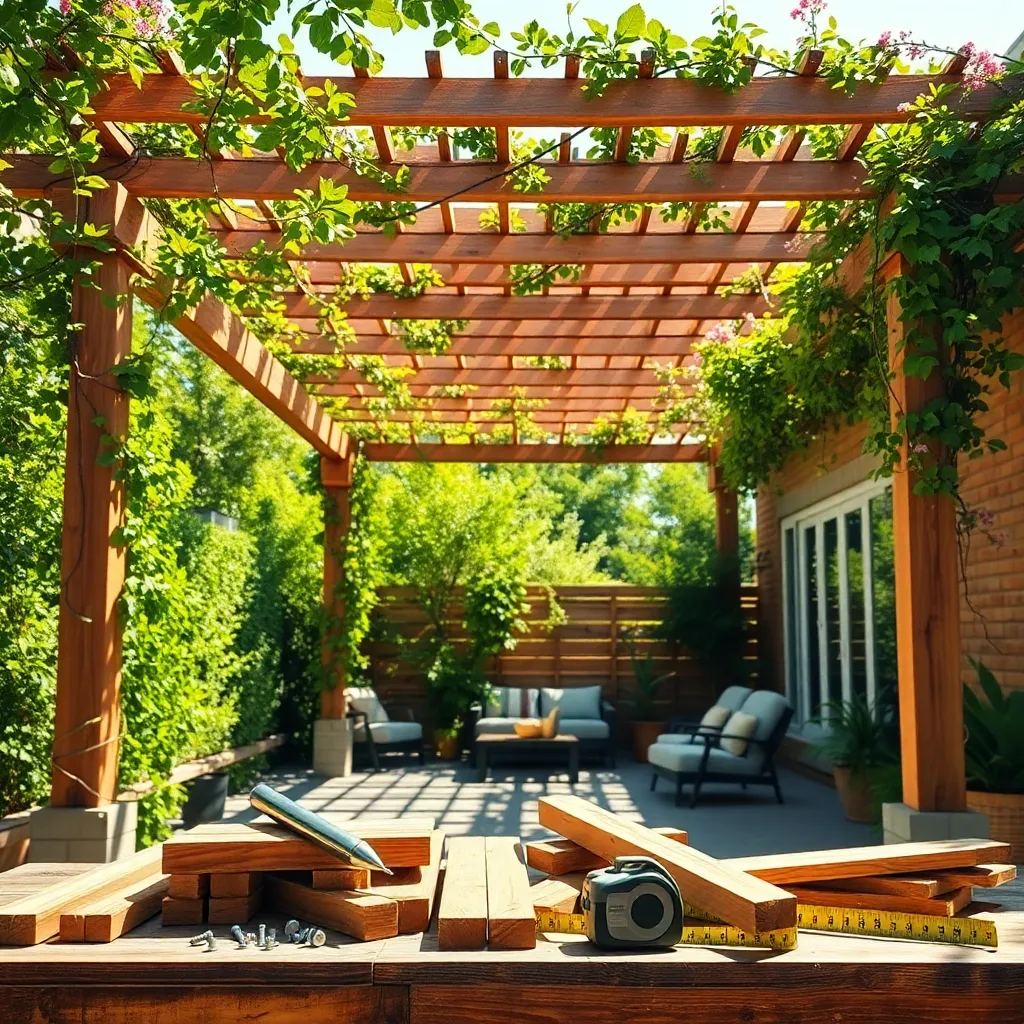
Before you start building your pergola, it’s essential to gather all the necessary materials and tools to ensure a smooth construction process. Begin by selecting durable materials such as pressure-treated wood or cedar, which are both resistant to rot and weathering. You’ll need posts, beams, rafters, and crossbeams; these typically measure around 4×4 inches for posts and 2×6 inches for beams. For a standard-sized pergola, plan for a height of about 8 feet to allow ample headspace and an open feel.
For tools, make sure you have a power drill, a level, a measuring tape, and a post-hole digger. These are crucial for ensuring precise cuts and a stable structure. Additionally, consider using galvanized screws and brackets to enhance the pergola’s durability against outdoor elements. For advanced builders, a miter saw can help achieve cleaner cuts and angles, which are especially useful for decorative elements like notched rafters or custom latticework. Taking the time to gather the right materials and tools will set you up for success and make the building process more efficient and enjoyable.
Assemble and Install Support Posts
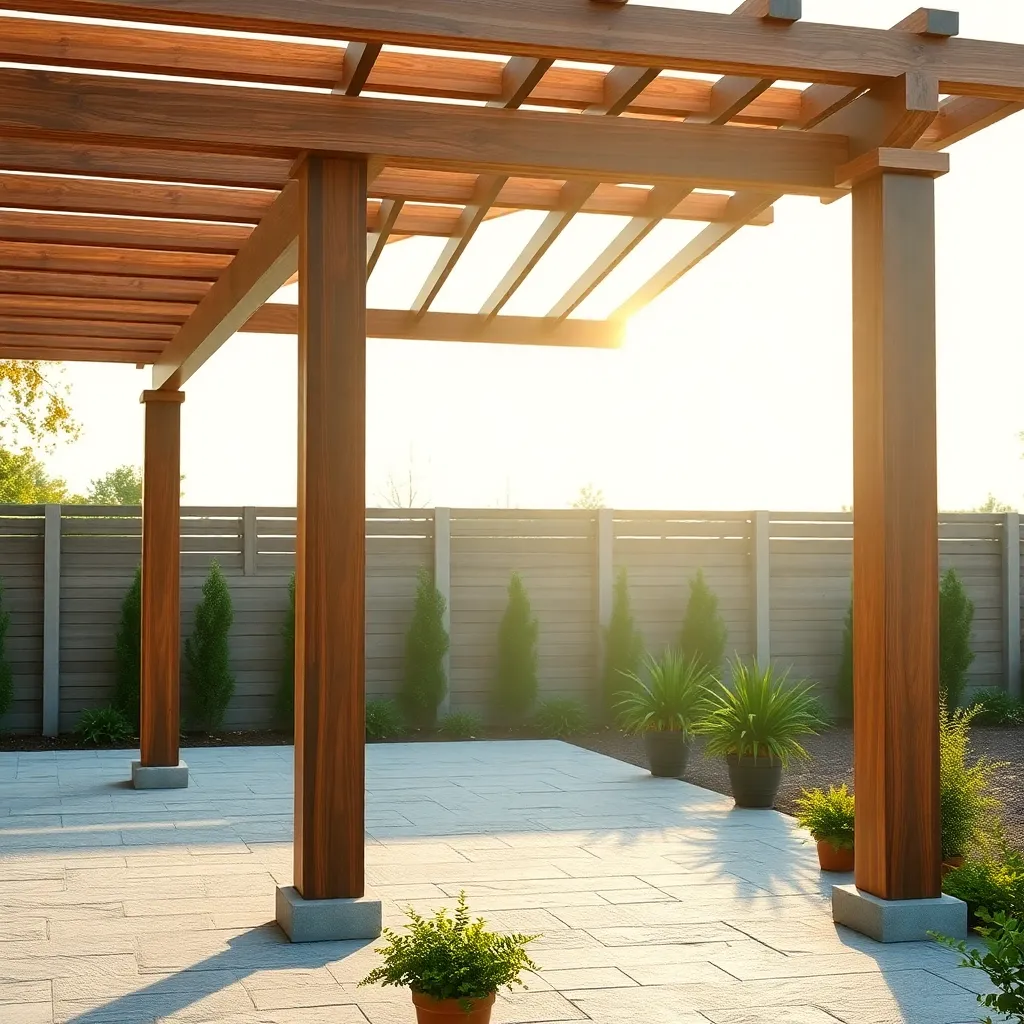
Begin by marking the location for each support post, ensuring they’re evenly spaced for a sturdy and balanced structure. Use a measuring tape and stakes to outline where each post will stand, typically 6 to 8 feet apart, depending on your pergola’s size. For a beginner-friendly approach, opt for pressure-treated lumber as it’s durable and resistant to weather conditions. Dig holes at least 2 feet deep to provide a stable foundation, especially in areas prone to frost.
For installation, set each post using a post level to ensure vertical alignment, filling the holes with concrete for added stability. While the concrete sets, brace the posts temporarily with wooden supports to maintain their position. If you’re looking for a more advanced design, consider incorporating metal post anchors for added durability and a sleek finish. By setting the foundation correctly, you’ll ensure your pergola remains a stunning and functional feature in your outdoor space for years to come.
Attach Crossbeams and Rafters
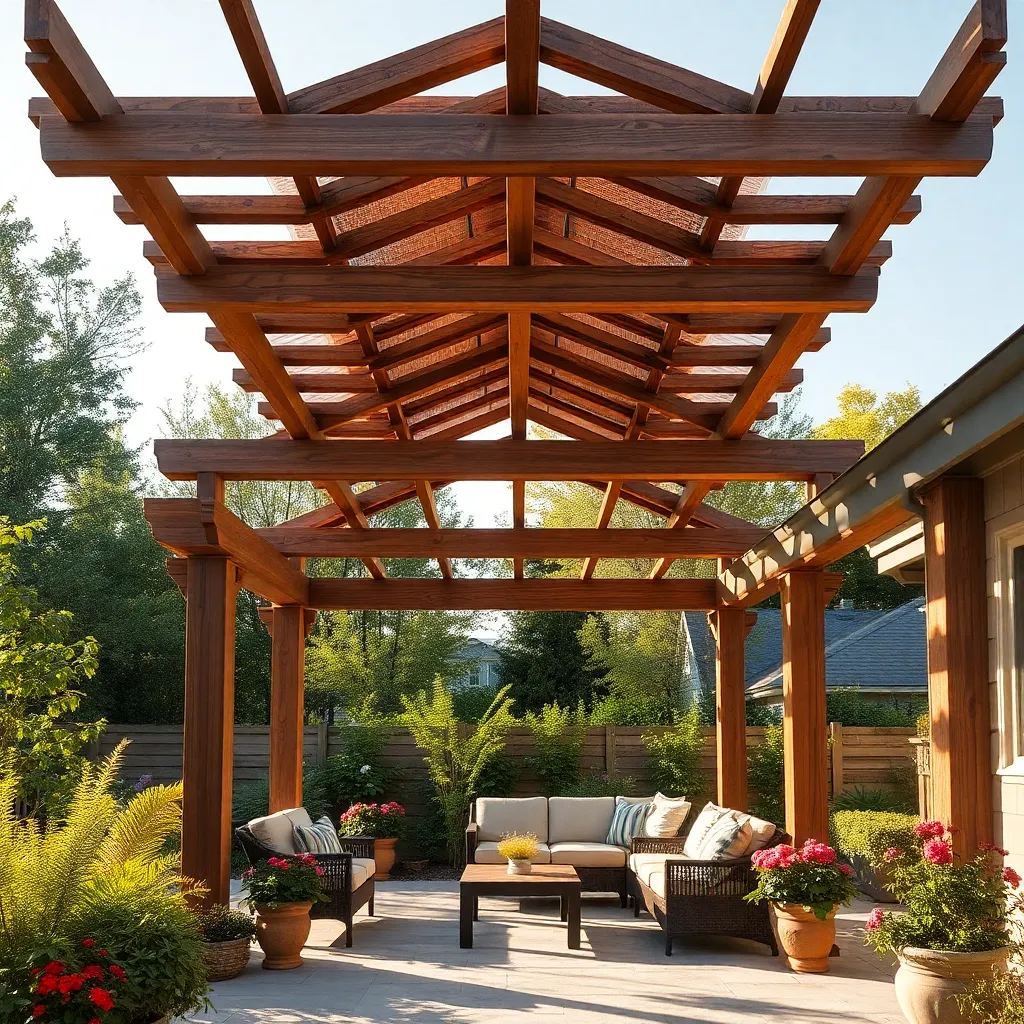
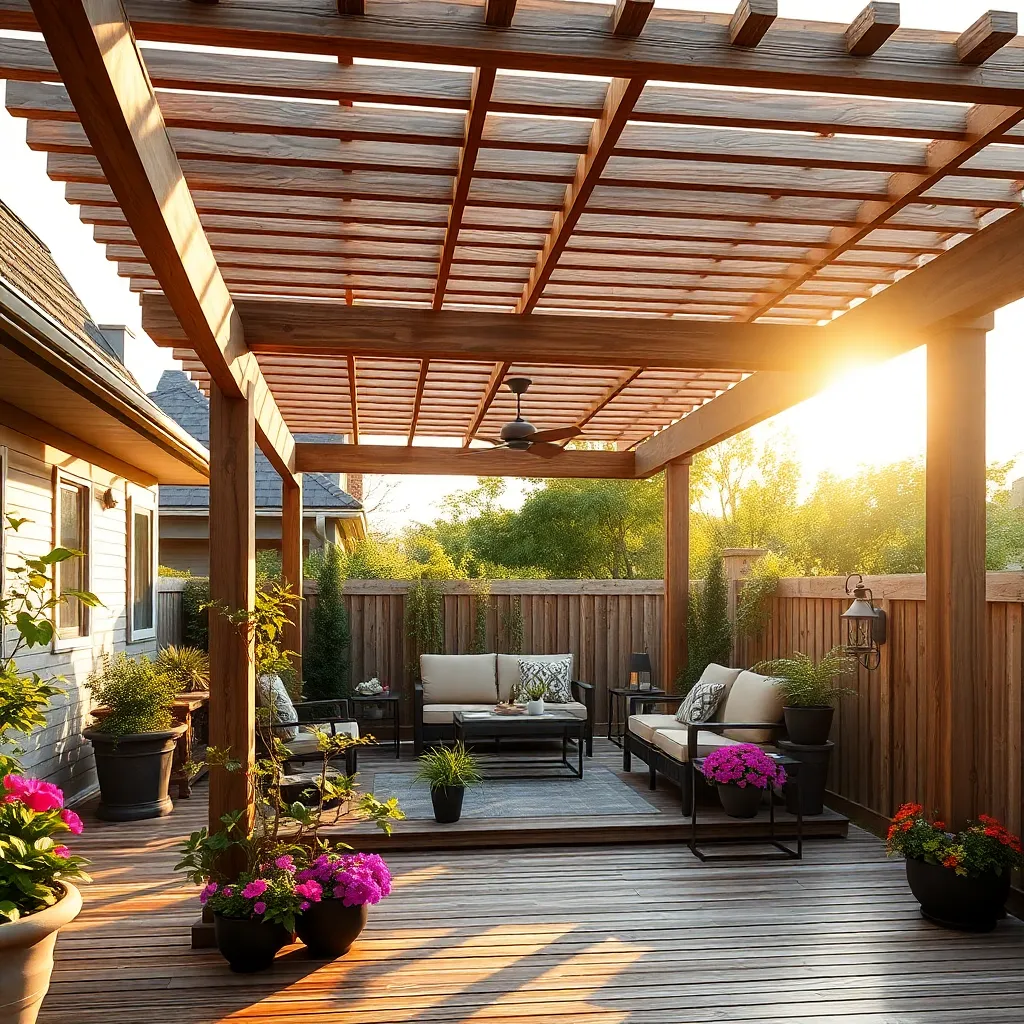
Once your support posts are securely in place, it’s time to attach the crossbeams, which will provide the primary support for your pergola. Begin by selecting durable materials such as cedar or pressure-treated lumber for longevity. Ensure each beam is level before attaching them to the posts using heavy-duty bolts or screws. For a more polished look, consider using decorative brackets. Space the crossbeams evenly to create a balanced structure, typically 2 to 3 feet apart depending on the size of your pergola.
Next, install the rafters, which will be perpendicular to the crossbeams and provide shade as well as stability. Choose a lumber type that matches your crossbeams for a cohesive design. Space the rafters 12 to 24 inches apart for optimal support and aesthetic appeal. Advanced tip: consider angling your rafters slightly for enhanced shade and a unique visual effect. Secure them with galvanized brackets or screws to prevent rusting and ensure the longevity of your structure.
Secure Pergola with Anchoring Methods
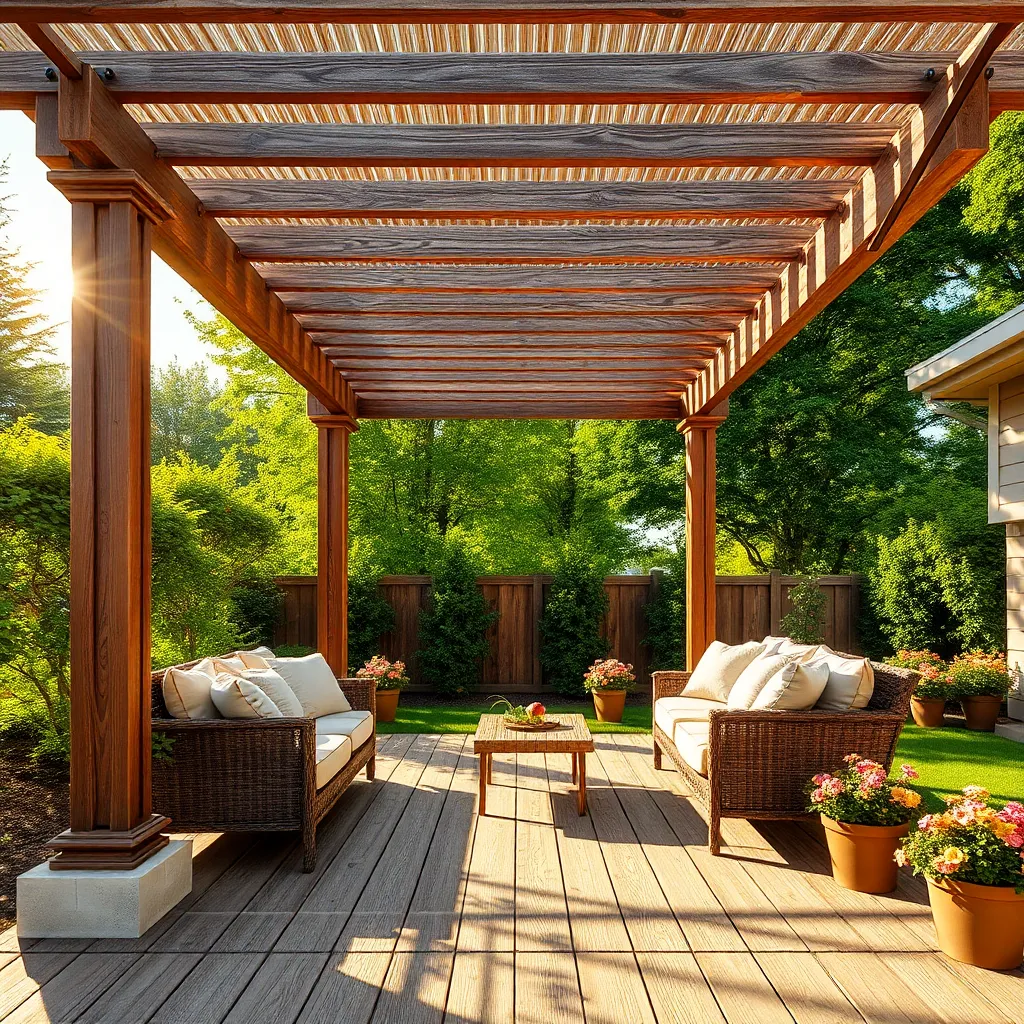
Once your crossbeams and rafters are in place, securing your pergola with proper anchoring methods is crucial to ensure stability and longevity. For a concrete patio, use concrete anchor bolts to firmly affix the pergola posts. Drill holes into the concrete and use a hammer drill to insert the anchors, then attach the post base to the anchor with screws. If you’re building on soil, opt for concrete footings instead. Dig holes at least 24 inches deep, pour concrete, and insert metal post brackets before it sets.
Consider using heavy-duty brackets or post bases to add extra stability, especially in windy areas. These can be bolted directly to your deck or patio, offering a secure hold. For advanced builders, incorporating a diagonal brace on each corner can further enhance structural integrity. This not only provides additional support but also adds a stylish design element. Always ensure your materials, like galvanized steel or stainless steel, are weather-resistant to prevent rust and deterioration over time.
Conclusion: Creating Beautiful Outdoor Spaces
Building a pergola may seem like a simple construction project, but it beautifully parallels the foundational elements of nurturing a lasting relationship. First, establish a strong foundation, much like ensuring trust and mutual respect in your partnership. Next, design a blueprint together, akin to aligning life goals and dreams. Select durable materials, just as you would with open communication and empathy. Assemble with care, reminiscent of resolving conflicts with patience and understanding. Lastly, add the finishing touches, symbolizing the joy of shared experiences and celebrations.
Now that you’ve seen how crafting a pergola mirrors relationship-building, consider initiating a heartfelt conversation with your partner today about your shared aspirations. This actionable step strengthens your connection and aligns your paths forward.
Be sure to bookmark this article for future reference, so you can revisit these insightful parallels and reinforce your relationship’s foundation anytime. Remember, like constructing a pergola, successful relationships require attention, effort, and love. By nurturing these elements, you pave the way for a partnership that not only withstands the test of time but also flourishes in the face of life’s challenges. Embrace the journey, and watch your relationship thrive.