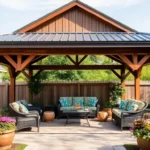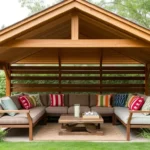
Transforming your outdoor space into a personal paradise begins with a touch of creativity and a few tools. A DIY wooden pergola not only enhances your garden’s aesthetic appeal but also offers a cozy, shaded retreat for relaxation and entertainment. Whether you’re a beginner eager to try your hand at woodworking or an experienced homeowner looking to refine your outdoor oasis, crafting your own pergola is a rewarding project that brings both beauty and functionality to your backyard.
In this guide, we’ll walk you through the essential steps to construct a sturdy and stylish pergola, from selecting the right materials to mastering the construction techniques. You’ll discover practical tips and expert advice tailored to help you bring your vision to life, no matter your skill level. Let’s embark on this exciting journey to elevate your outdoor living experience with a pergola that celebrates your unique style and creativity.
Choose Suitable Wood Materials
When choosing wood for your pergola, opt for materials that are both durable and weather-resistant. Cedar and redwood are excellent choices due to their natural resistance to rot and insects, ensuring your structure lasts longer with minimal maintenance. For a more budget-friendly option, consider using pressure-treated pine, which is also treated to resist decay and insect damage, although it may require more frequent refinishing to maintain its appearance.
Consider the aesthetic and structural qualities of the wood you select. Hardwoods like oak are incredibly strong and can support more weight, making them ideal for larger or more elaborate pergola designs. To enhance durability, apply a protective sealant or stain to any wood you use, which will help preserve its natural beauty and extend its lifespan. Remember to measure and cut your wood precisely, as accurate dimensions are crucial for a stable and visually appealing pergola.
Measure and Mark Pergola Layout
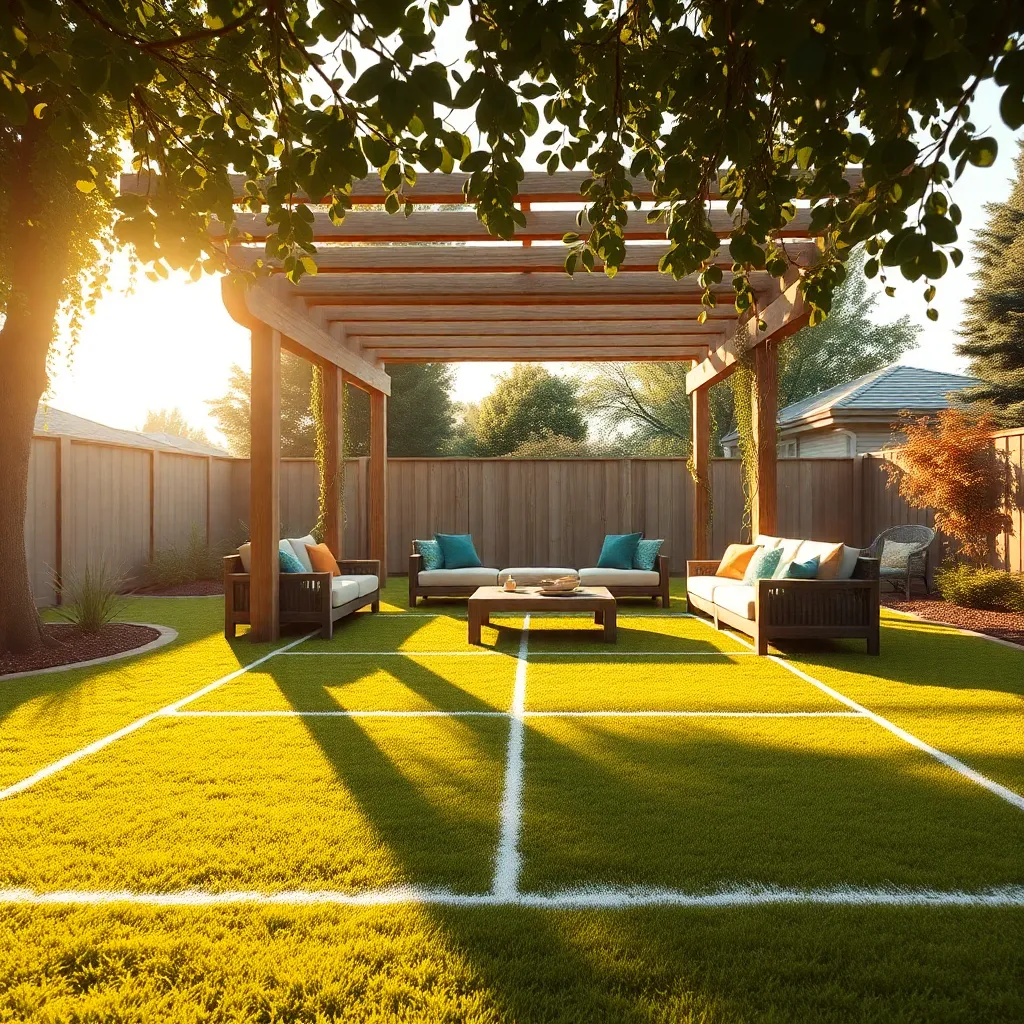
Before you begin building your pergola, it’s essential to accurately measure and mark your layout to ensure stability and aesthetics. Start by determining the exact location of your pergola and use stakes to outline the corners. For a standard pergola, create a rectangle measuring approximately 10×12 feet, but adjust dimensions based on your space. Use a tape measure to ensure each side is equal, and a carpenter’s square to confirm 90-degree angles at each corner, which helps maintain a perfect shape.
Once the perimeter is set, mark the post locations within your outline. Typically, posts should be spaced 8 feet apart to provide strong support and proper balance. Mark these spots with spray paint or string for clear visibility. For added precision, consider using a laser level to confirm even heights across all posts, especially if your ground is uneven. These steps not only lay the groundwork for a beautiful structure but also ensure a long-lasting, durable build.
Cut and Prepare Wooden Beams
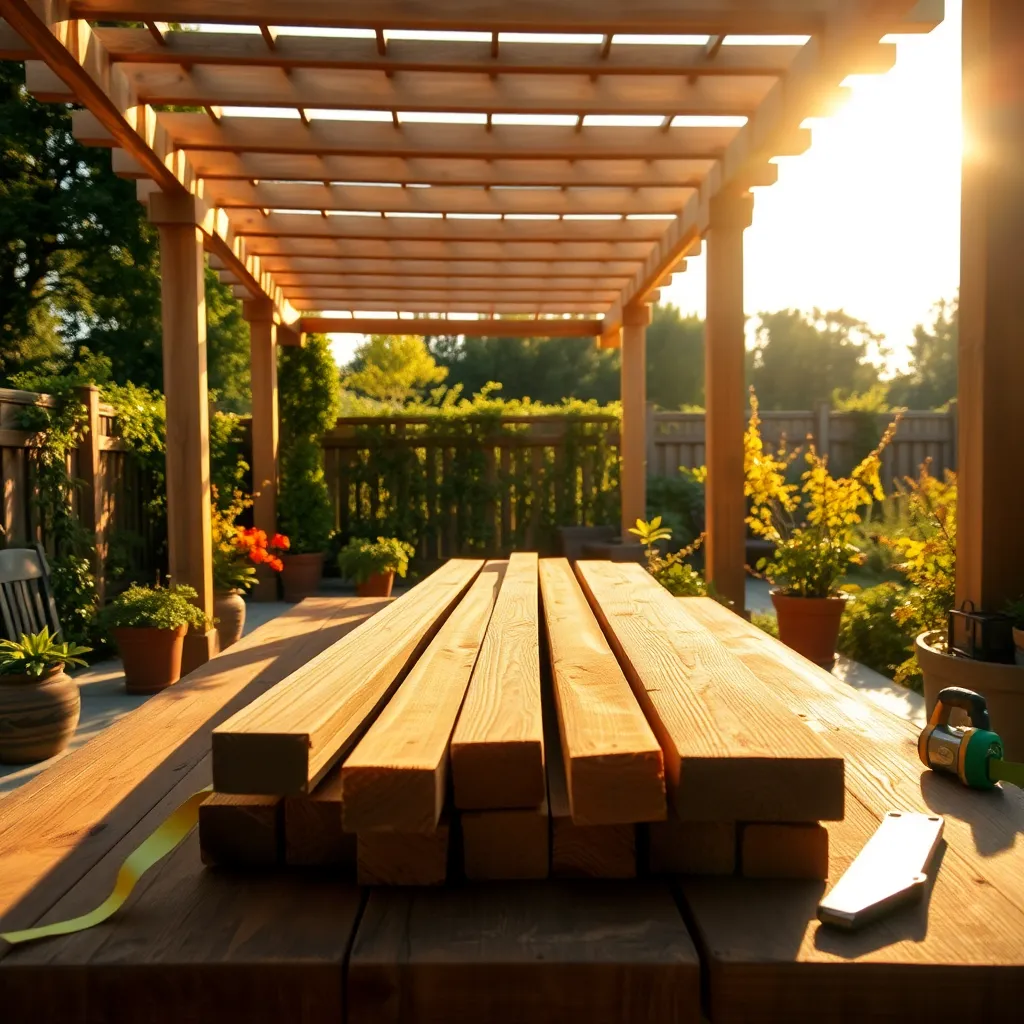
Once your pergola layout is marked, it’s time to cut and prepare your wooden beams for construction. Start by selecting high-quality, weather-resistant wood such as cedar, redwood, or pressure-treated pine, which are ideal for outdoor structures. Measure your beams carefully, ensuring they match the dimensions required in your layout plan. This usually involves standard lengths of 8 to 12 feet, depending on your pergola’s design. Use a circular saw for precise cuts, and always wear protective gear like goggles and gloves for safety.
After cutting, prepare the beams by sanding down any rough edges to prevent splinters and ensure a smooth finish. This step is crucial for both aesthetics and safety, especially if the pergola will be a space for relaxation or entertaining. Consider pre-drilling holes for bolts and screws to prevent the wood from splitting during assembly. Advanced Tip: Apply a wood preservative or sealer to enhance the wood’s durability and resistance to weathering. This not only extends the lifespan of your pergola but also keeps it looking great for years to come.
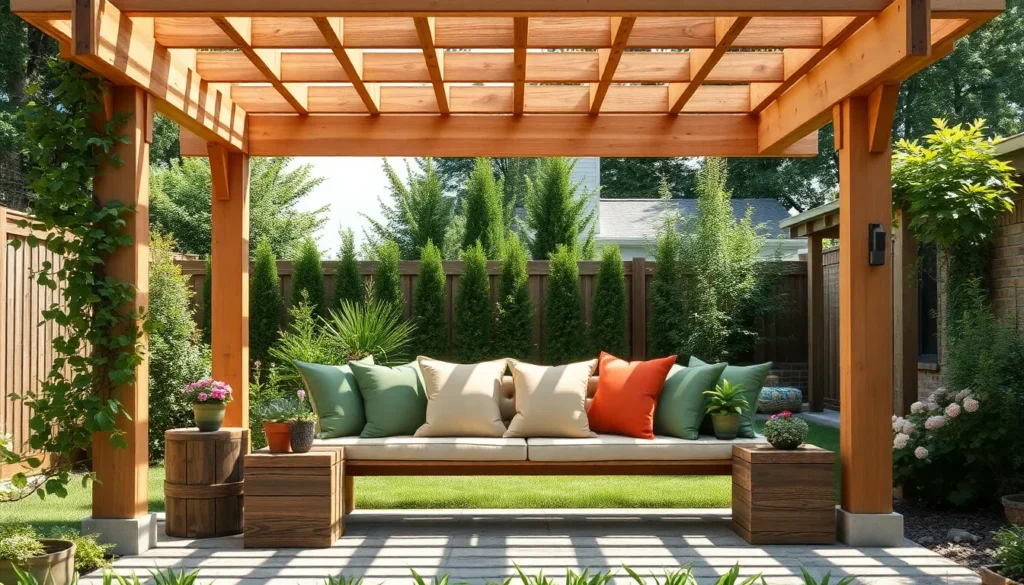
Assemble Pergola Frame Structure
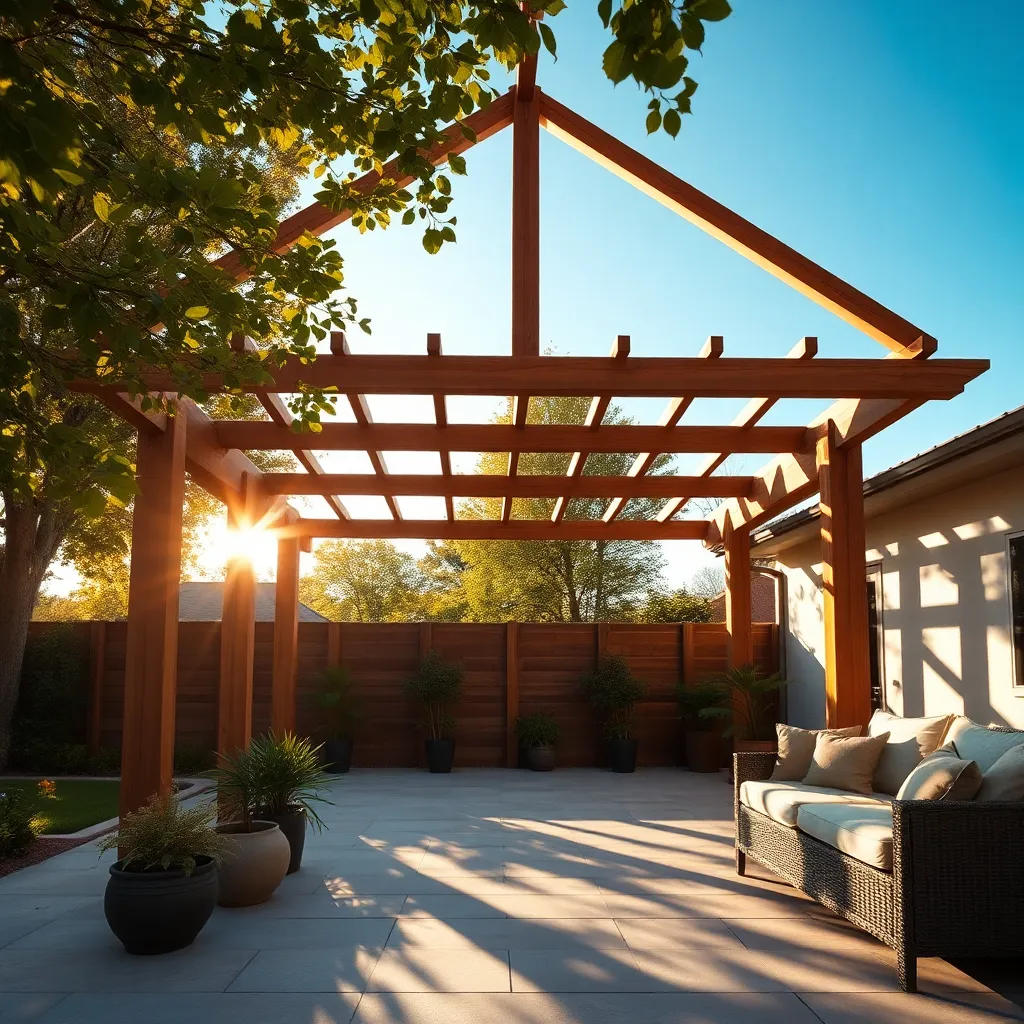
Once your beams are cut and ready, it’s time to start assembling the pergola frame structure. Begin by positioning the four corner posts, ensuring they are plumb and square. Use a level for accuracy, and anchor each post securely with concrete footings or metal post anchors to provide a sturdy base. For a standard pergola, consider using 6×6-inch posts for added strength and durability, especially in areas prone to strong winds.
Next, attach the main horizontal beams to the top of the posts. Use galvanized steel brackets and bolts for a secure connection that resists weathering. Ensure your beams are level and evenly spaced, typically 12-24 inches apart, depending on the design aesthetic you desire. For a more intricate look, consider notching beams to allow them to interlock, providing both structural integrity and an appealing design element. This step is crucial for creating the framework that will support the rest of your pergola structure.
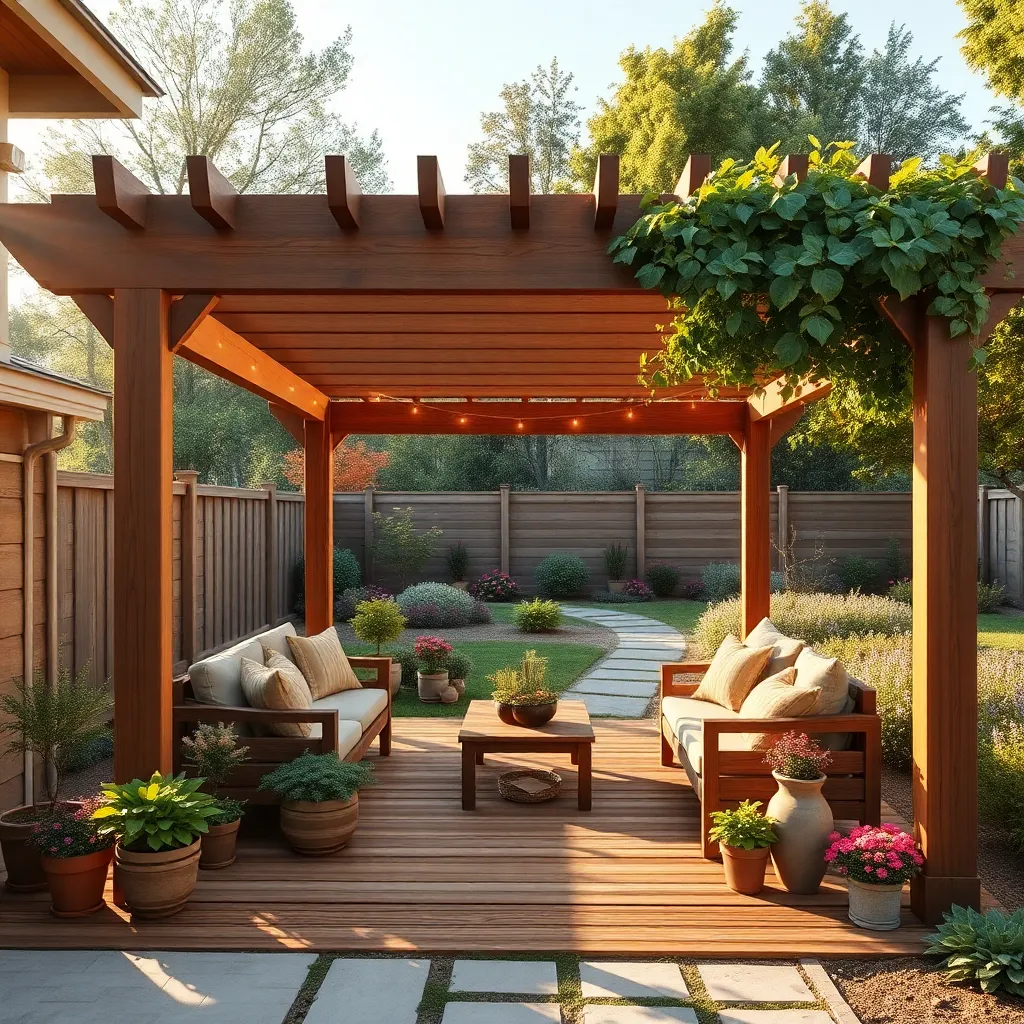
Secure Beams and Apply Finish
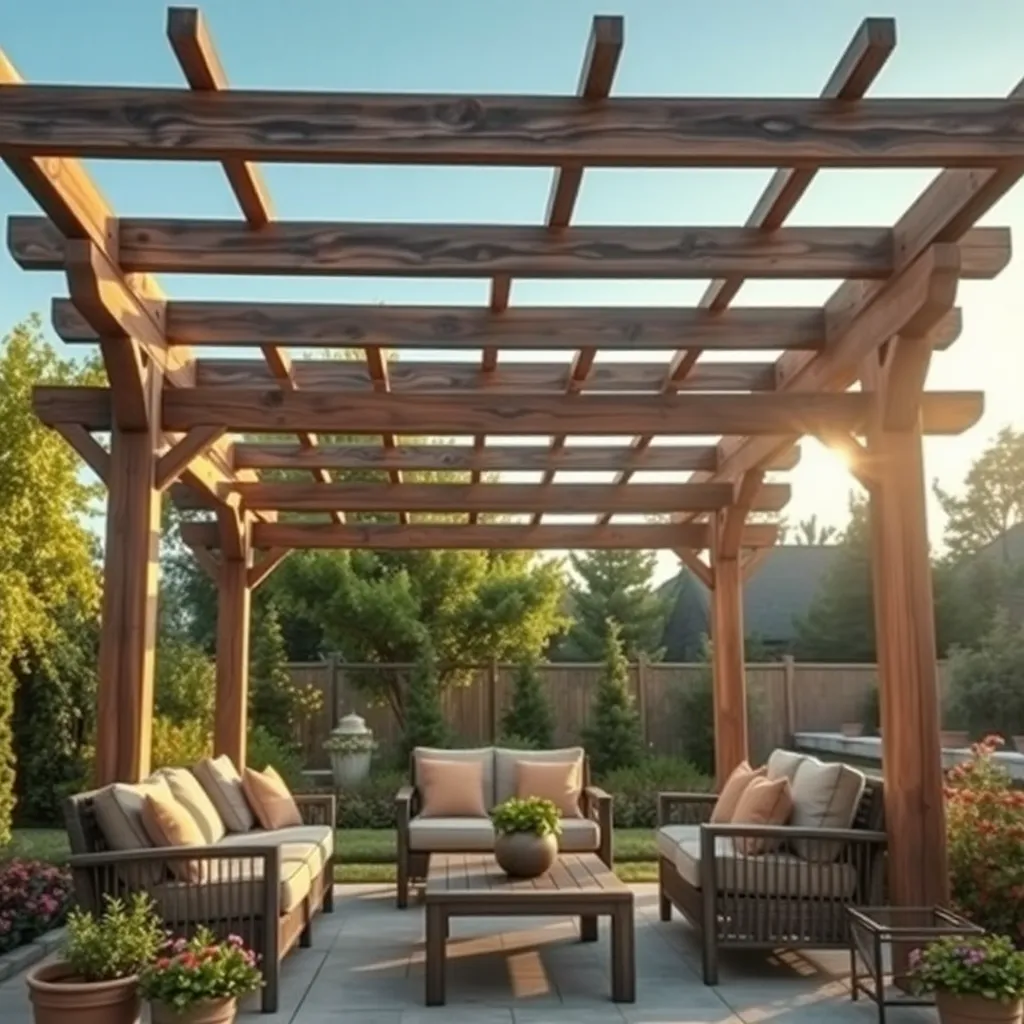
After assembling the pergola frame, securing the beams is your next crucial step. Use galvanized bolts and brackets to ensure the structure remains sturdy and resistant to weather conditions. For a standard 10×10 pergola, opt for 4×4 or 6×6 beams, which provide excellent support and aesthetic appeal. Beginners should focus on precision when drilling, ensuring each beam is level and properly aligned to prevent any shifts over time.
To protect your pergola and enhance its visual appeal, applying a finish is essential. Choose a weather-resistant stain or sealant to safeguard the wood from moisture and UV damage. For a more refined look, consider using a tinted stain that complements your outdoor space’s color scheme. Advanced gardeners might experiment with different finishes to achieve a rustic or modern look, remembering to reapply every couple of years to maintain the wood’s integrity and appearance.
Conclusion: Creating Beautiful Outdoor Spaces
In building a DIY pergola with wood, we explored five key relationship concepts that resonate beyond the project itself: communication, teamwork, patience, problem-solving, and shared vision. Communication forms the foundation, ensuring all voices are heard and understood. Teamwork emphasizes the strength of collaboration, while patience reminds us that great things take time and perseverance. Problem-solving encourages us to face challenges creatively, and a shared vision keeps partners aligned with common goals.
To put these concepts into action, why not plan a DIY project with your partner this weekend? It doesn’t have to be grand—start small and enjoy the process together. This hands-on experience can deepen your bond and reinforce these essential relationship skills.
Remember, the journey to a stronger relationship is ongoing. Save or bookmark this article as a resourceful guide for future endeavors and a reminder of the values that fortify your partnership. As you continue to nurture these principles, you pave the way for lasting relationship success. Embrace each step with enthusiasm, and watch as your relationship flourishes with every shared project and heartfelt conversation.