Transforming your backyard into a personal oasis doesn’t require a hefty budget or professional skills. Whether you’re a first-time DIY enthusiast eager to tackle a new project or a seasoned homeowner looking to elevate your outdoor space, constructing a wooden pergola could be your perfect next step. Not only does a pergola add architectural charm and a cozy retreat to any garden, but it also becomes a canvas for your creative expressions, marrying function with flair.
In this article, you’ll discover step-by-step guidance on building a beautiful wooden pergola that suits your style and space. From selecting the right materials to understanding the nuances of design and construction, we’ll empower you with the knowledge to confidently embark on this rewarding project. Get ready to embrace the satisfaction of crafting a stunning outdoor structure, all while enhancing your living environment with a touch of personalized elegance.
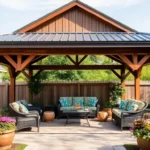
Plan Pergola Design and Dimensions
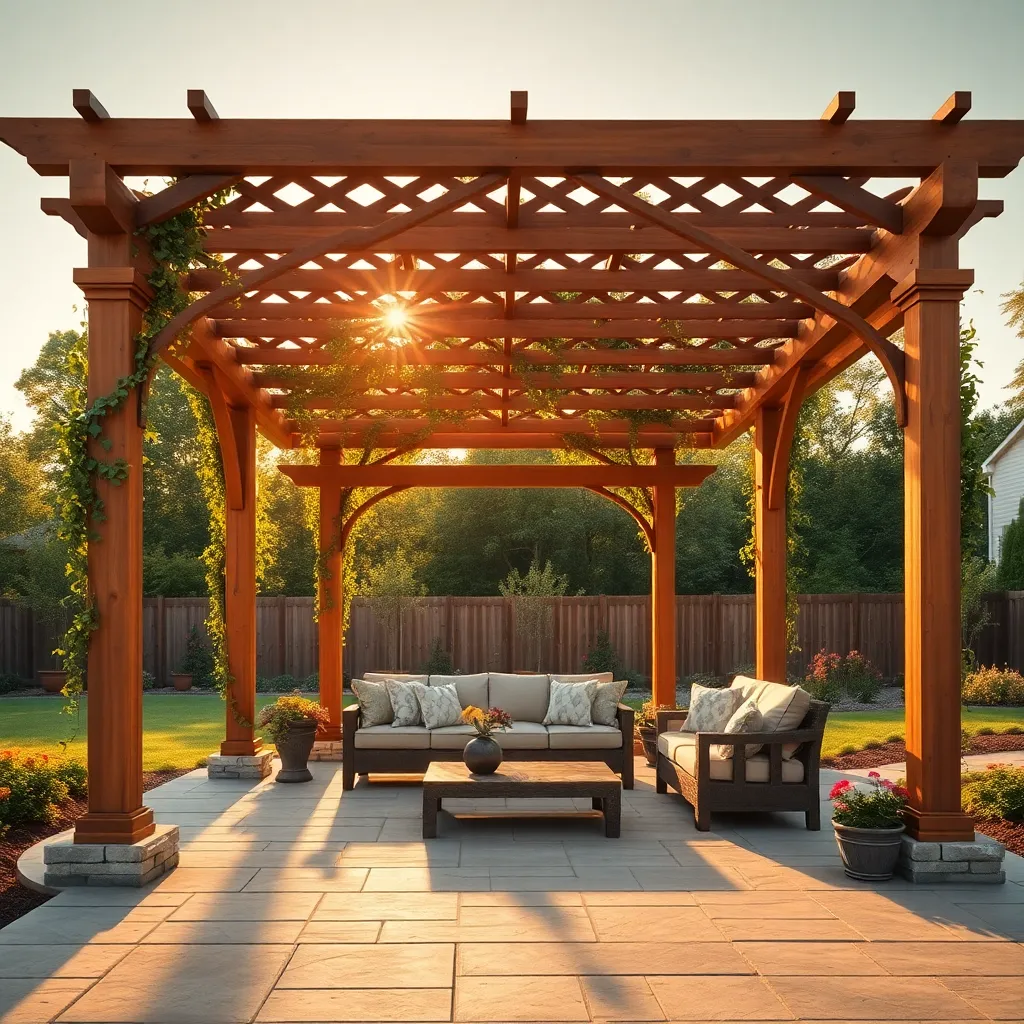
When planning your pergola design, consider the purpose and location of the structure in your outdoor space. A standard pergola is typically 8 to 12 feet tall, providing ample headroom while ensuring stability. For a more intimate setting, you might opt for a lower height. Choose durable materials like pressure-treated wood or cedar, which are resistant to weather and insects. If you’re a beginner, stick to a simple rectangular design, but for a more advanced project, consider adding decorative elements such as latticework or curved beams.
Ensure your pergola’s dimensions complement your outdoor area—measure the available space and allow for at least 2 feet of clearance on each side for safety and comfort. It’s crucial to anchor your pergola securely to the ground using concrete footings, particularly if you live in a windy area. This not only stabilizes the structure but also extends its lifespan. For those looking to personalize their pergola, consider adding retractable canopies or climbing plants to enhance both aesthetics and shade. These features add both form and function, making your pergola a perfect outdoor retreat.
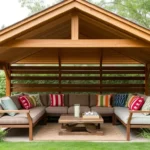
Choose Quality Wood Materials
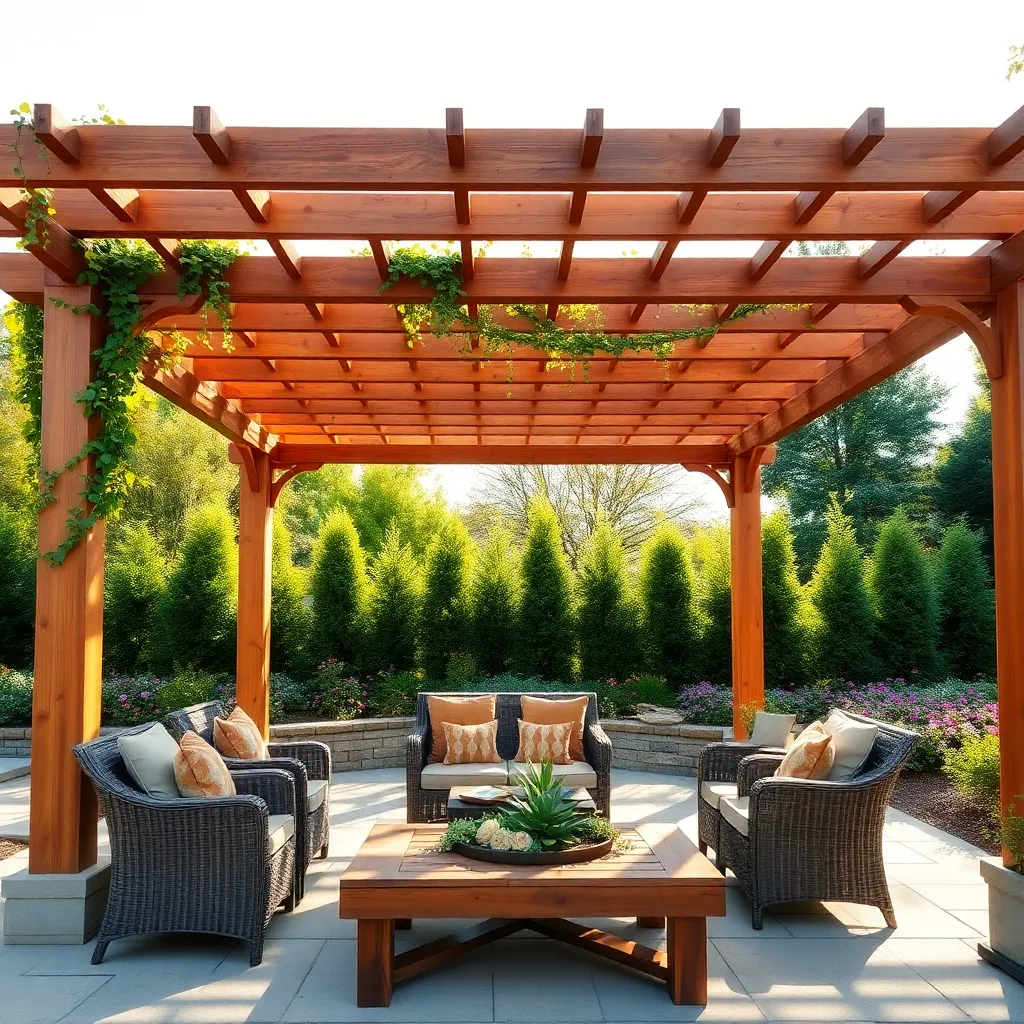
When building a DIY pergola, choosing the right wood is crucial for both durability and aesthetic appeal. Opt for pressure-treated lumber if you’re seeking an economical and rot-resistant option. For those willing to invest a bit more, woods like cedar and redwood are excellent choices due to their natural resistance to decay and insects, plus they age beautifully over time. Ensure the wood is straight and free of significant knots or cracks, as these can compromise the structure’s integrity.
Consider using 6×6 posts for the main supports of your pergola, as they provide a sturdy foundation and can endure various weather conditions. For the beams and rafters, 2×6 or 2×8 boards are generally recommended to support the structure effectively. To enhance longevity, apply a high-quality wood sealant or stain, especially if you live in an area with harsh weather conditions. This not only protects the wood but also enhances its natural beauty, ensuring your pergola remains a striking feature in your garden for years to come.
Prepare and Cut Wooden Beams
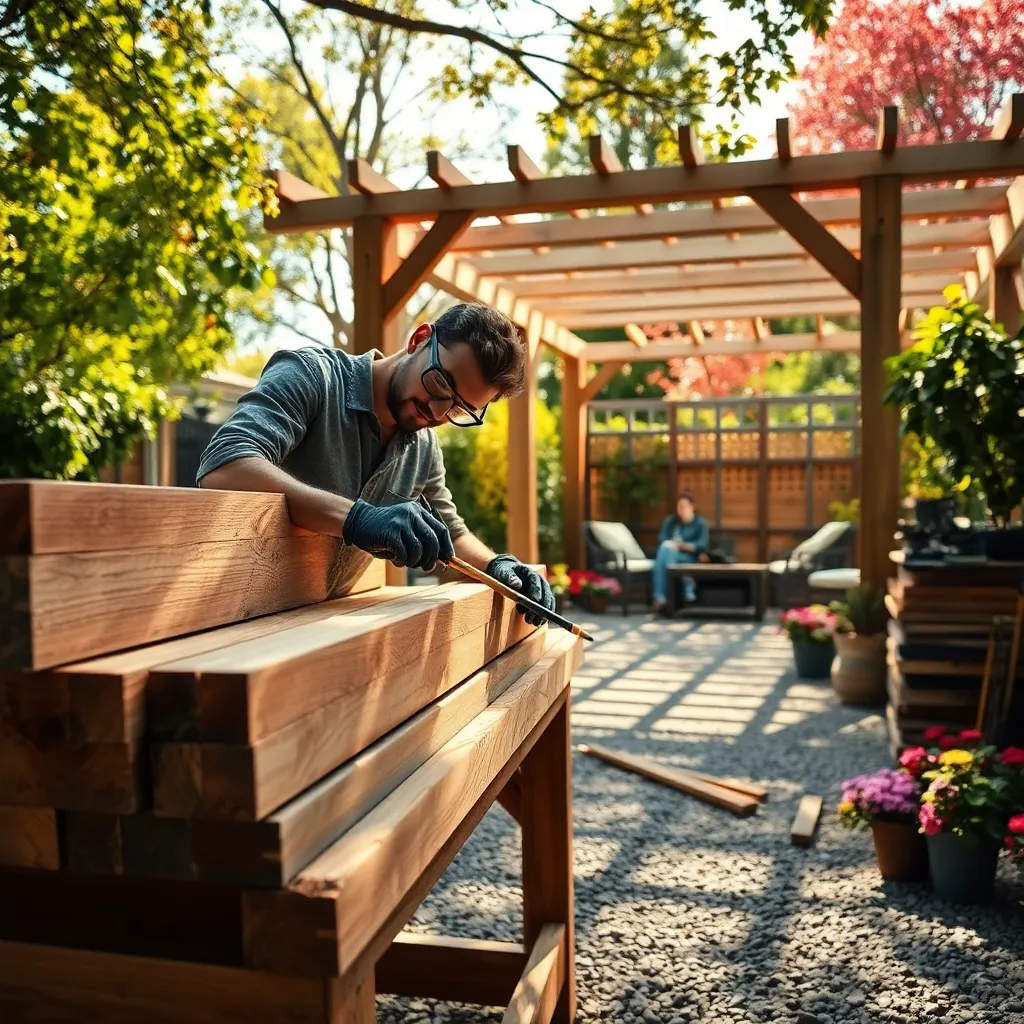
Once you’ve chosen the right wood for your pergola, it’s time to prepare and cut the wooden beams. Start by measuring the dimensions of your pergola to determine the exact lengths needed for each beam. For a standard design, consider using 4×4 posts for the vertical supports and 2×6 planks for crossbeams. Ensure all cuts are precise to guarantee a sturdy structure, and use a circular saw for clean edges. Sand down the cut surfaces to avoid splinters and ensure a professional finish.
Advanced builders might opt to add decorative cuts like chamfered edges or decorative ends to the beams for a personalized touch. Before cutting, lay out the beams on the ground to visualize the design and ensure all measurements are correct. Label each piece to avoid confusion during assembly. Remember, accurate preparation will save time and frustration later in the process, leading to a more enjoyable building experience and a pergola you’ll be proud of.
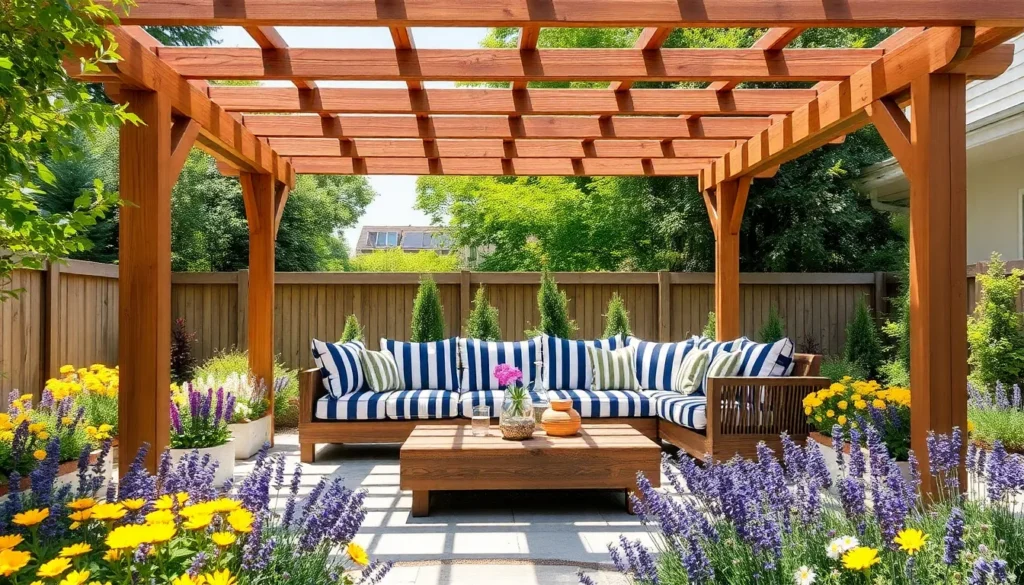
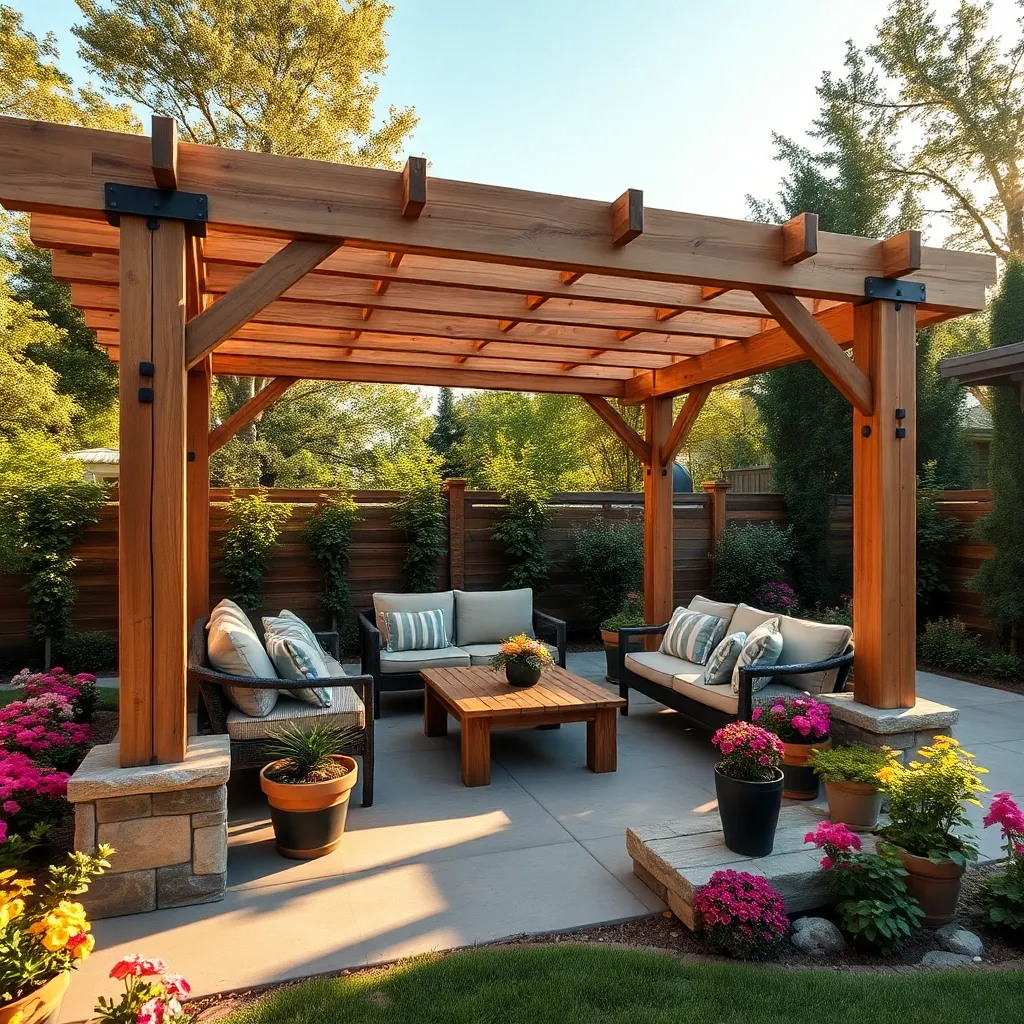
Assemble Pergola Frame Structure

After preparing and cutting your wooden beams, it’s time to assemble the pergola frame. Start by laying out the four main corner posts, which should be a minimum of 4×4 inches in thickness for stability. Position these posts in their designated spots, ensuring they’re level and square. Use a post-hole digger to secure each post in the ground, ideally at least 2 feet deep, and fill with concrete for added support. For a professional touch, consider using galvanized steel brackets to hold the beams in place at the top, which will add to the structure’s strength and longevity.
Once the posts are secure, connect them with the horizontal beams, which will form the top of your pergola. These beams can be 2×6 or 2×8 inches, depending on your design preference and the size of your structure. For a more intricate design, incorporate notched joints where the beams intersect, providing both aesthetic appeal and increased stability. Ensure all beams are aligned correctly using a carpenter’s square and temporarily clamp them in place before securing with bolts. Finally, step back to ensure the frame is symmetrical and aligned before proceeding to the next stage. This careful assembly process will create a sturdy foundation for your outdoor oasis.
Secure Pergola with Anchors
To ensure your pergola withstands the elements, securely anchoring it is crucial. Begin by selecting the right anchors for your foundation type. If you’re installing on a concrete patio, use concrete wedge anchors for a stable hold. For soil or grass installations, ground screws or metal post anchors are recommended. Each type requires precise drilling and leveling to guarantee a solid and lasting structure. This foundational step is essential, especially in windy regions, where extra stability is needed.
Consider adding cross-bracing to enhance your pergola’s sturdiness. This involves installing diagonal braces between the posts and beams, which can significantly reduce sway and movement. For an extra touch of design, choose braces that complement the wood’s finish or add decorative curves. Always use galvanized or stainless steel hardware to prevent rust and corrosion, ensuring your pergola remains durable and visually appealing for years. These small details not only bolster the structure but also add elegance to your outdoor space.
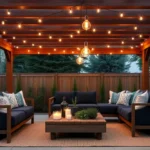
Conclusion: Creating Beautiful Outdoor Spaces
In building your DIY pergola, you’ve not only crafted a beautiful structure but also reinforced five key relationship concepts: collaboration, patience, communication, trust, and shared goals. Collaboration was at the heart of this project, teaching you the power of working together. Patience was honed as you measured twice and cut once, a vital skill when navigating the ebbs and flows of any relationship. Communication was key, ensuring everyone was on the same page, from planning to execution. Trust was built as you relied on each other’s skills and insights. Finally, shared goals, like the vision of your completed pergola, remind us of the importance of having common dreams in relationships.
As your actionable next step, take a moment with your partner or loved ones to discuss a new shared goal or project. This can strengthen your bond and provide a fresh sense of purpose.
Remember, successful relationships are built with intention and care. Bookmark this article to revisit these concepts whenever you need a reminder. Your journey towards a more connected and fulfilling relationship continues with every choice you make together. Embrace this path with optimism, knowing that each step fortifies the foundation of your shared future.