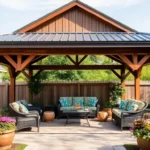
Transforming your backyard into a cozy retreat doesn’t have to be a daunting task or break the bank. Whether you’re a DIY novice or a seasoned home improvement enthusiast, covered patio kits offer an accessible way to enhance your outdoor space without the hassle of starting from scratch. These kits cater to every budget and style, ensuring that anyone can enjoy a comfortable, shaded sanctuary right at home.
In this article, you’ll discover how to select the perfect DIY covered patio kit that aligns with your vision and financial plan. We’ll guide you through the diverse options available, from budget-friendly basics to more luxurious setups, offering practical tips and insights to help you make informed decisions. Embrace the joy and satisfaction of creating a personalized outdoor haven that invites relaxation and enjoyment for years to come.
Understanding Patio Kit Essentials
When embarking on a DIY covered patio project, understanding the essentials of a patio kit is crucial for success. Start by selecting the right materials: aluminum and wood are popular choices due to their durability and aesthetic appeal. Aluminum is lightweight and resistant to rust, making it ideal for areas with high humidity, while wood offers a classic look that can be easily customized with stains or paints. As you plan your design, consider incorporating elements like adjustable louvers for light control or integrated gutters to handle rainwater efficiently.
For a seamless installation, ensure your patio kit includes all necessary components, such as pre-drilled holes and detailed instructions. Beginners should look for kits with snap-together parts to simplify the assembly process. For those with more experience, consider adding advanced features like solar-powered LED lighting or retractable shades for enhanced functionality. Optimal dimensions depend on your space, but a typical patio can range from 10×10 feet to 12×16 feet, providing ample room for outdoor furniture and activities. Remember to check local building codes and permits to ensure compliance and safety.
Choosing Budget-Friendly Materials
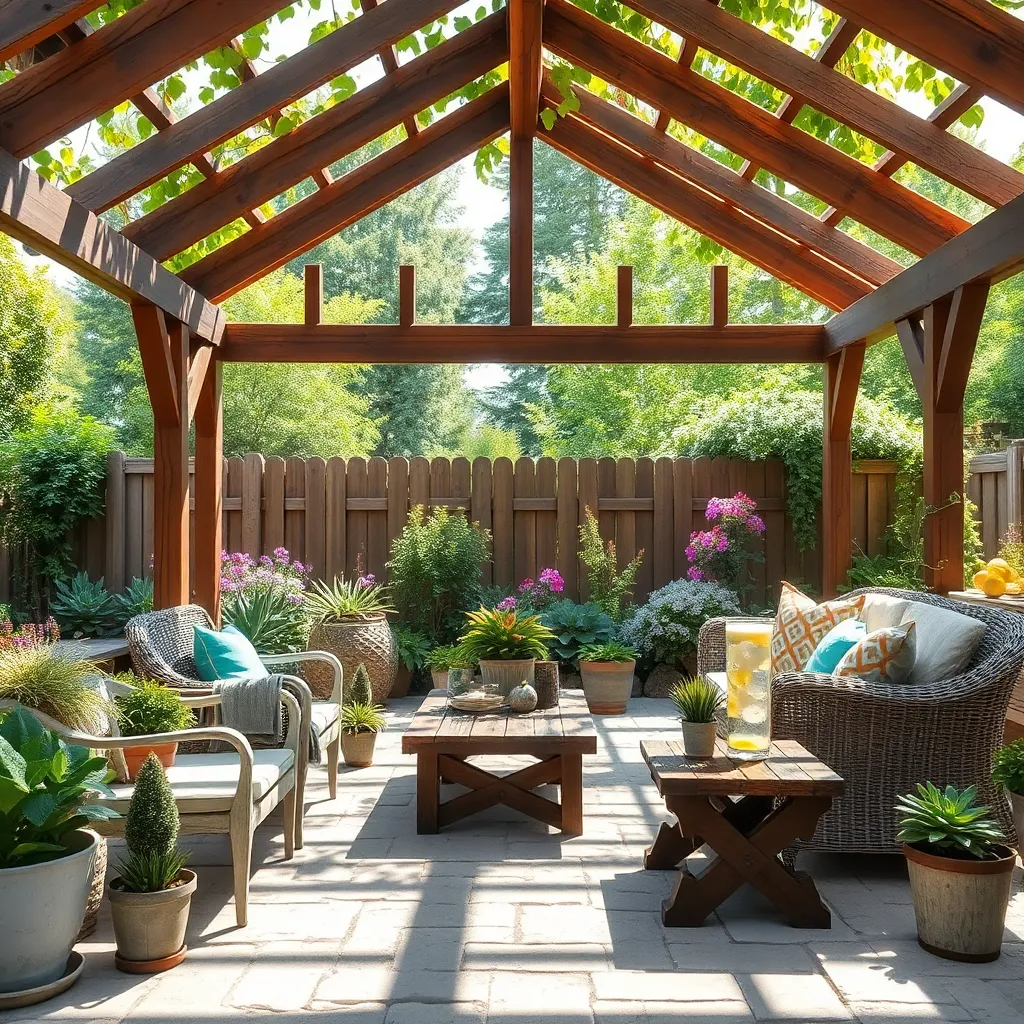
When choosing budget-friendly materials for your DIY covered patio, consider options like pressure-treated lumber, which is affordable and resistant to the elements. For the roof, using corrugated metal or polycarbonate panels can offer a cost-effective solution that provides durability and weather protection. These materials are widely available at local hardware stores and are generally easy to work with, making them ideal for both beginners and seasoned DIY enthusiasts.
Another tip is to look for reclaimed or recycled materials, which can significantly cut costs while adding a unique character to your patio. Consider using recycled wood pallets for decking or exploring online marketplaces for second-hand materials. For those with more advanced skills, incorporating decorative elements like lattice panels or hanging planters made from inexpensive materials can enhance your patio’s aesthetic without breaking the bank. Always ensure that any materials you choose are suitable for outdoor use to maximize longevity.
Step-by-Step Assembly Guide
To start assembling your DIY covered patio kit, first lay out all the components to ensure you have everything needed. Organize materials by type, such as beams, posts, and hardware, to streamline the assembly process. For beginners, it’s crucial to follow the instruction manual closely, as each kit can have unique assembly requirements. Use a level and measuring tape to ensure precision, as these tools are vital for creating a stable and safe structure.
While basic kits come with all necessary parts, consider upgrading with additional design elements like decorative brackets or integrated lighting for a personalized touch. Ensure you’re using weather-resistant materials, like treated wood or powder-coated metal, to maximize the longevity of your shelter. Advanced builders can modify kits by adjusting dimensions to better fit their space or by adding custom features like retractable shades. Remember, patience and attention to detail are key; take your time to create a functional and inviting outdoor retreat.
Enhancing Patio Design on a Dime
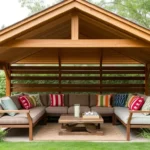
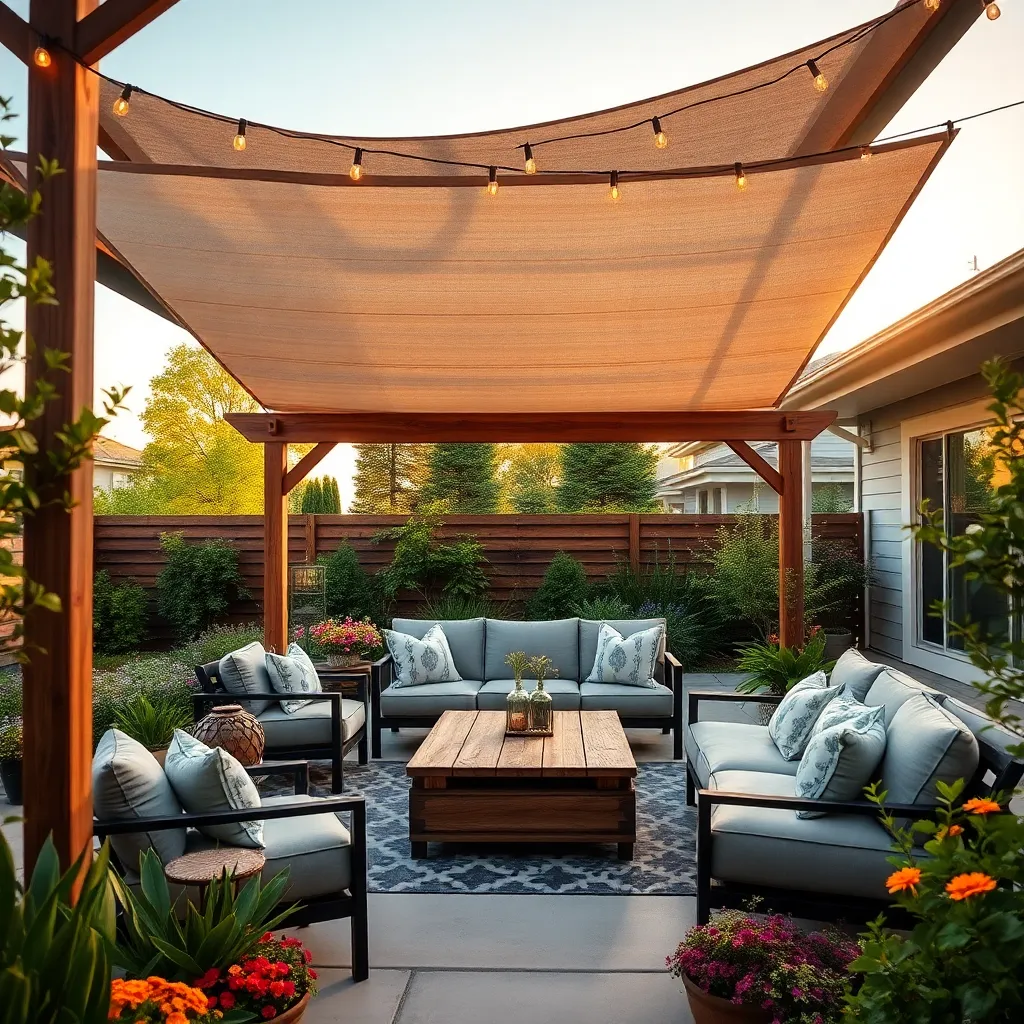
Transforming your patio into a chic retreat doesn’t have to break the bank. Start by considering materials like **bamboo or reclaimed wood** for an eco-friendly and cost-effective approach to your covered patio. These materials not only add a natural, rustic charm but are also relatively easy to install for the DIY enthusiast. Opt for **lightweight, weather-resistant fabrics** to create breezy drapes or awnings—perfect for adding a touch of elegance while providing shade and privacy.
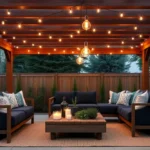
Incorporate versatile design elements that can be easily updated with the seasons. Consider using **modular furniture** that can be rearranged or stored away easily, maximizing space and functionality. For a more advanced touch, add **solar-powered string lights** to illuminate the space without increasing your electric bill. These small, energy-efficient accents can dramatically enhance the ambiance without requiring complex installation or wiring. By blending these practical tips with your personal style, you’ll create a welcoming outdoor area that feels like an extension of your home.
Maximizing Comfort with Accessories
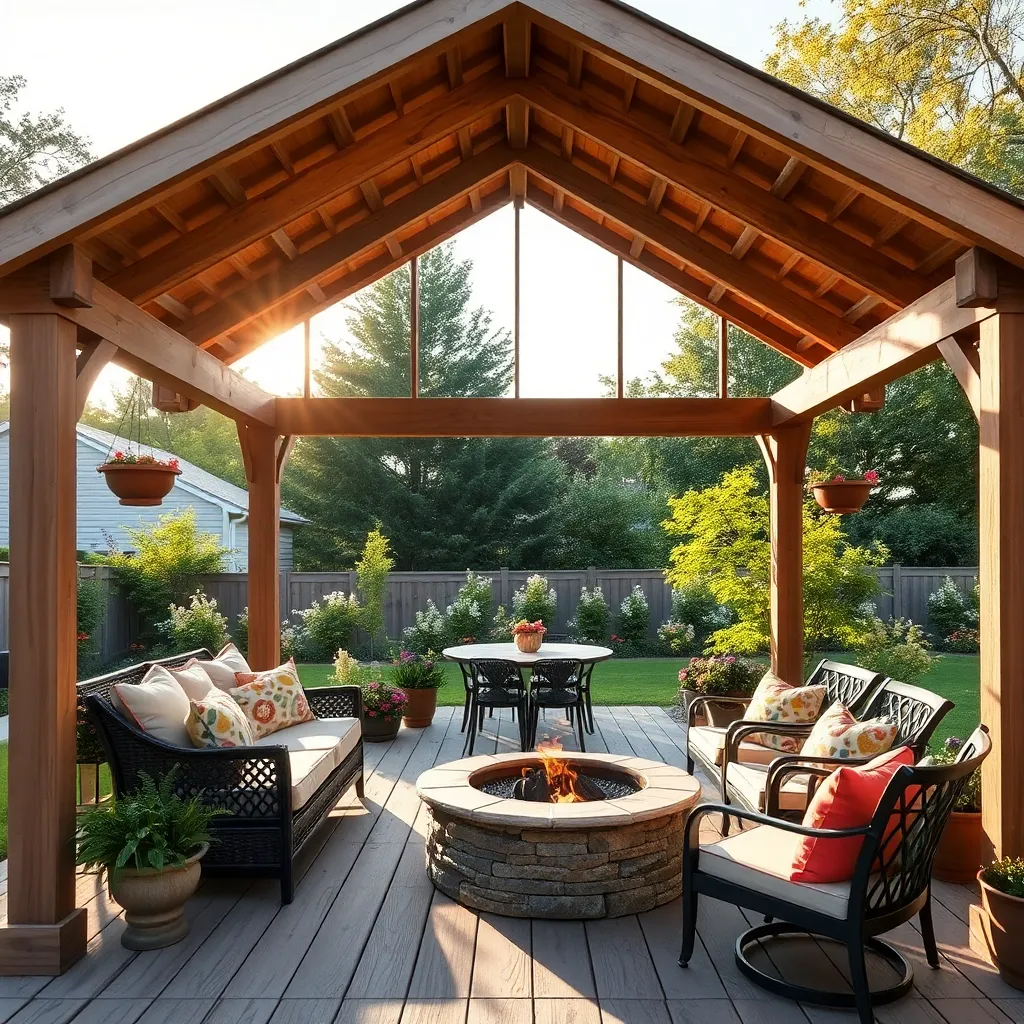
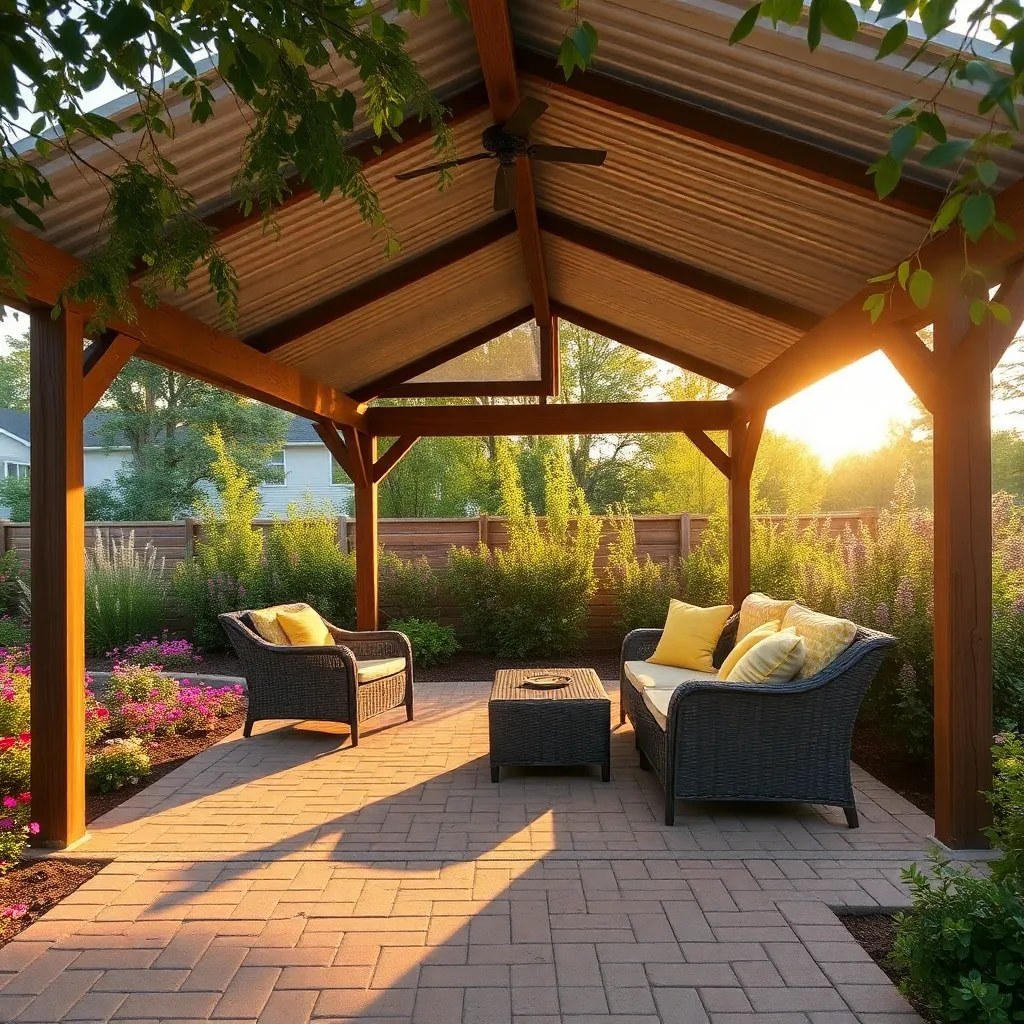
To maximize comfort in your DIY covered patio, consider adding a range of multifunctional accessories. Start with durable outdoor cushions made from weather-resistant materials like Sunbrella fabric to withstand the elements. Adding a mix of textures with throw pillows and blankets can elevate the comfort level while providing a cozy aesthetic. For lighting, string lights or solar-powered lanterns create ambiance and extend usability into the evening. If you want to go a step further, install a ceiling fan to enhance airflow during warm months, ensuring you can enjoy your patio regardless of the season.
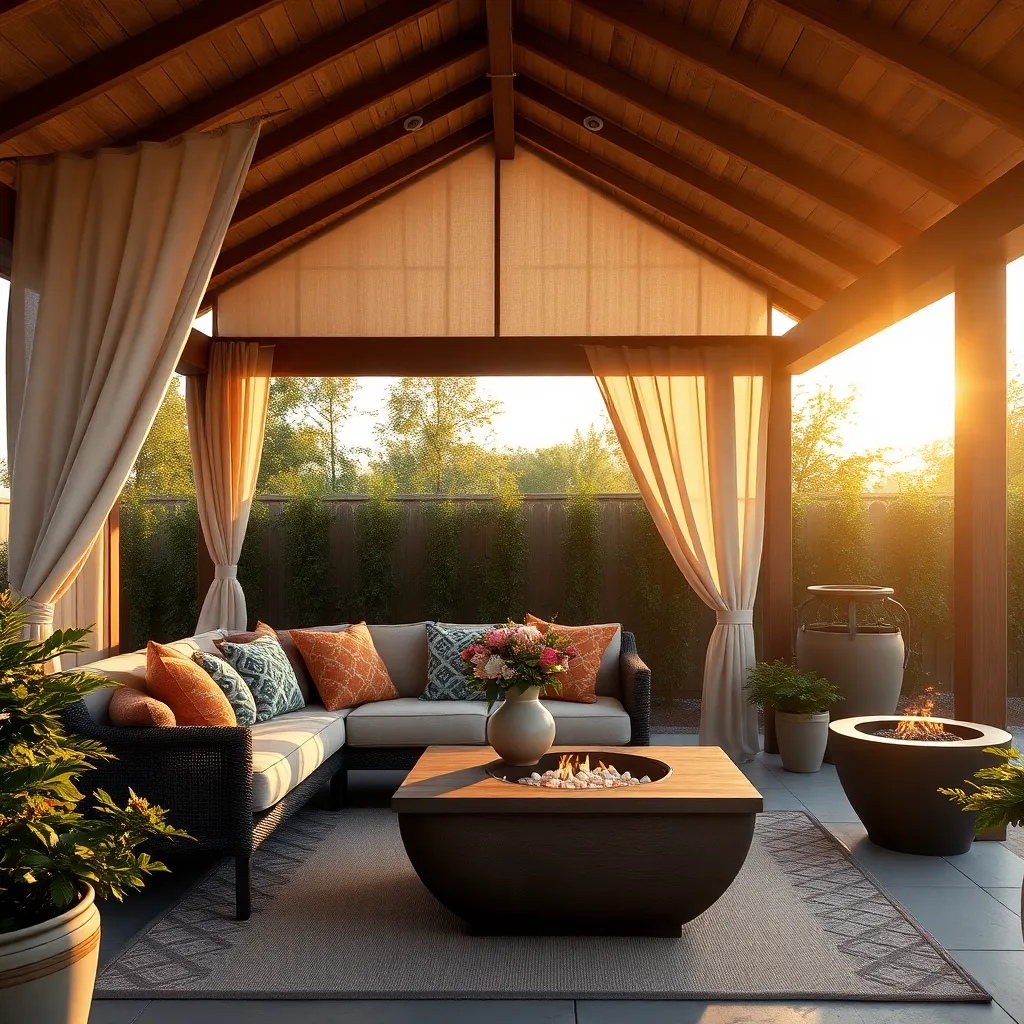
Incorporating flexible furniture arrangements can also significantly boost comfort and functionality. Modular furniture sets allow you to reconfigure seating arrangements to suit different occasions, from intimate gatherings to larger parties. Consider a storage bench or ottoman to keep essentials like games and extra throws within easy reach, combining practicality with style. To shield against sun and rain, retractable awnings or roll-down shades offer adjustable coverage, enhancing comfort without sacrificing natural light. These thoughtful additions ensure your patio remains a welcoming retreat all year round.
Conclusion: Creating Beautiful Outdoor Spaces
In wrapping up our exploration of how DIY covered patio kits can enhance your outdoor space and relationships, we’ve delved into five key concepts: the importance of shared projects in building connection, the role of budget-friendly solutions in reducing stress, the joy of creating a personalized space together, the satisfaction of overcoming challenges as a team, and the long-term benefits of nurturing your relationship with care and creativity. These insights not only highlight the value of collaboration but also emphasize the joy that comes from making your house feel more like a home.
Now, it’s time to take the next step in fortifying your bond—choose a patio project that suits your budget and start building this weekend. As you embark on this journey, remember that each nail hammered and each beam lifted is a testament to your shared commitment.
Don’t forget to bookmark this article for future inspiration and guidance. Your journey towards relationship success is ongoing, and equipped with the right tools and mindset, you’re just a project away from discovering deeper connection and happiness. Together, you can create not just a patio, but a shared future filled with warmth and love.