Imagine stepping into a backyard oasis where a beautifully crafted covered patio invites you to unwind in comfort, no matter the weather. Whether you’re a seasoned DIY enthusiast or just beginning your journey into home improvement, creating a covered patio from scratch is an exciting project that can transform your outdoor space into a functional and stylish extension of your home. This is not just about adding structure; it’s about enhancing your lifestyle and maximizing the potential of your outdoor living area.
In this guide, we’ll walk you through the essential steps to design and build your very own covered patio. You’ll learn how to select the right materials, navigate structural considerations, and incorporate design elements that reflect your personal style. By the end, you’ll have the knowledge and confidence to create a welcoming outdoor retreat that’s perfect for entertaining or simply relaxing with a good book. Let’s embark on this rewarding venture together and unlock the true potential of your backyard.
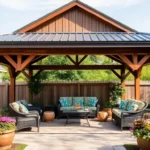
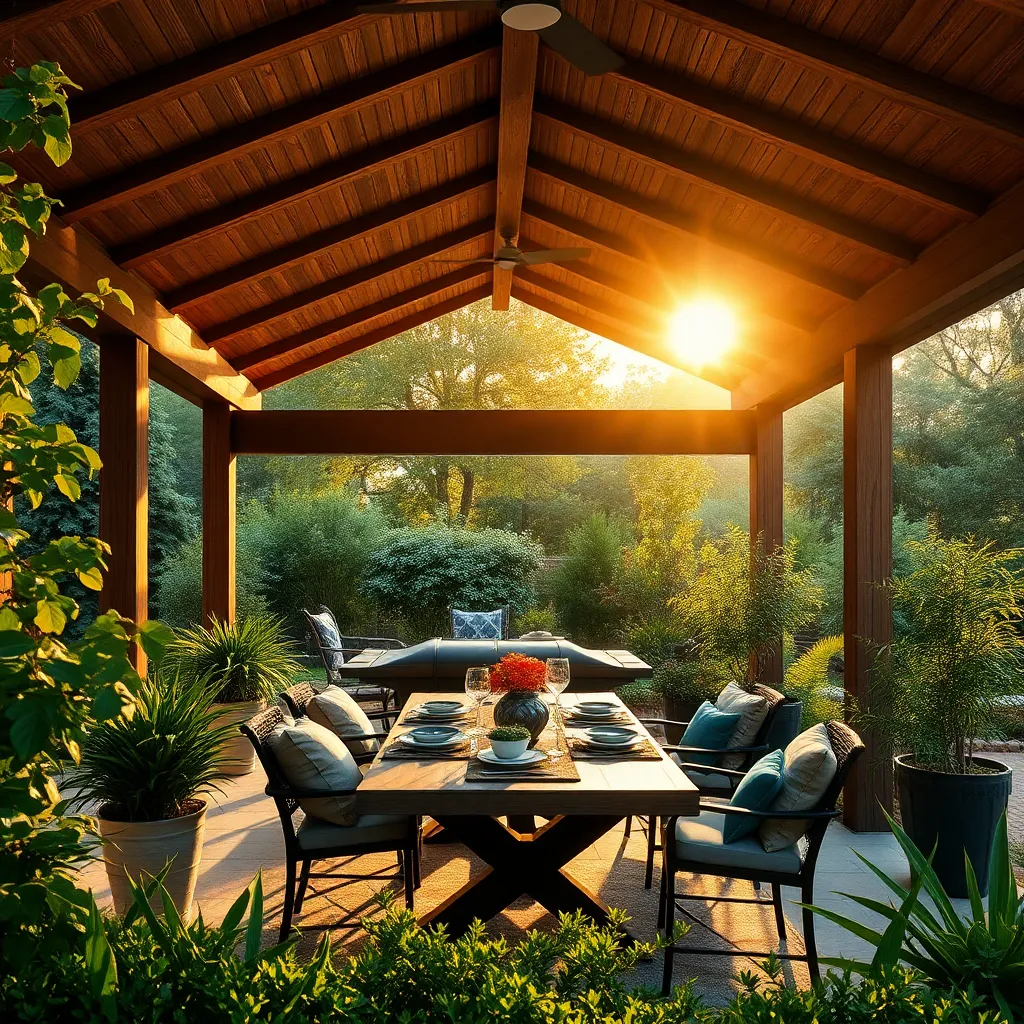
Design Patio Layout and Plan
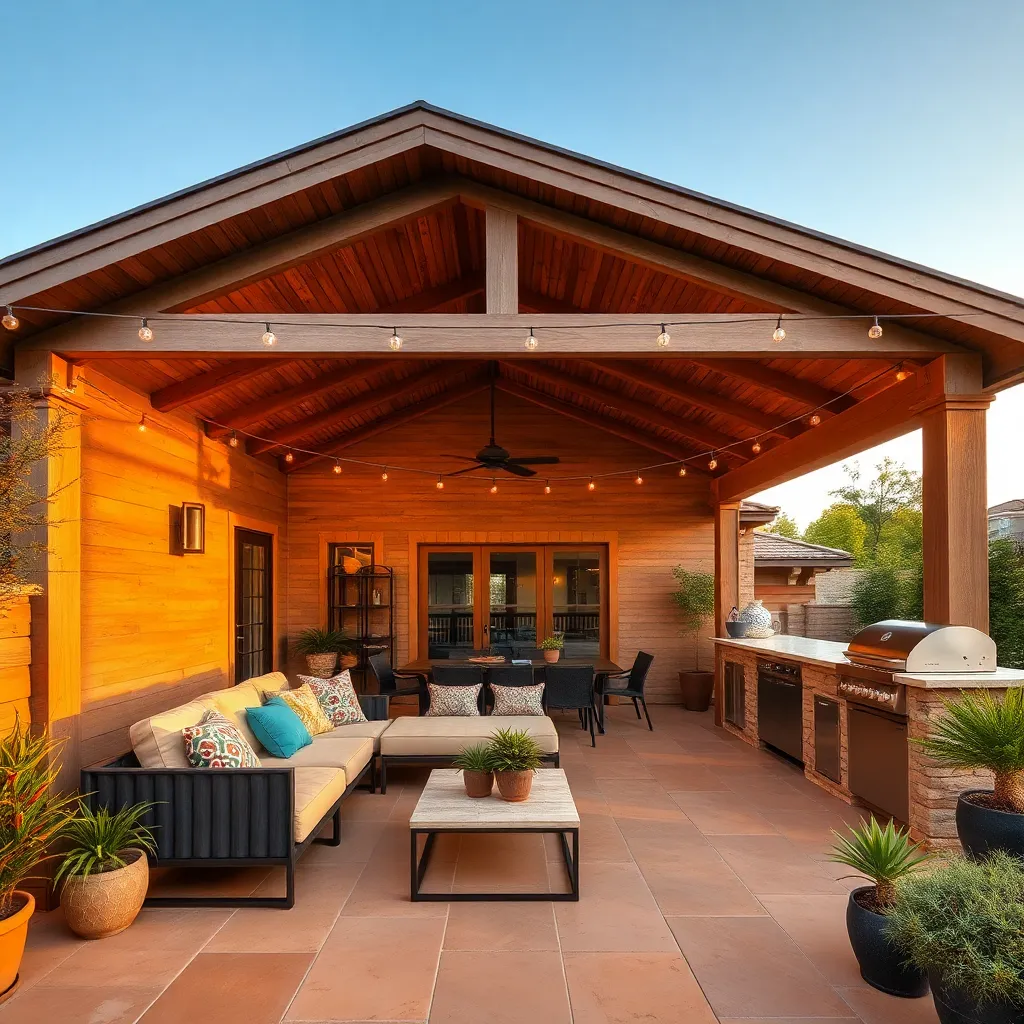
Designing your patio layout starts with considering the purpose and size of your space. Begin with a simple sketch to visualize your ideas, taking note of the sun’s path and any existing landscape features. For a comfortable and functional area, plan for a minimum of 150 square feet for seating and movement. Choose durable materials like weather-resistant wood or composite decking for the floor, and aim for a level surface to ensure stability.
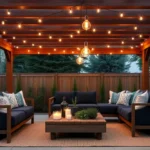
Incorporate essential design elements such as lighting, furniture, and greenery for a cohesive look. Outdoor LED lights can enhance evening ambiance while being energy-efficient. Opt for modular furniture pieces that can be easily rearranged or stored, and use potted plants or vertical gardens to add a touch of nature without taking up floor space. For advanced projects, consider integrating built-in seating or a fire pit, but ensure these elements align with local building codes and safety standards for a lasting and enjoyable outdoor retreat.
Gather Essential Tools and Materials
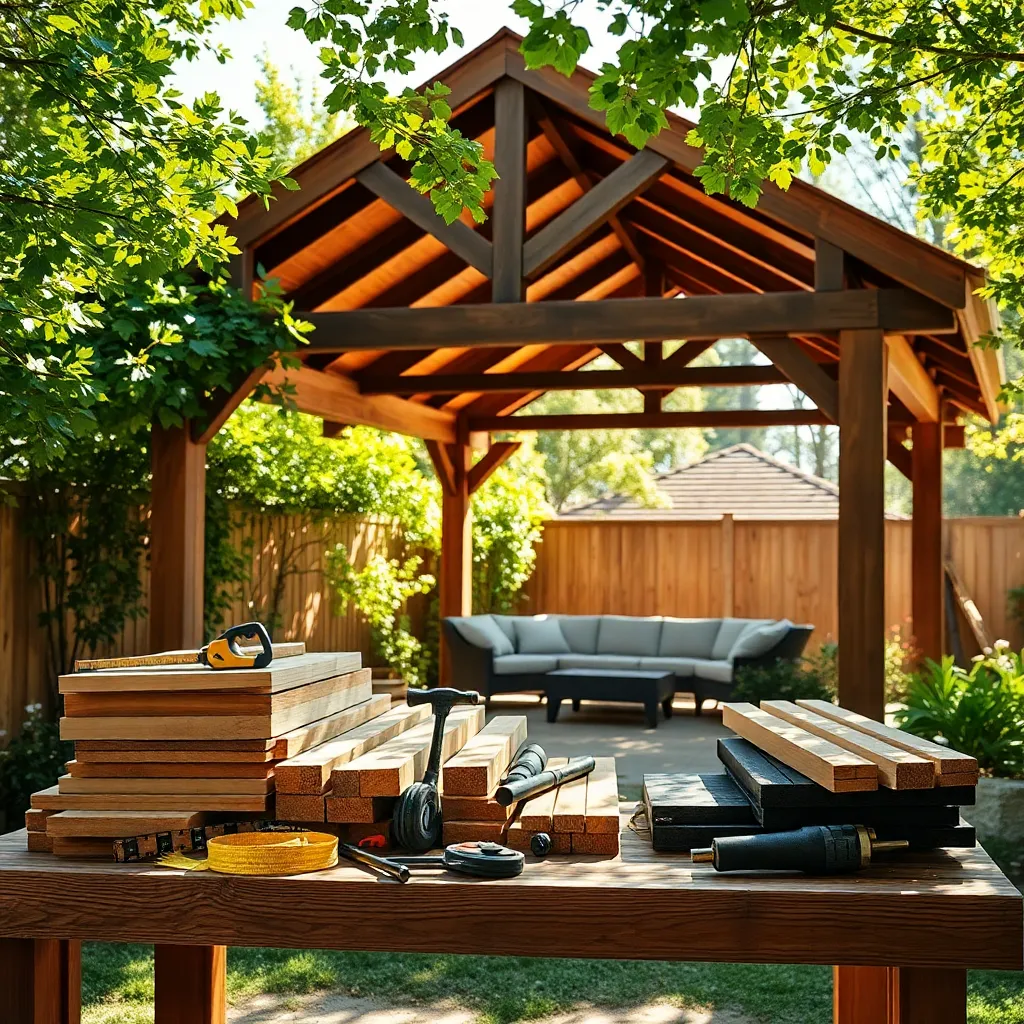
Before diving into construction, it’s crucial to gather the right tools and materials to ensure a smooth building process. Start with basic tools like a tape measure, level, and power drill, which are essential for precise measurements and sturdy assembly. Invest in quality materials such as pressure-treated lumber for framing and weather-resistant roofing materials to enhance durability and longevity. For beginners, consider using pre-cut wood to simplify the process, while experienced builders might prefer customizing cuts for a tailored fit.
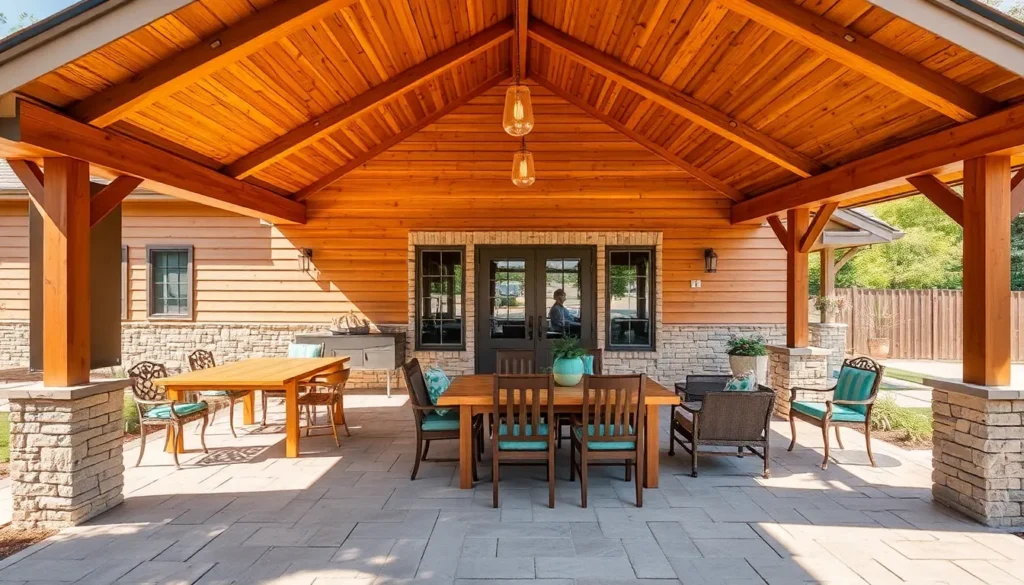
Additionally, think about incorporating design elements that complement your home’s architecture. Opt for sleek metal brackets and connectors to add both structural integrity and a modern touch to your patio. Don’t forget to plan for drainage, using gravel or a slight slope to prevent water pooling. Advanced builders can enhance their patio with built-in lighting or retractable shade options, adding both functionality and a touch of luxury. With the right preparation, creating a beautiful and lasting covered patio is within reach.
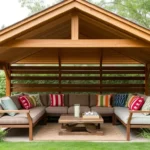
Construct Sturdy Support Frame
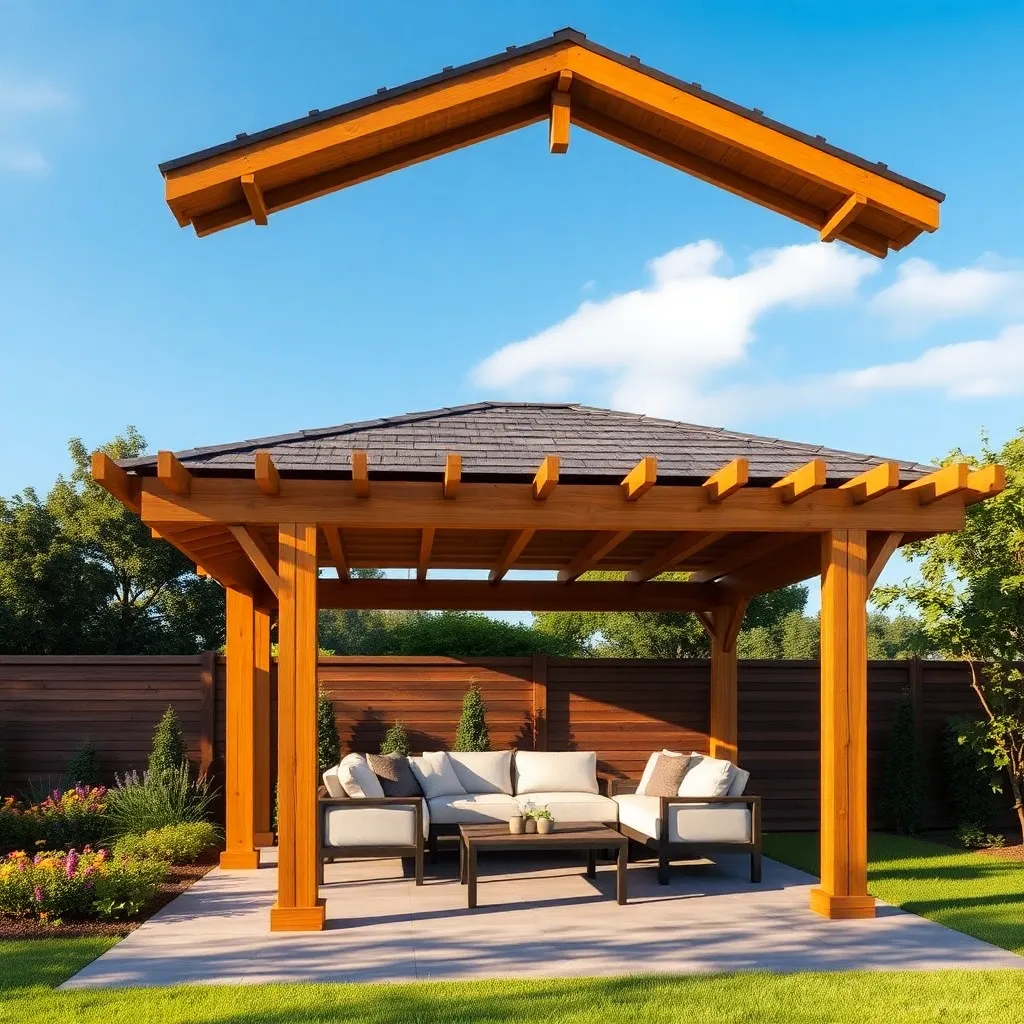
To construct a sturdy support frame for your covered patio, begin by selecting durable materials such as pressure-treated wood or galvanized steel, which resist weathering and ensure longevity. Use 4×4 or 6×6 posts for the vertical supports, spacing them evenly—typically every 6 to 8 feet—to provide adequate support for the roof. Ensure each post is level and anchored securely in concrete footings at least 12 inches deep to withstand varying weather conditions and maintain structural integrity.
Once your vertical supports are in place, install horizontal beams using galvanized steel connectors for added stability and to prevent corrosion. For a basic design, a single-layer beam will suffice, but consider adding double beams for extra strength, particularly if you plan to cover a larger area. Beginners should use a basic square or rectangular layout, while more advanced DIYers might explore complex designs like a pergola-style frame for enhanced aesthetics. Remember, precision in measuring and cutting is crucial for a balanced and visually appealing structure.
Install Durable Roofing Panels
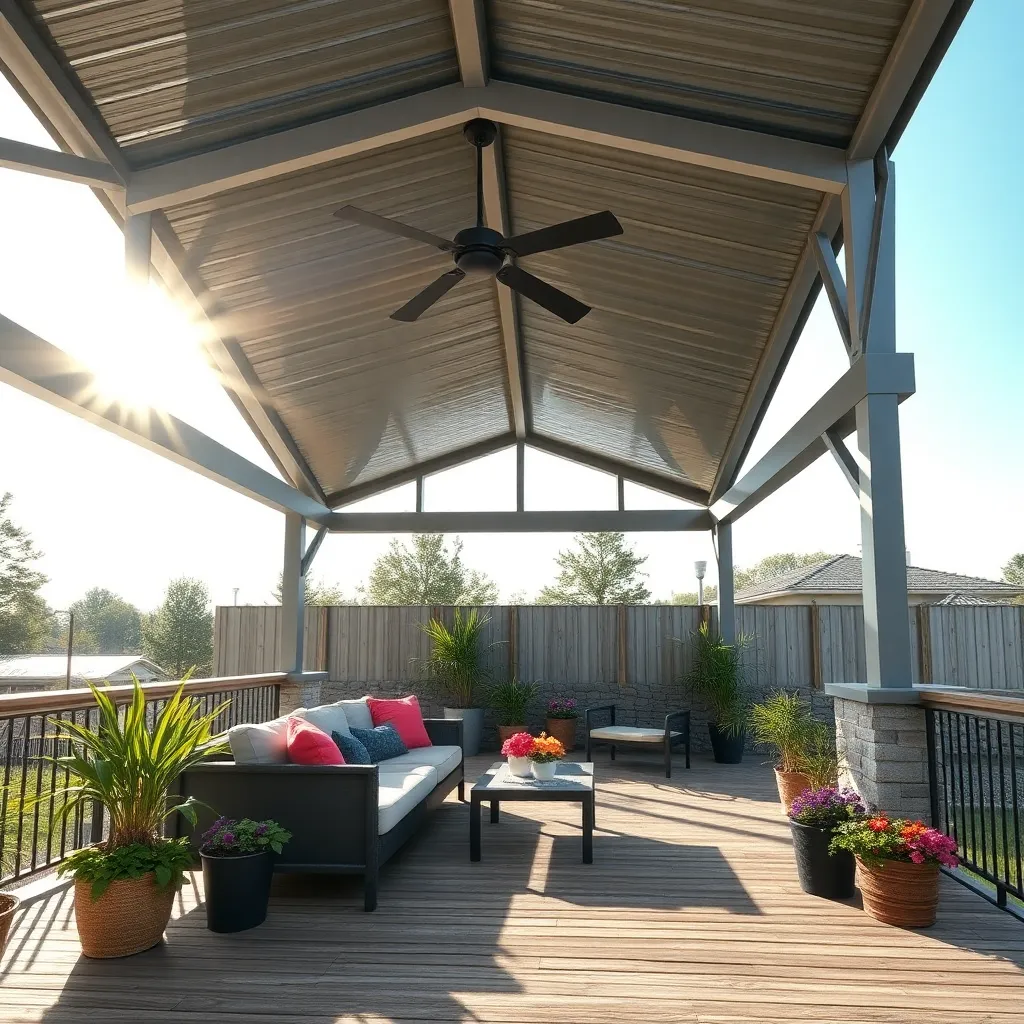
After constructing a sturdy support frame, it’s time to install durable roofing panels to ensure your covered patio provides lasting protection. Opt for materials like polycarbonate or corrugated metal panels, which are known for their durability and weather resistance. Both materials offer excellent protection from the elements while allowing some natural light to filter through, creating a bright and inviting space. When choosing your panels, consider their thickness and UV protection rating to ensure they meet your specific climate needs.
Begin installation by carefully measuring and cutting your panels to fit the roof dimensions, leaving a slight overhang of about 2 to 4 inches on all sides to direct rain away from the structure. Secure the panels using galvanized screws with rubber washers to prevent leaks. For a more professional finish, use a ridge cap along the peak of the roof to cover any gaps between panels. To enhance the aesthetics and functionality, consider adding a gutter system to direct water flow and prevent erosion around the patio. By following these tips, you’ll create a durable and visually pleasing shelter that adds value and enjoyment to your outdoor space.
Finish with Protective Coatings
After installing your durable roofing panels, it’s crucial to apply protective coatings to ensure the longevity and durability of your covered patio. Start by selecting a high-quality outdoor wood sealant if your structure includes wooden elements. This helps protect against moisture, UV rays, and pests. For metal components, consider using a rust-inhibiting primer followed by a weather-resistant paint to prevent corrosion and enhance aesthetic appeal.
For a polished finish, apply at least two coats of sealant or paint, allowing each layer to dry thoroughly as per the manufacturer’s instructions. Use a brush for detailed work and a roller for larger surfaces to ensure even coverage. Advanced tip: to maintain the fresh look of your patio, schedule reapplication every two to three years, which will not only protect but also refresh the appearance of your outdoor space. This finishing touch is the key to a weatherproof and visually appealing patio that you can enjoy for years to come.
Conclusion: Creating Beautiful Outdoor Spaces
Building a covered patio from scratch is more than a home improvement project; it’s an opportunity to enhance your relationship through shared goals and teamwork. First, we explored the importance of open communication to set clear expectations. Next, the art of compromise was highlighted, ensuring that both partners’ ideas and needs are respected. We then delved into time management, emphasizing the balance between project tasks and quality time together. Fourth, we discussed the value of patience and understanding during unexpected challenges. Finally, celebrating milestones together was underscored as a way to strengthen your bond.
As an immediate next step, choose a small patio-related task to tackle together this week, reinforcing these key concepts in action. Remember, every step you take is a building block for a stronger relationship.
Bookmark this article now as a handy guide on your journey. With each patio project and relationship milestone, you’re crafting a shared space and a shared life. Your commitment today lays the foundation for lasting happiness and success in your relationship. Embrace the journey, and let this be the start of many beautiful moments together.