Imagine transforming your backyard into a personal oasis with a gazebo that not only elevates your outdoor space but also serves as a testament to your creativity. Whether you’re a seasoned DIY enthusiast or a homeowner taking your first steps into the world of outdoor design, building your own gazebo can be an exciting and rewarding project. With the right guidance and a well-chosen kit, this endeavor becomes not just feasible, but an engaging journey into enhancing your home’s charm.
In this article, we’ll guide you through the world of affordable DIY gazebo kits, showing you how to select the perfect option that fits your style and budget. You’ll discover how these kits can simplify the building process, empowering you to create a stunning shelter that complements your outdoor living area. Join us as we explore practical tips, insightful advice, and the many benefits these kits offer, from ease of assembly to cost-effectiveness, ensuring your backyard becomes a delightful retreat for years to come.
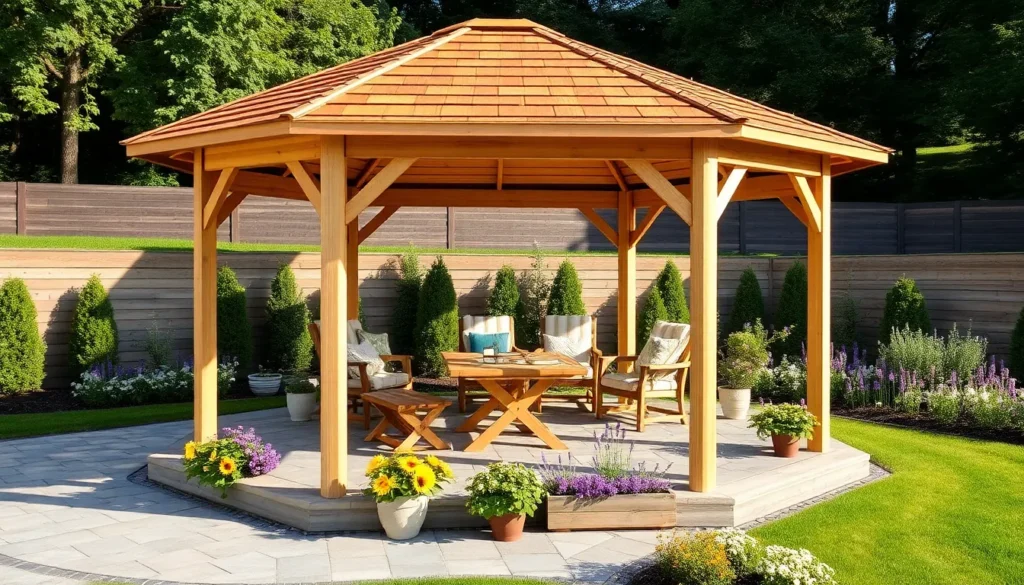
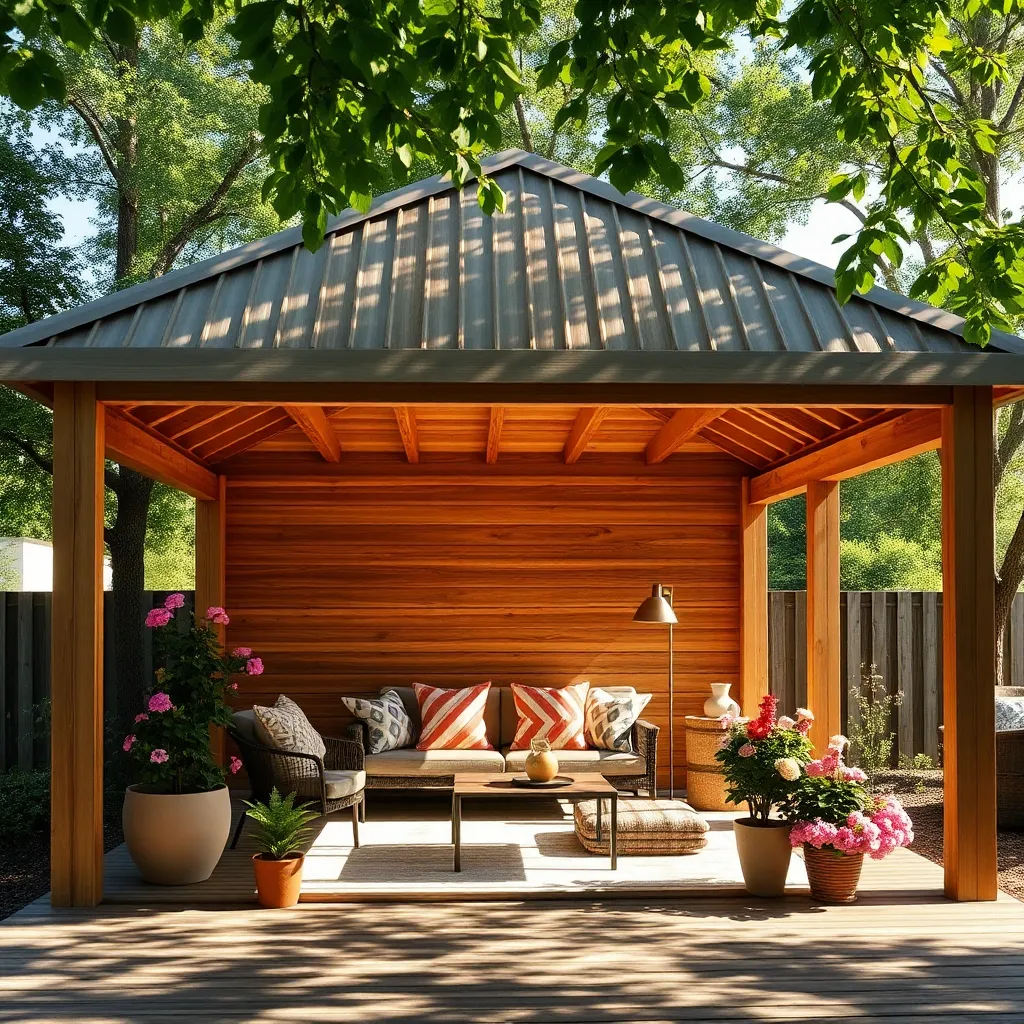
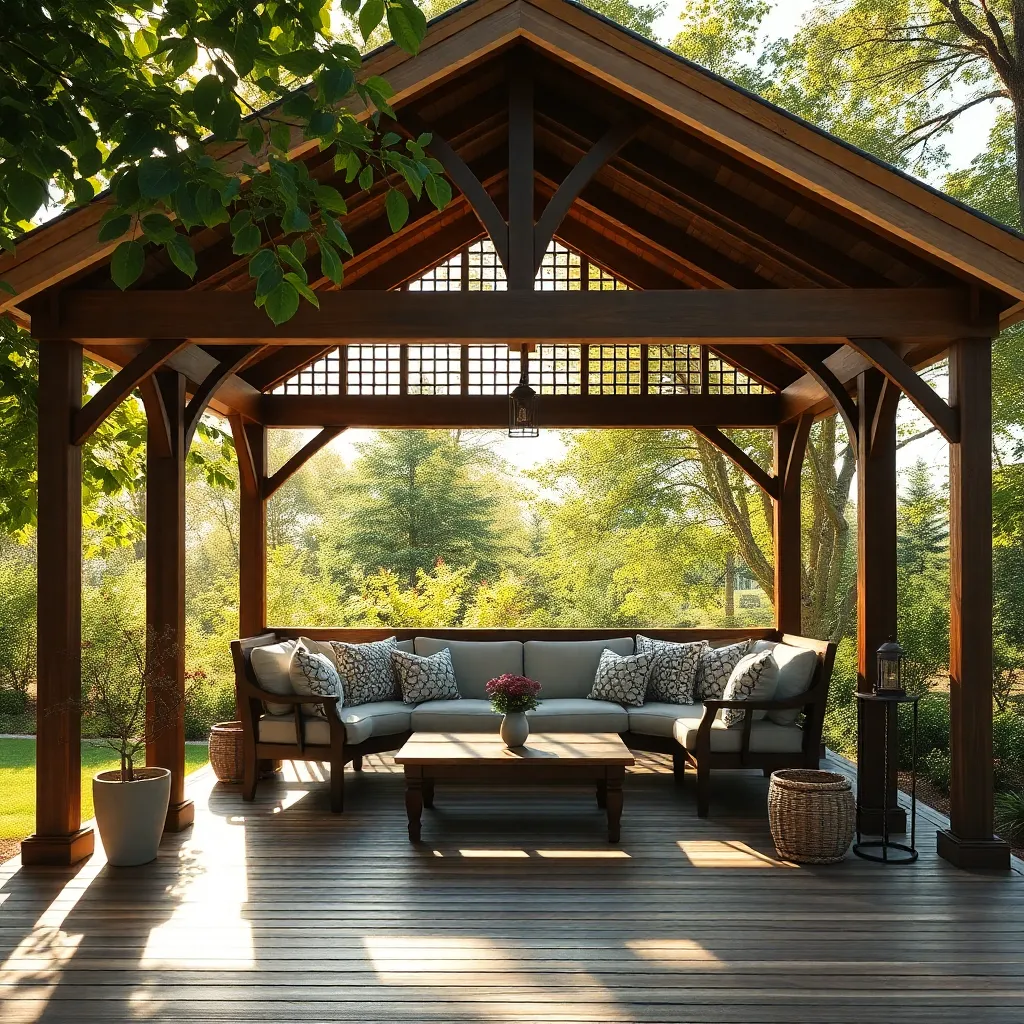
Choosing the Right Gazebo Kit
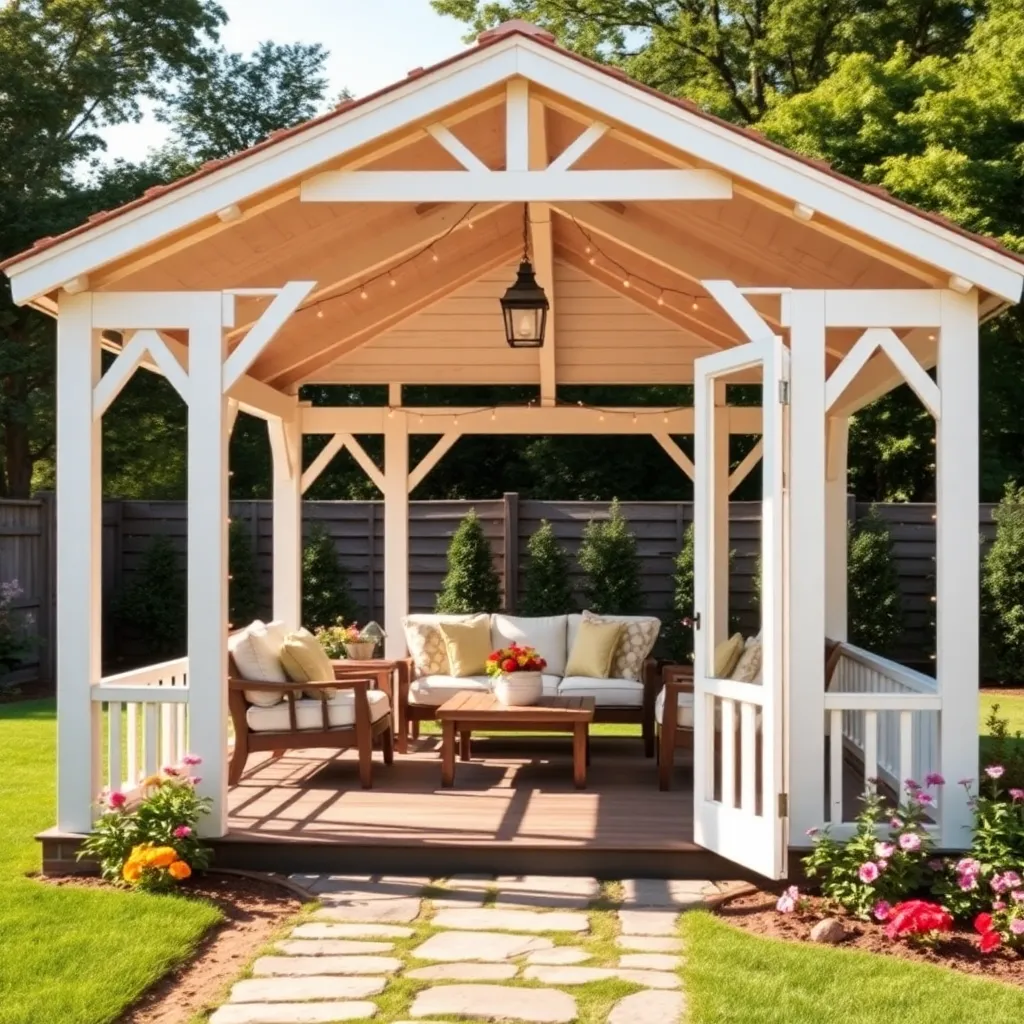
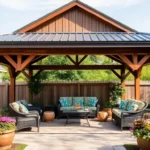
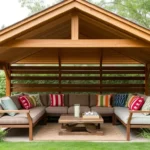
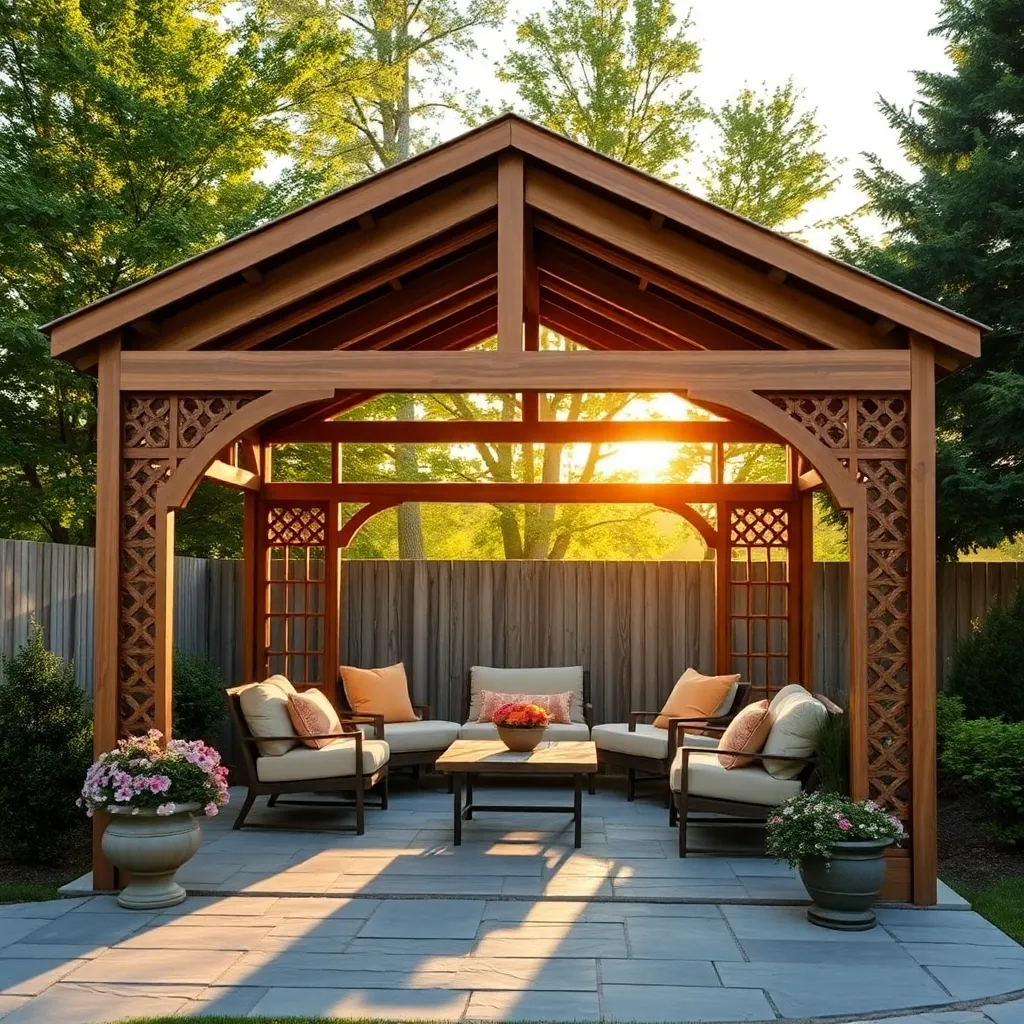
Choosing the right gazebo kit starts with understanding your backyard’s characteristics and your personal needs. Consider the size of your space and how you plan to use the gazebo: a smaller, 10×10 feet canopy may suffice for a cozy seating area, while larger gatherings might require a 12×14 feet structure. Look for kits made of durable materials like cedar or treated pine for a classic look, or opt for metal if you prefer a modern style. Ensure the kit includes clear instructions and all necessary components to simplify the assembly process, especially if you’re a beginner.
For a successful DIY project, pay attention to design elements that complement your outdoor aesthetics. Select a gazebo style with features that enhance your yard, such as a sloped roof for rainwater runoff or built-in seating for convenience. If you’re feeling adventurous, explore kits with customizable options like adjustable louvers or decorative trims to add a personal touch. Always double-check the kit specifications to ensure they match your skill level and tools available, making your DIY gazebo both a rewarding and manageable project.
Essential Tools for DIY Beginners
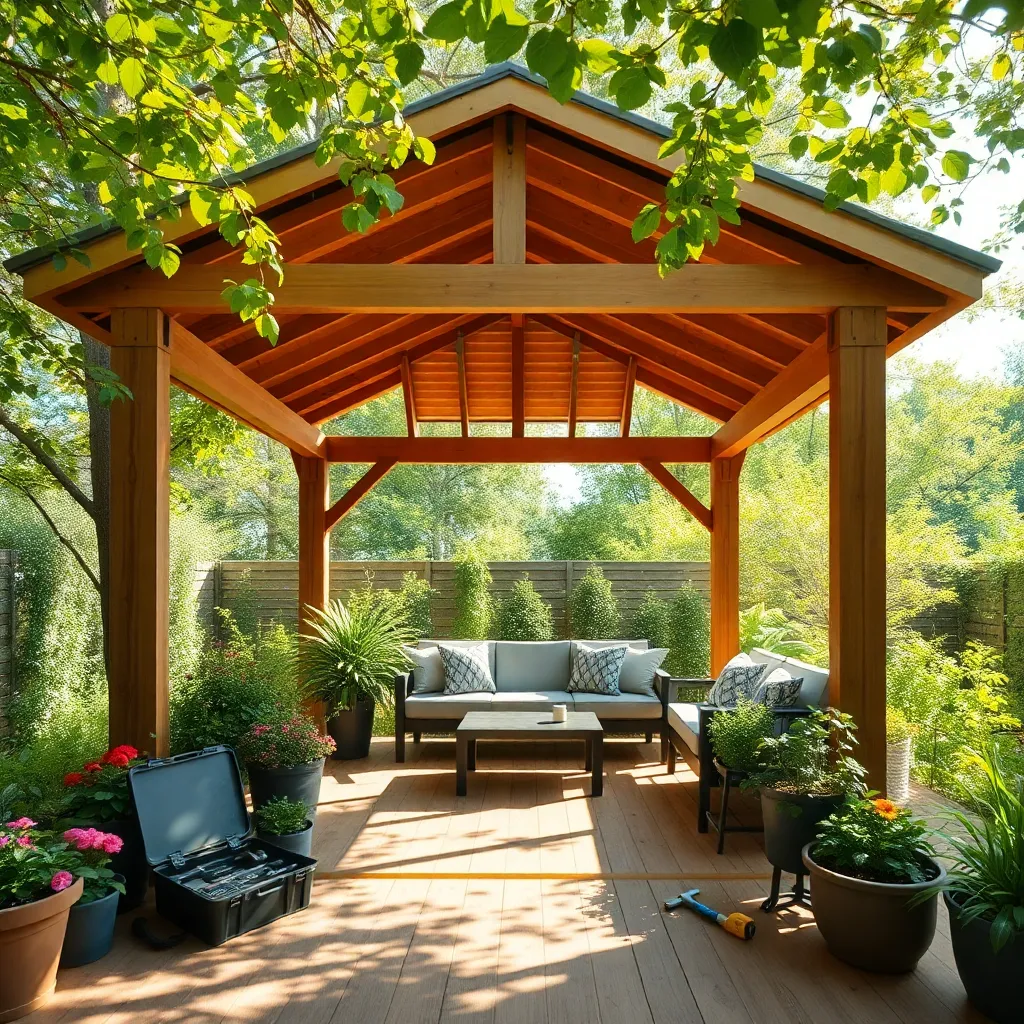
As you embark on your DIY gazebo project, having the right tools is essential for success. Start with a basic toolkit that includes a hammer, screwdriver set, measuring tape, and a spirit level to ensure your structure is straight. A quality power drill will save you time and effort, especially when securing larger pieces. For precise cuts, a circular saw is invaluable, while a miter saw can help with angled cuts for more complex designs.
Beyond the basics, consider investing in a laser level to achieve professional-grade accuracy when aligning beams and posts. If you’re working with metal components, a metal file will smooth rough edges and ensure a clean finish. Select durable materials like pressure-treated wood or galvanized steel for longevity, and always double-check your measurements before cutting to avoid costly mistakes. This attention to detail not only enhances durability but also brings a polished, professional touch to your gazebo.
Step-by-Step Assembly Guide
Begin by laying out all the components of your DIY gazebo kit to ensure you have everything you need. It’s crucial to prepare a solid foundation, which can be a concrete slab or a well-leveled ground area where you will anchor the structure. Using pressure-treated wood for the base is recommended for durability. Assemble the main frame by connecting the corner posts with the horizontal beams, ensuring they are level and square. For beginners, a ratchet wrench set can make this process smoother and more manageable.
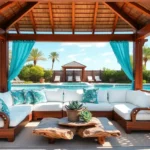
Next, attach the roof panels; these can be made of polycarbonate or metal, depending on your kit. It’s essential to secure these panels firmly to prevent leaks and withstand weather conditions. Advanced tip: Adding a weather-resistant sealant at the joints can extend the life of your gazebo. Finally, consider adding decorative elements like curtains or string lights for a personal touch. Ensure all connections are tightened and stable, and confirm the structure’s stability by gently shaking it before use. With these steps, your gazebo will not only be functional but also a delightful addition to your outdoor space.
Cost-Effective Material Options
For those looking to build a gazebo on a budget, choosing cost-effective materials is crucial. One of the most affordable and durable options is pressure-treated wood, which resists rot and insect damage, ensuring longevity. Alternatively, consider galvanized steel for a modern look; it’s both sturdy and low-maintenance. When selecting materials, factor in the climate and your desired aesthetic to ensure your gazebo not only fits your budget but also enhances your backyard.
To maximize savings and efficiency, opt for modular designs that simplify construction and reduce waste. Using standardized dimensions for your gazebo components, such as 8×8 or 10×10 feet, minimizes the need for custom cuts and speeds up the assembly process. Beginners might appreciate pre-drilled holes and interlocking parts that make the build straightforward. For a personalized touch, consider adding inexpensive yet impactful features like fabric curtains or solar-powered lights to enhance the ambiance without breaking the bank.
Maintaining Your Finished Gazebo
Once your gazebo is complete, regular maintenance is key to ensuring its longevity. Begin by routinely inspecting the structure for any signs of wear or damage. Check for loose screws or nails, and tighten them as necessary to maintain stability. To protect against the elements, apply a sealant to wood surfaces every one to two years. This not only preserves the wood but also enhances its natural beauty. For metal gazebos, ensure they are free from rust by using a rust-inhibiting primer and paint.
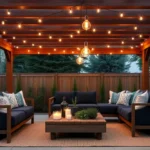
Additionally, keep your gazebo looking fresh by cleaning it annually with a mild soap and water solution. Clear debris from the roof and gutters to prevent water accumulation that could lead to mold or structural damage. For those looking to add a personal touch, consider adding outdoor-friendly decor such as string lights or weather-resistant cushions. By investing a little time in maintenance, you’ll ensure your gazebo remains a beautiful and functional centerpiece in your outdoor space for years to come.
Conclusion: Creating Beautiful Outdoor Spaces
In exploring ‘Affordable DIY Gazebo Kits for Beginners,’ we’ve uncovered five key relationship concepts: the joy of collaborative projects, the power of shared goals, the importance of open communication, the value of patience, and the satisfaction of creating a shared sanctuary. These DIY projects are not just about building a structure; they are about building stronger bonds through teamwork, understanding, and mutual achievement.
As an actionable step, start by discussing with your partner or loved ones how you envision utilizing your gazebo. This conversation will not only align your goals but also serve as a delightful prelude to the collaborative process.
To ensure you have this valuable resource at your fingertips, bookmark this article now. It will be your go-to guide for nurturing both your outdoor space and your relationship.
Remember, the journey of constructing a gazebo is a metaphor for relationship success: with each beam and bolt, you are laying the foundation for a future filled with strength and harmony. Keep building together, and watch your relationship flourish in ways you never imagined.