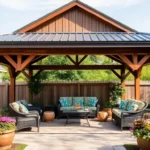
Imagine stepping out into your backyard and being greeted by the elegant structure of a pergola, a perfect blend of shade and sunlight that transforms your outdoor area into a personal haven. Whether you’re a seasoned DIY enthusiast or just starting your journey into home improvement, building a pergola with a DIY kit is an exciting and achievable project. Our guide, “10 Tips for Building a Pergola with a DIY Kit,” offers valuable insights that cater to all skill levels, ensuring you can confidently create a stunning centerpiece in your own backyard.
With this carefully curated list, you’ll discover practical tips that demystify the construction process, helping you avoid common pitfalls and maximize your outdoor space’s potential. From choosing the right materials to mastering assembly techniques, each tip is designed to enhance your outdoor living experience, promising not only aesthetic beauty but functional benefits. Dive in, and let us guide you towards a backyard transformation that will bring joy and satisfaction for years to come!
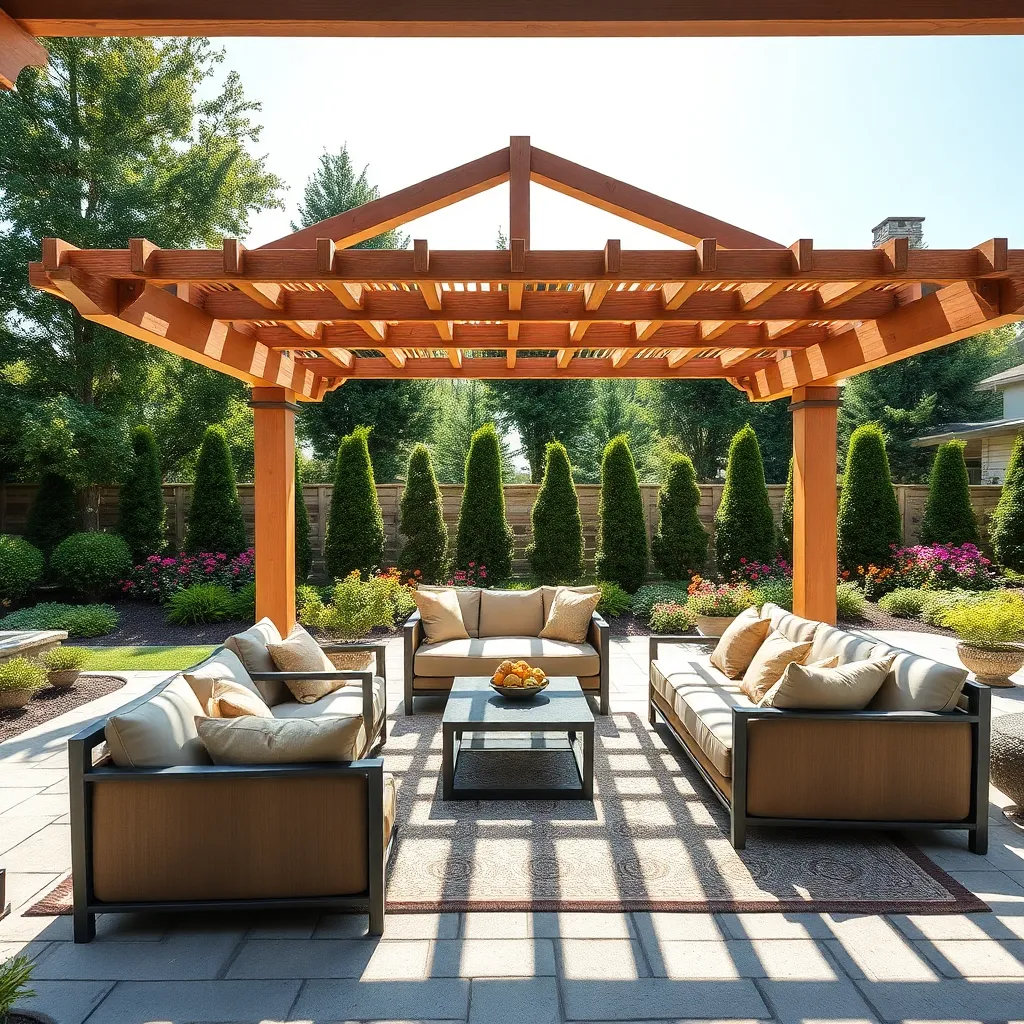
Select a Sturdy DIY Kit
When choosing a DIY pergola kit, prioritize sturdiness and quality materials to ensure longevity and safety. Look for kits made from weather-resistant materials like treated wood or powder-coated aluminum, which can withstand the elements. Opt for designs that include clear instructions and pre-cut, pre-drilled components to simplify assembly, making it accessible even for beginners.
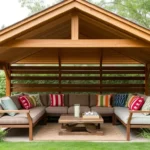
Consider the design elements that will complement your outdoor space, such as lattice tops for climbing plants or retractable canopies for adjustable shade. Advanced builders might explore kits that allow for customization, like adding integrated lighting or decorative post caps. Always verify that the dimensions fit your space and check if additional hardware or tools are required before purchasing to ensure a smooth building process.
Measure Your Space Accurately
Before diving into your pergola project, it’s crucial to measure your space accurately to ensure a perfect fit and function. Start by identifying the exact area where you plan to install your pergola and use a measuring tape to determine the length and width. Remember to account for any existing structures or landscaping elements that might affect the installation, such as trees, walls, or pathways. For beginners, it helps to sketch a simple layout on graph paper to visualize how the pergola will integrate with your outdoor space.
For a polished look, consider leaving at least 3 feet of clearance on all sides to ensure comfortable movement and accessibility. If you’re aiming for a more advanced setup, think about the pergola’s height and how it will relate to your home or existing structures. Materials like wood, aluminum, or vinyl each have specific size limitations, so verify kit dimensions to match your space. To enhance design, incorporate features like adjustable louvers or retractable canopies, which offer both style and functionality, especially in varying weather conditions.
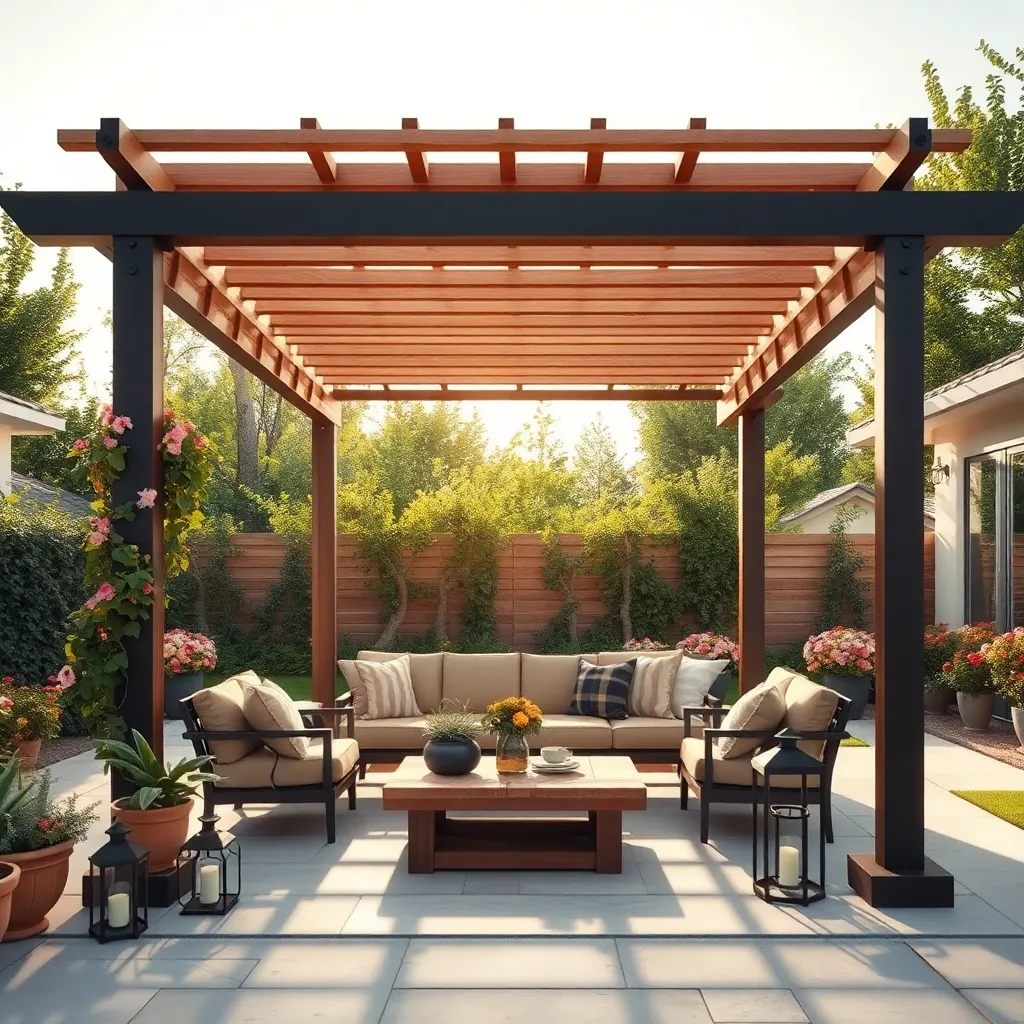
Choose Weather-Resistant Materials
When building a pergola with a DIY kit, it’s crucial to select weather-resistant materials to ensure durability and longevity. Opt for materials like pressure-treated wood, cedar, or redwood, which naturally resist rot and insects. For a more modern look, consider using aluminum or vinyl, both of which offer excellent resistance to harsh weather conditions. These materials will help your pergola withstand the elements and reduce maintenance efforts over time.
Incorporating high-quality hardware is equally important for a sturdy structure. Choose galvanized or stainless steel fasteners to prevent rust and corrosion, ensuring your pergola remains secure and visually appealing. Additionally, apply a protective sealant or stain to wood components to enhance their weather resistance and extend their lifespan. By focusing on these details, you’ll create a resilient outdoor space that enhances your home’s aesthetic and functionality.
Level the Ground Precisely
A level foundation is crucial for the stability and longevity of your pergola. Start by selecting a suitable location and remove any debris, rocks, or vegetation from the area. Use a long, straight board and a bubble level to check the ground’s evenness. If needed, add or remove soil until the surface is flat. For areas with significant slope, consider using a laser level for more precision, ensuring the base is completely level before proceeding with construction.
When dealing with uneven terrain, you might need to excavate or build up the ground. Compact the soil with a tamper to create a solid base, reducing the risk of future settling. You may also use gravel or a sand base to help with leveling and drainage, preventing water accumulation under your pergola. For added stability, especially in regions with heavy winds, consider pouring concrete footings at each post location, ensuring they are level and perfectly aligned.
Secure Joints with Reinforced Screws

To ensure your pergola stands the test of time, it’s crucial to secure joints with reinforced screws. Opt for galvanized or stainless steel screws, which are highly resistant to rust and corrosion, making them ideal for outdoor use. When assembling your pergola, tighten each screw firmly while avoiding over-tightening, which can damage the wood. For beginners, using a power drill with a torque setting can help apply the correct amount of pressure, ensuring a snug fit without splitting the material.
Experienced DIY enthusiasts might consider using reinforcement plates or brackets at key junctions for added stability. These can be particularly valuable if you live in a region with high winds or heavy snowfall. Reinforcement plates, available in various sizes, can be used to anchor beams and posts securely. Always pre-drill holes slightly smaller than the screw diameter to prevent wood from splitting and to make your assembly process smoother. By taking these steps, you’ll create a robust structure that not only looks attractive but also withstands the elements effectively.
Align Pergola Posts Correctly
When aligning pergola posts, precision is key to ensuring a stable and aesthetically pleasing structure. Begin by marking out the exact post locations using a measuring tape and chalk line, ensuring that the distances between them are equal for a symmetrical layout. Use a carpenter’s square to check that each post is perfectly vertical during installation; this prevents any leaning that can compromise the pergola’s integrity. For beginners, a simple technique is to use temporary braces to hold the posts in place while the concrete sets, ensuring they remain plumb.
Advanced DIYers might consider the strategic placement of posts to enhance the pergola’s functionality, such as providing optimal shade or framing a garden view. Select pressure-treated wood or metal posts for durability, considering local weather conditions and the desired aesthetic. Utilize a post anchor system if building on an existing patio to avoid drilling into concrete; this will also provide additional stability and reduce potential moisture damage at the base of the posts. Ensuring posts are properly aligned and secured will not only enhance the pergola’s appearance but also extend its lifespan.
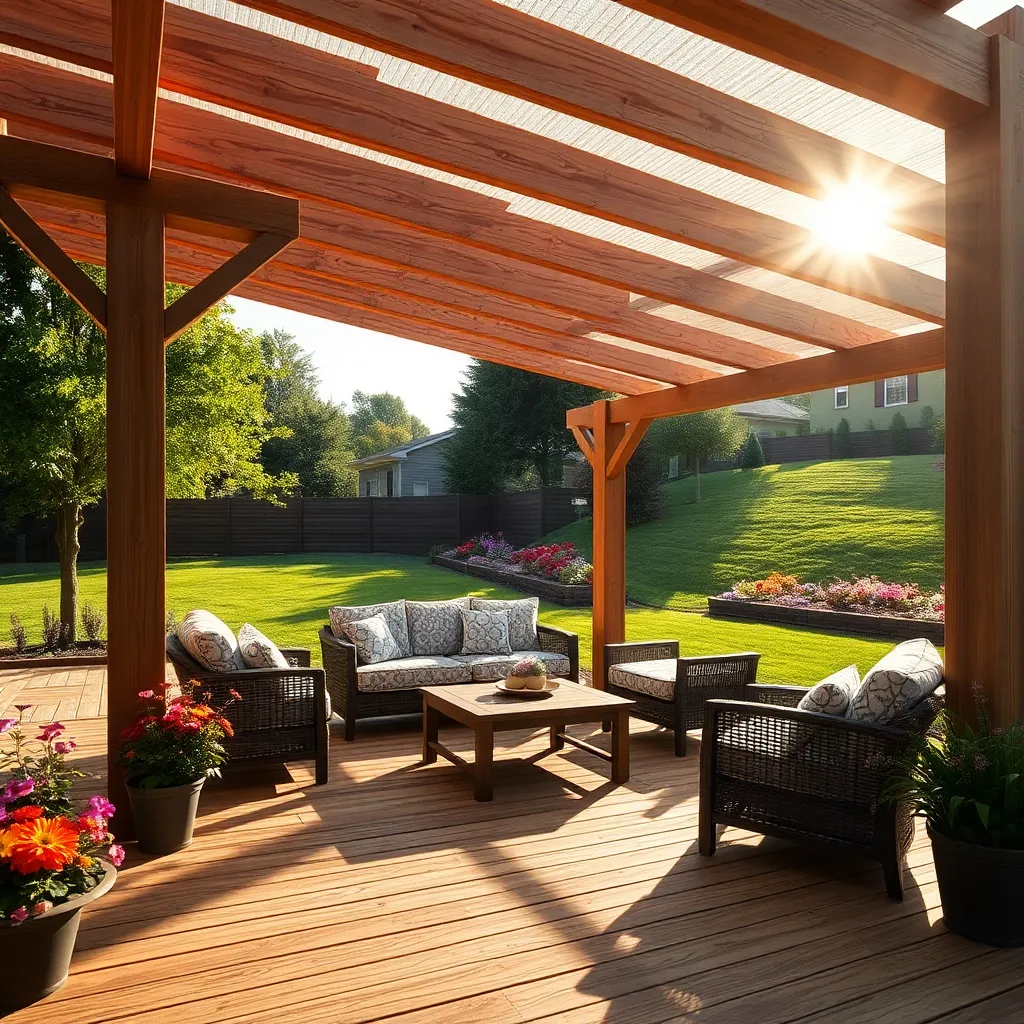
Apply a Protective Wood Finish
Adding a protective wood finish to your pergola is essential to ensure its longevity and maintain its beauty. Begin by selecting a high-quality, exterior-grade wood sealant or stain, which will shield the wood from sun, rain, and other environmental elements. Opt for oil-based stains that penetrate deeply, offering better protection, or consider a water-based finish for easier cleanup. For a beginner-friendly approach, try a clear sealant that preserves the natural wood grain, while more advanced DIYers might experiment with tinted stains to match their outdoor decor.
Before applying the finish, make sure the wood is clean and dry. Sand any rough edges for a smooth application and wipe away any dust with a damp cloth. Use a high-quality brush or a sprayer for even coverage, ensuring that you apply the finish in thin, even coats to prevent drips and blotches. Allow each coat to dry thoroughly—usually about 24 hours—before applying the next one. For added durability, apply at least two coats, especially on surfaces exposed to direct sunlight or heavy rain. By following these steps, you’ll not only enhance the aesthetic appeal of your pergola but also significantly extend its life, making it a more inviting space for years to come.
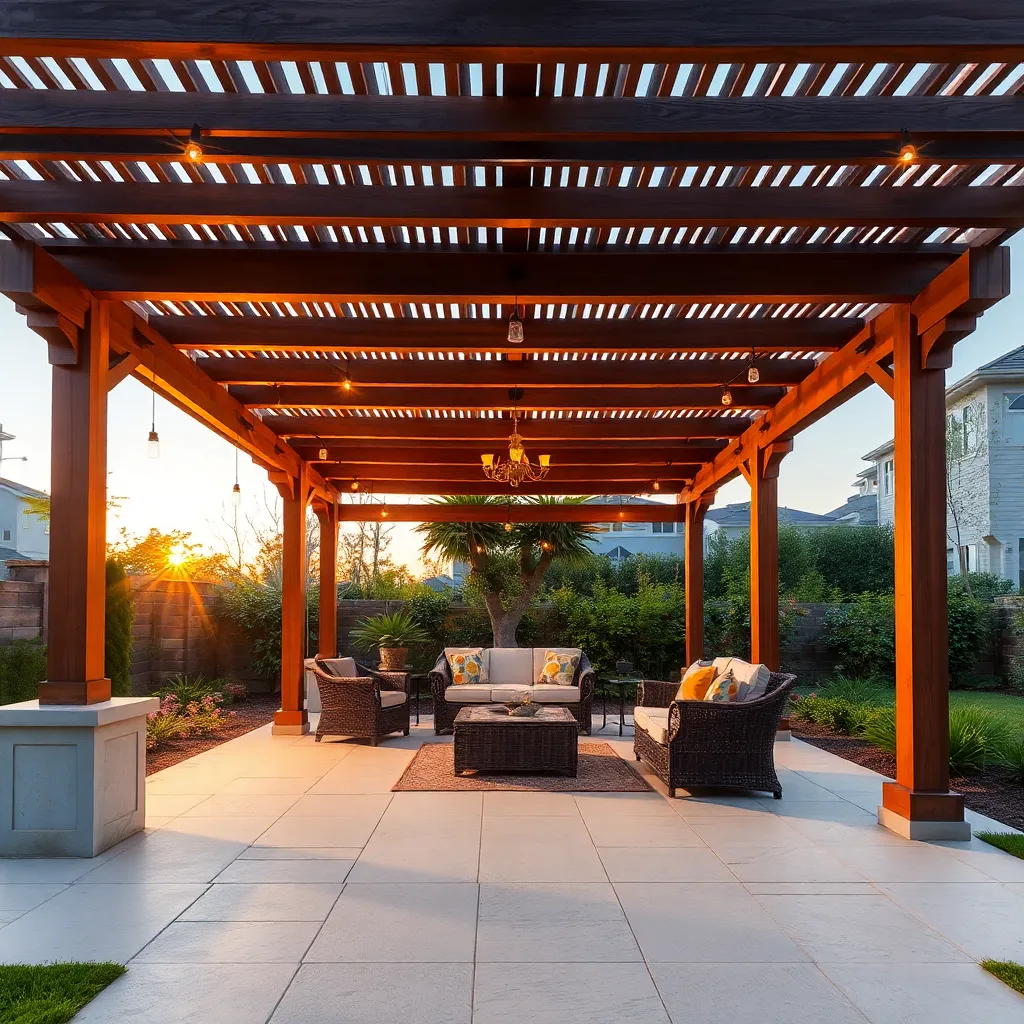
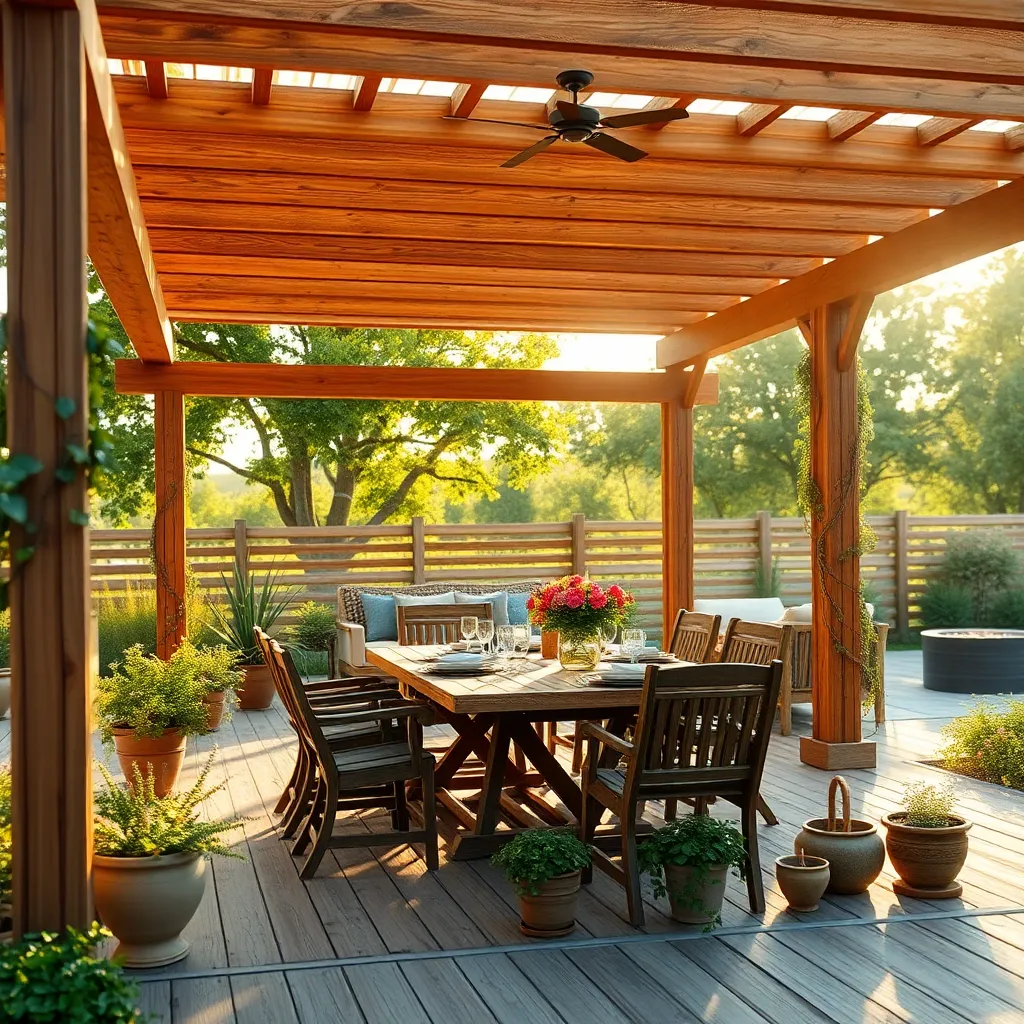
Add Adjustable Shade Panels

Incorporating adjustable shade panels into your pergola design can significantly enhance its functionality and comfort. These panels allow you to control the amount of sunlight filtering through, making your outdoor space adaptable to changing weather conditions. Opt for materials like high-quality outdoor fabrics or lightweight aluminum, which are both durable and easy to maintain. For beginners, consider pre-made panel kits that include all necessary hardware and installation instructions. More experienced DIYers might explore custom designs, using sliding tracks or louvers for versatile shading options.
To ensure your panels are effective, measure the dimensions of your pergola accurately and plan for a slight overlap to prevent gaps. Install the panels on a frame that can be easily adjusted or removed—this is crucial for seasonal changes or unexpected weather. For a sleek, modern look, choose panels in neutral tones or coordinate them with your existing outdoor decor. Advanced builders might integrate motorized systems for effortless operation at the touch of a button. Whatever level you choose, adjustable shade panels can transform your pergola from a simple structure into a versatile haven.
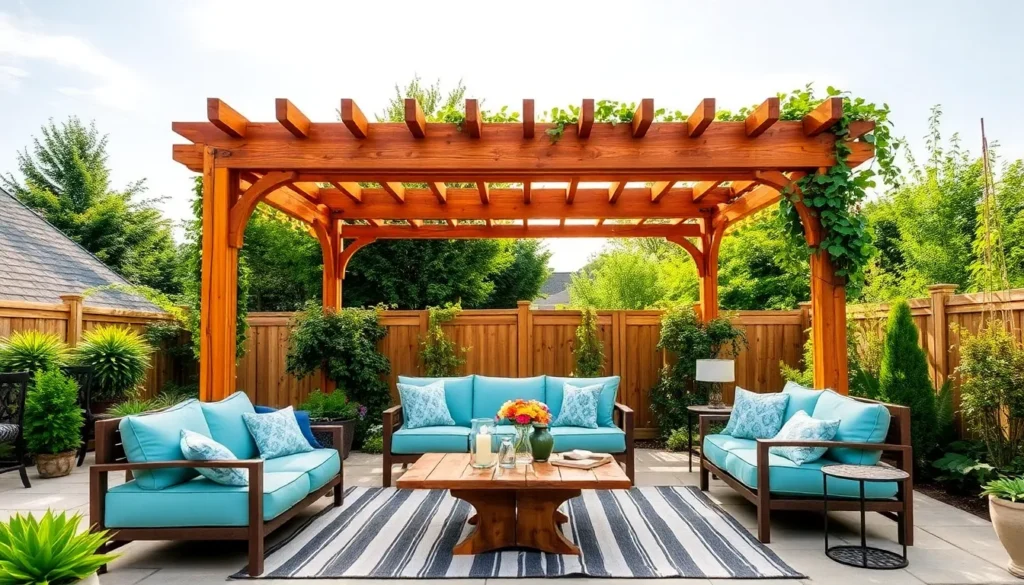
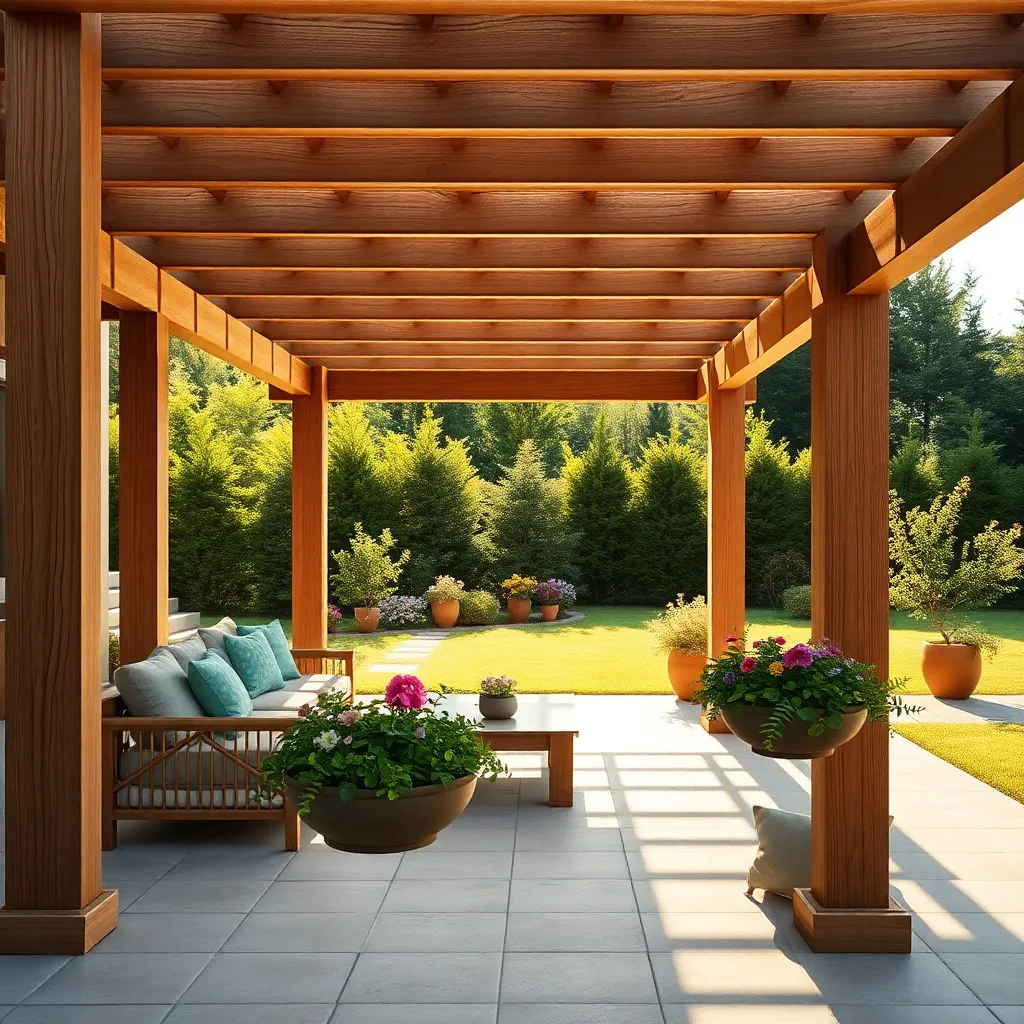
Incorporate Climbing Plants Strategically
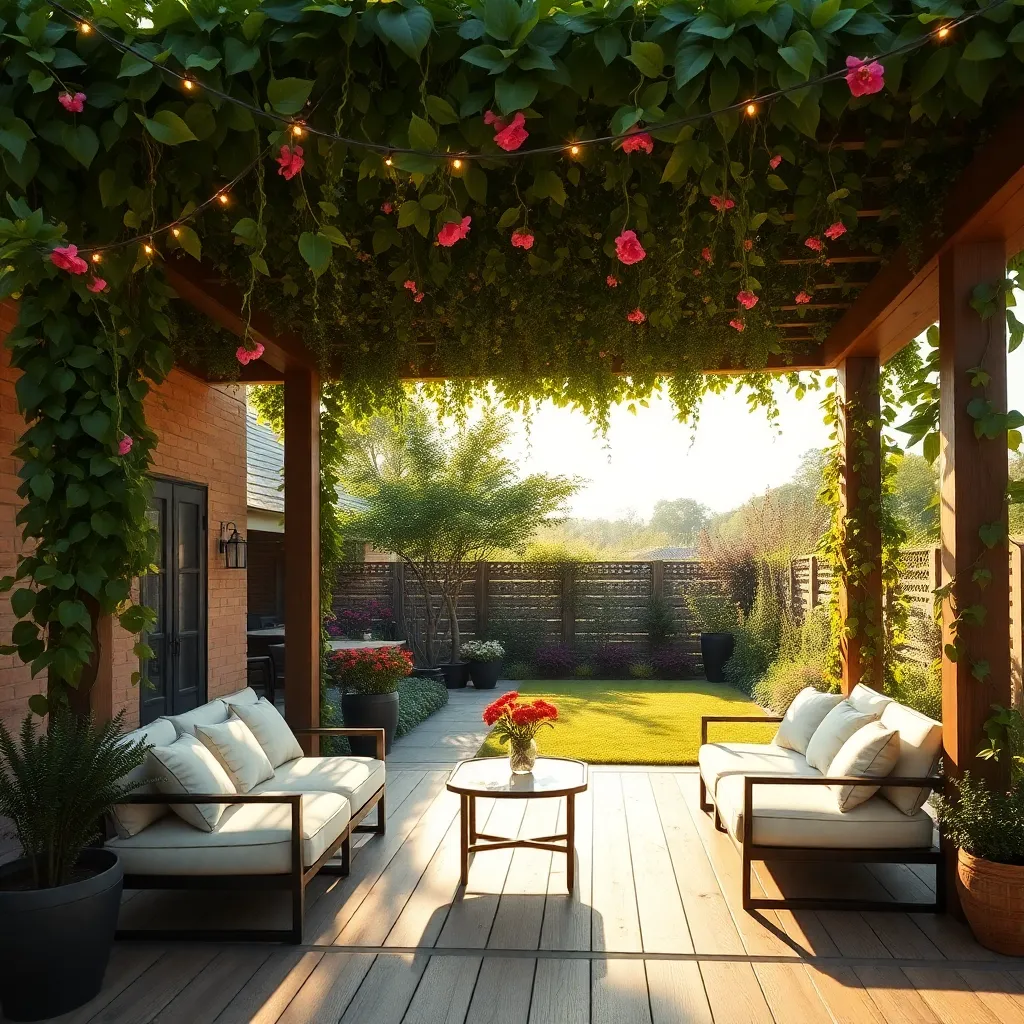
To enhance your pergola’s aesthetics and offer additional shade, consider incorporating climbing plants strategically. Choose hardy, fast-growing climbers like clematis, wisteria, or passionflower that thrive in your climate. Install trellises or wire supports along the pergola’s beams to guide the growth of these plants, ensuring they cover the structure without overwhelming it. This not only adds natural beauty but also provides a cooling effect during hot months.
When selecting plants, opt for species with varied blooming times to enjoy colorful displays throughout the year. For a more advanced approach, combine evergreen climbers with seasonal bloomers to maintain year-round interest. To prevent damage to the pergola, use non-invasive species and regularly prune to manage growth. This thoughtful integration of climbing plants can transform your pergola into a vibrant, living retreat.
Install Ground Anchors for Stability
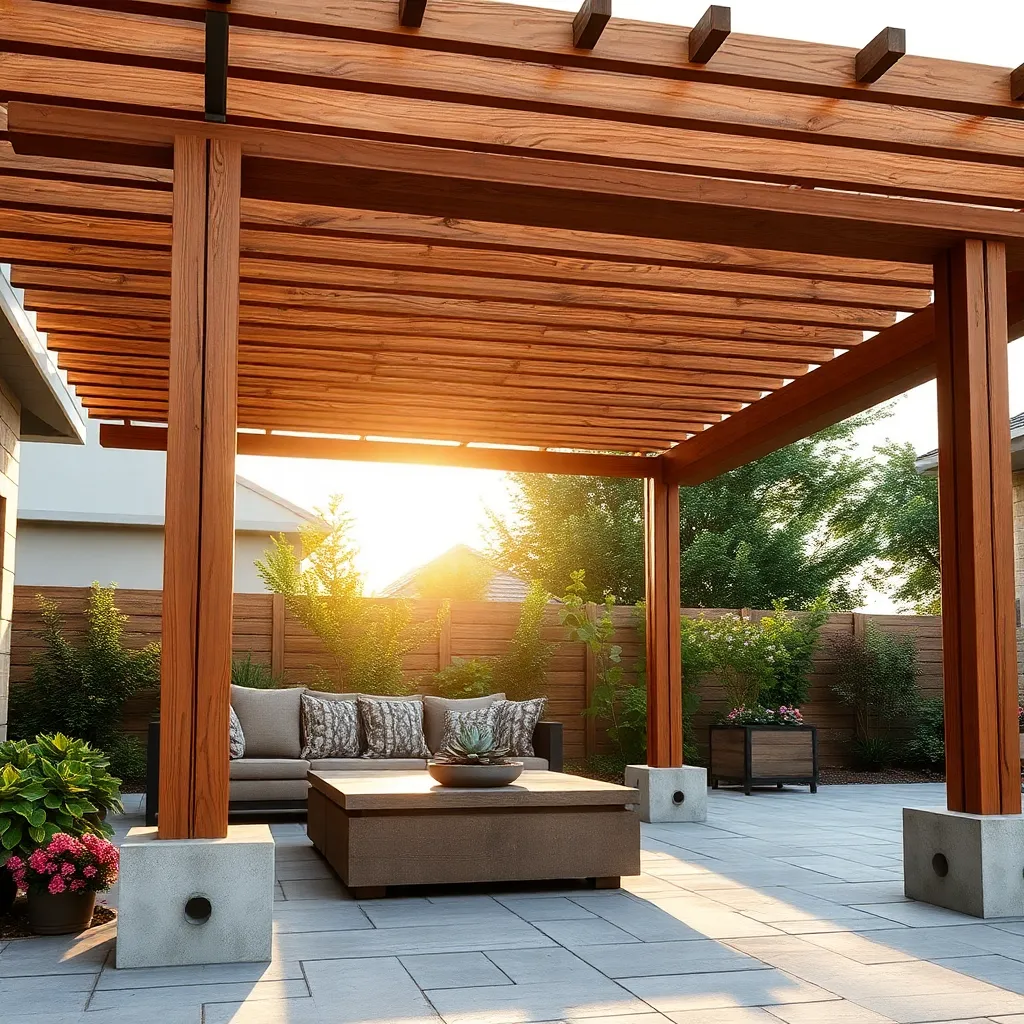
To ensure your pergola stands the test of time, it’s crucial to install ground anchors for stability. Ground anchors help to securely fasten the structure to the ground, preventing movement during high winds or extreme weather conditions. Beginners can opt for screw-in anchors, which are easy to install using just a wrench. For a more permanent and robust solution, experienced DIYers might consider using concrete footings that require digging post holes and pouring concrete to set metal brackets in place.
When selecting ground anchors, consider the soil type and local climate. In sandy soils, longer anchors provide better hold, while clay soils may require shorter, wider options. Ensure your anchors are spaced evenly around the pergola’s base, typically at least one per post, to distribute weight and resist tipping. For added security, use galvanized steel or powder-coated anchors to prevent rust and corrosion, ensuring your pergola remains a beautiful and stable garden feature for years to come.
Conclusion: Creating Beautiful Outdoor Spaces
As we wrap up our journey through the ’10 Tips for Building a Pergola with a DIY Kit,’ it’s clear that constructing a pergola is more than just a physical endeavor—it’s a journey that mirrors the art of building strong relationships. From planning meticulously, choosing the right materials, and embracing teamwork, to celebrating milestones and maintaining your creation, each step offers a valuable lesson in fostering lasting connections.
To take immediate action, why not start small by selecting a project you and your partner can tackle together this weekend? Whether it’s assembling a new piece of furniture or planning a mini garden, the shared experience will strengthen your bond.
Remember to save or bookmark this article for easy access whenever you need a refreshing reminder of these principles. As you continue to nurture your relationships, envision a future where your connections are as sturdy and beautiful as the pergola you’ve built. With commitment, creativity, and collaboration, your relationships can flourish against the backdrop of life’s changing seasons. Embrace this opportunity to invest in what truly matters and watch your connections grow stronger every day.