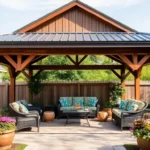
Imagine transforming your backyard into a serene oasis with the simple addition of a gazebo. Whether you’re a DIY enthusiast or a beginner just dipping your toes into outdoor projects, building a gazebo with a kit can be both an exciting and rewarding endeavor. This article will guide you through every step, ensuring your backyard retreat becomes a reality without the overwhelm.
In this journey, you’ll discover how to choose the right kit, gather essential tools, and follow straightforward instructions to construct a gazebo that reflects your unique style. With our practical tips and expert insights, you’ll feel empowered to create an inviting space that enhances your outdoor living experience, all while boosting your home’s charm and value.
Unpack and Organize Kit Components
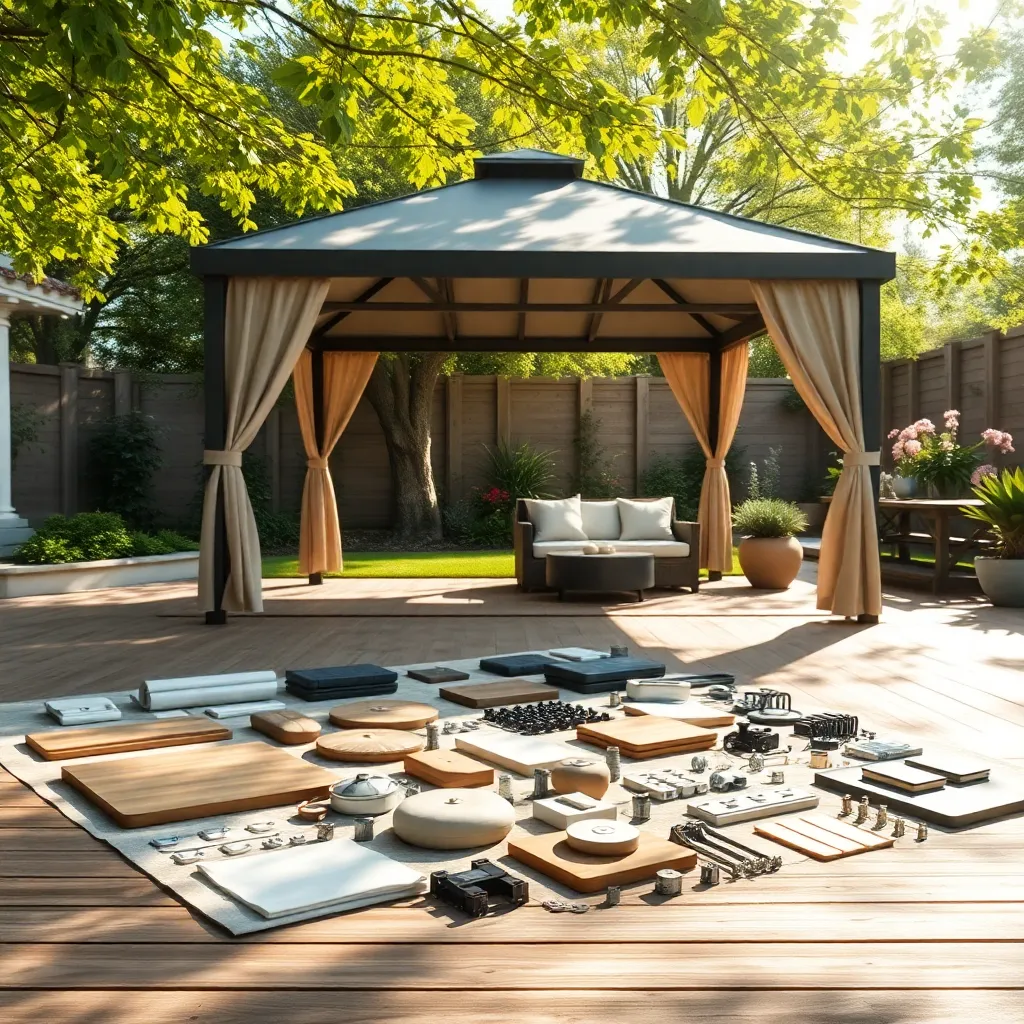
When you first open your DIY gazebo kit, it’s essential to organize all components systematically to streamline the assembly process. Begin by laying out all parts on a clean, flat surface to easily identify each piece. Use the instruction manual to verify that all items are present, checking off each component to ensure nothing is missing. This step prevents interruptions during construction and helps you familiarize yourself with different materials like pressure-treated wood or aluminum, which are common in gazebo kits.
Consider grouping similar items together, such as supports, beams, and hardware, to make assembly more intuitive. For added efficiency, arrange tools like a cordless drill, a level, and a measuring tape nearby, ensuring they’re within easy reach. Labeling each pile with sticky notes or tape can also be beneficial, especially for beginners who may not yet recognize specific parts. By maintaining an organized workspace, you can avoid confusion and focus on the rewarding process of building your outdoor retreat.
Prepare Ground and Set Foundation
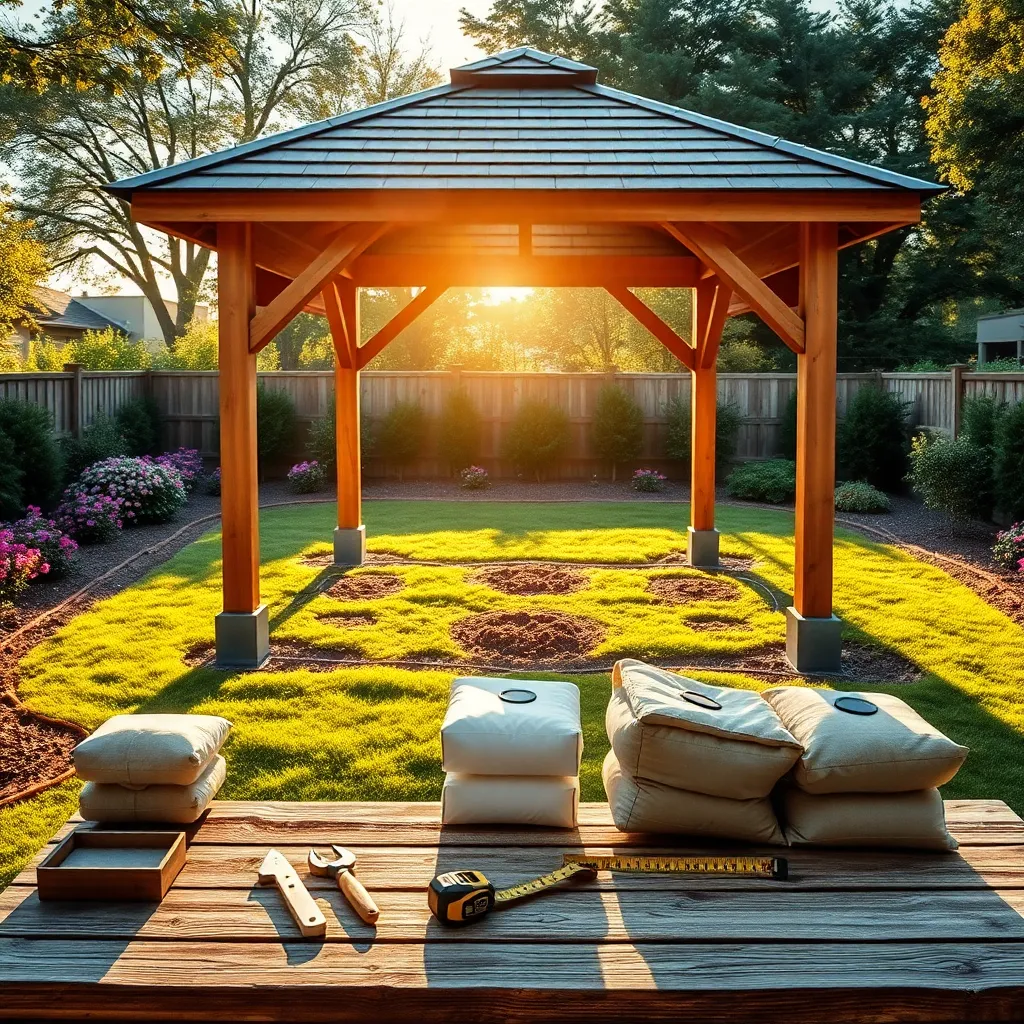
Before setting up your gazebo kit, start by selecting a level area in your yard. Use stakes and string to outline the gazebo’s footprint, ensuring you have enough space around it for maneuverability. Level the ground using a shovel or garden rake, removing any grass or debris, and compact the soil to create a stable base. An essential tip for beginners is to rent a plate compactor from a local hardware store for a more efficient job.
Next, lay a foundation to support your gazebo, which can be done using concrete pavers or a gravel base. Arrange pavers evenly across the outlined area, or spread a 4–6 inch layer of compacted gravel for drainage. For those seeking a more permanent structure, consider pouring a concrete slab, ensuring it’s at least 4 inches thick to provide stability. Remember, a solid foundation is key to a gazebo that withstands the elements, so take your time to get this step right!
Assemble Frame and Secure Joints
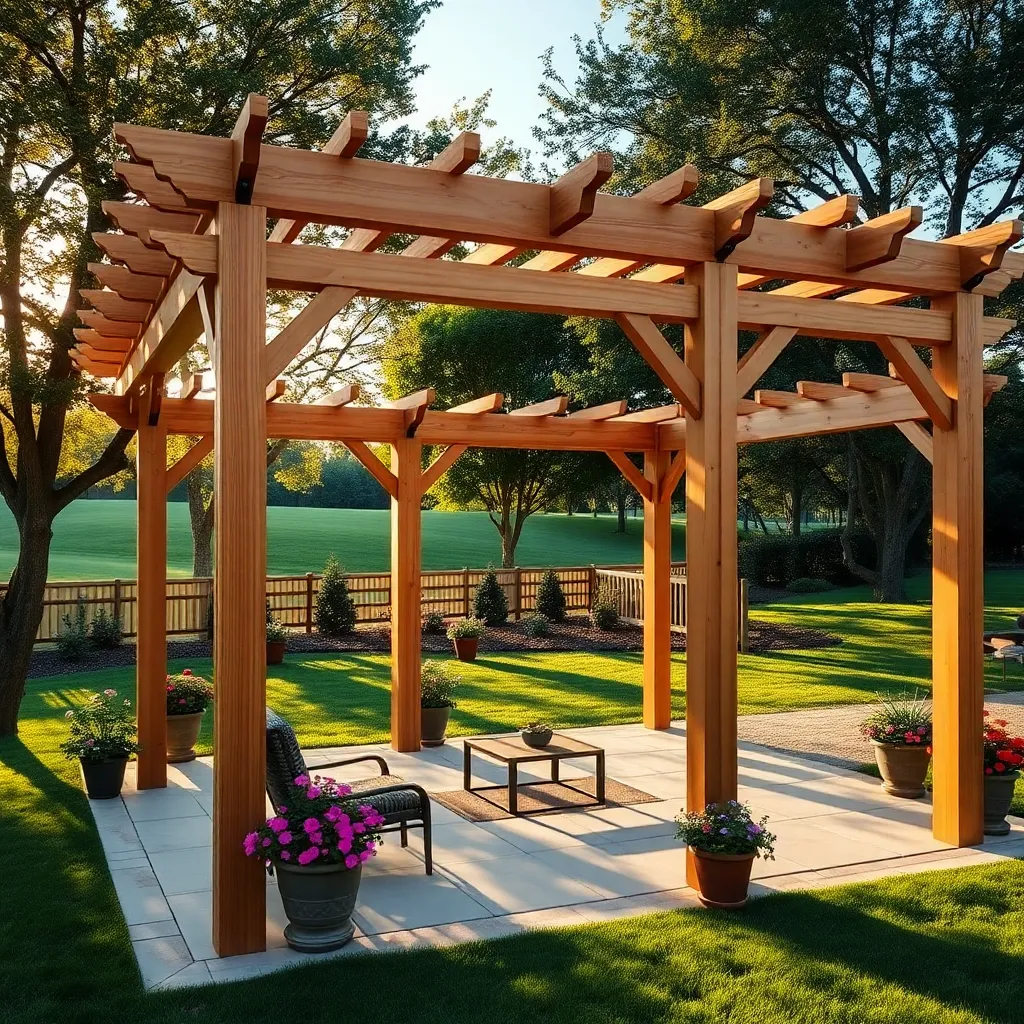
Once your foundation is ready, it’s time to assemble the frame of your gazebo. Begin by laying out all the pieces according to the kit’s instructions. Use a ratchet set to tighten bolts and ensure each connection is secure. For beginners, a tip is to start with the four corner posts and connect the beams to form a square or rectangular base, depending on your design. This provides a stable structure to build upon.
When securing joints, be sure to use galvanized screws and brackets, which resist rust and provide durability for outdoor use. Consider adding wood glue at the joints for extra strength, especially in regions prone to high winds. Advanced builders might opt to reinforce critical joints with metal braces for added stability. Always check for levelness after each step to maintain a perfectly aligned structure, ensuring your gazebo stands tall and true.
Install Roof Panels and Supports
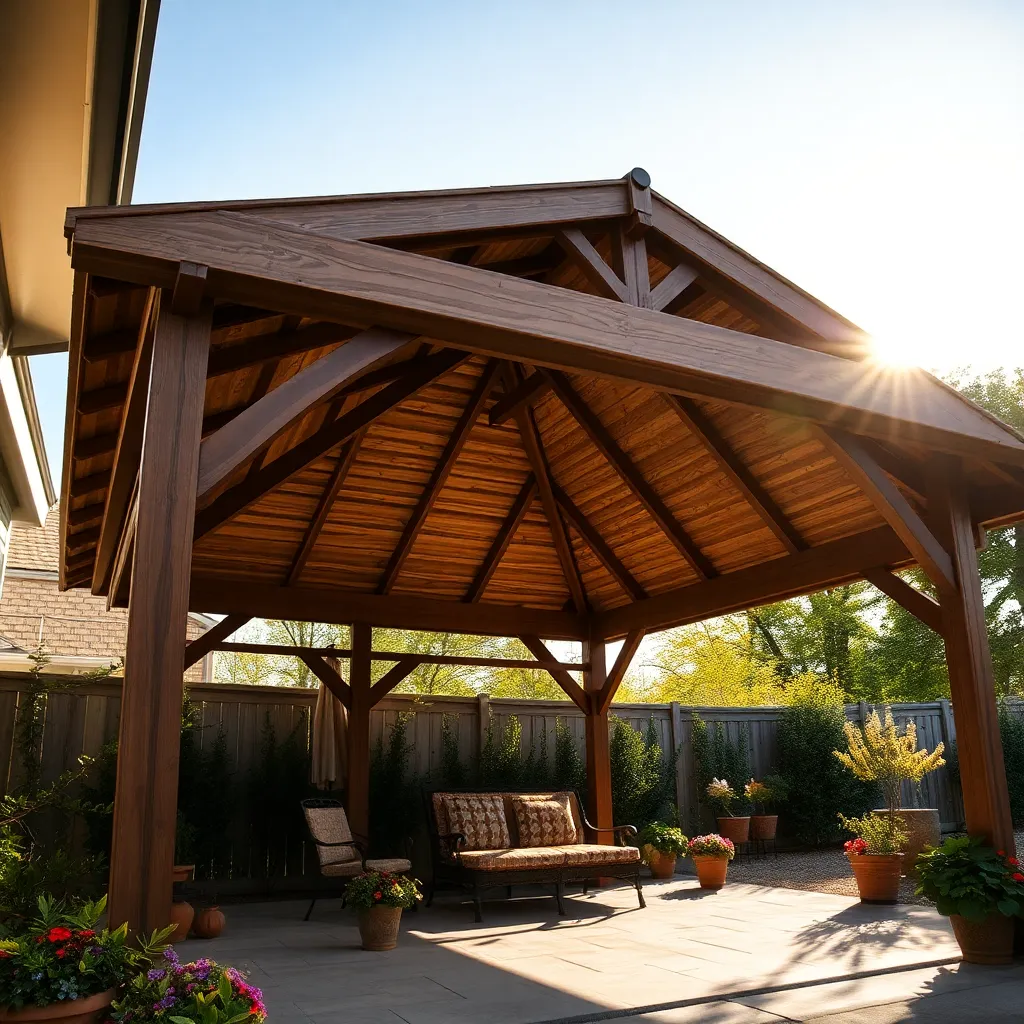
Once the frame is assembled and joints are secure, it’s time to install the roof panels and supports. Begin by selecting roof panels made from durable materials like polycarbonate or galvanized steel, ensuring they match the aesthetic and climate needs of your area. For a classic look, consider using wooden panels treated to withstand weather conditions. Align each panel carefully with the frame’s rafters, ensuring overhangs are even on all sides for optimal protection against the elements.
Next, reinforce the structure by adding supports for stability. Use cross braces or diagonal supports to enhance the roof’s integrity, especially in areas prone to strong winds or heavy snow. Secure these supports using galvanized screws to prevent rust and ensure longevity. For advanced builders, consider adding a decorative cupola or a weather vane for a personalized touch. This attention to detail not only boosts the gazebo’s visual appeal but also improves its resilience and functionality, providing a reliable outdoor space for years to come.
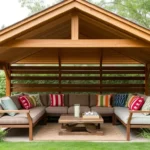
Add Finishing Touches and Accessories
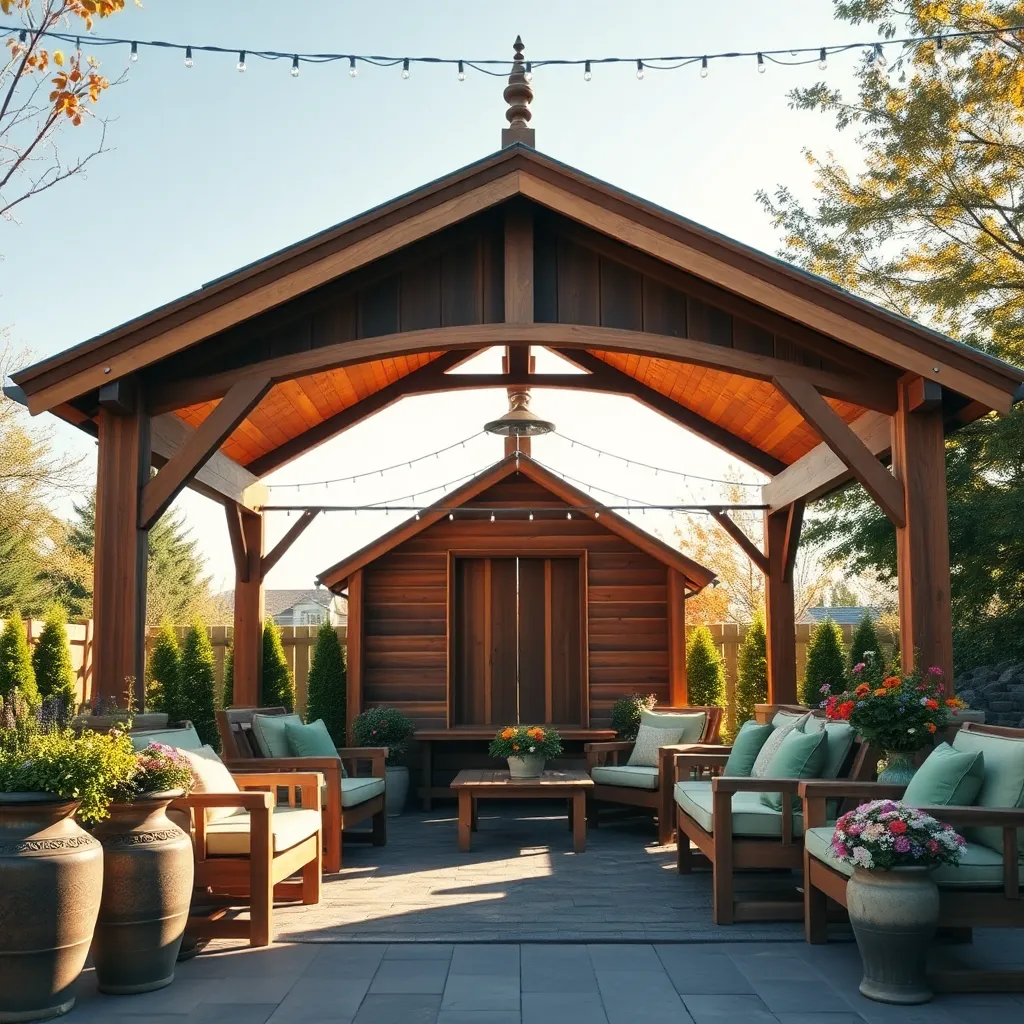
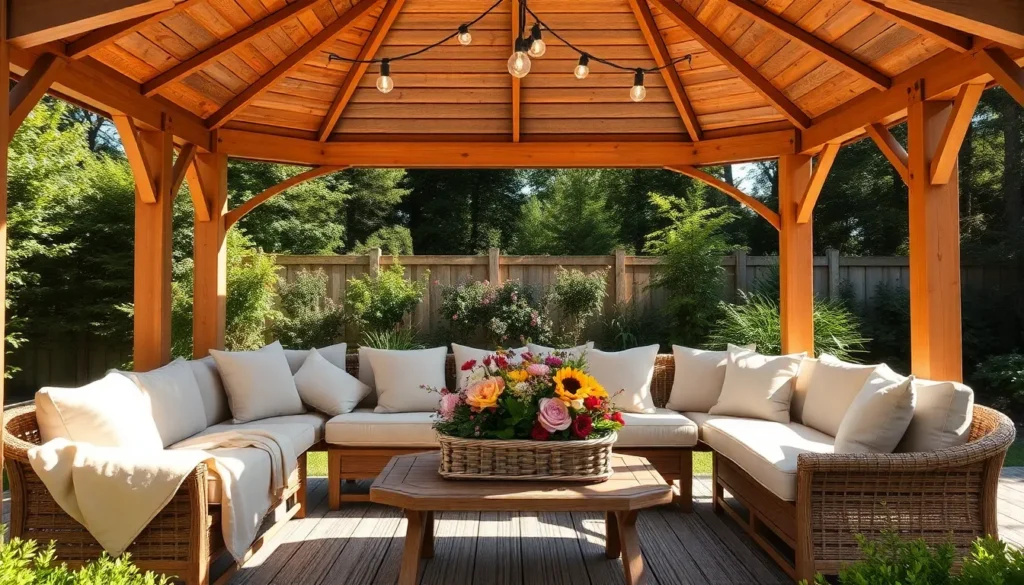
Once your gazebo’s roof panels and supports are securely in place, it’s time to add those finishing touches that will make your outdoor space truly inviting. Consider installing decorative trim or lattice work around the base of your gazebo to enhance its visual appeal. For a practical touch, add weather-resistant curtains or sun shades, which can provide privacy and protection from the elements. Choose materials like polyester or acrylic that are both durable and easy to clean, ensuring they withstand various weather conditions.
Incorporating accessories can further personalize your gazebo and enhance its functionality. String some LED lights around the structure for a warm, welcoming glow during evening gatherings. If you’re looking to add comfort, consider furnishing the space with outdoor cushions and rugs made from fade-resistant fabrics like olefin. For those with a keen eye for detail, installing a ceiling fan or a small chandelier can add elegance and improve airflow. Remember, the goal is to create a space that reflects your style while being both comfortable and practical.
Conclusion: Creating Beautiful Outdoor Spaces
Building a gazebo with a DIY kit is more than just a construction project; it’s a journey that parallels essential relationship-building principles. Firstly, effective communication is key—much like discussing plans before assembling parts ensures everything fits together seamlessly. Secondly, teamwork strengthens bonds, as working together on a common goal builds trust and cooperation. Thirdly, patience and persistence are crucial; just as each piece of the gazebo requires careful attention, so do the myriad aspects of a healthy relationship. Fourth, adaptability allows for creative problem-solving when unexpected challenges arise, fostering resilience in both construction and relationships. Lastly, celebrating successes, big or small, reinforces the joy of shared accomplishments and strengthens connections.
As an actionable next step, why not plan a small DIY project with your partner or loved ones? This will not only hone these skills but also create lasting memories. Remember, nurturing a relationship is an ongoing process, just like maintaining your newly built gazebo. Bookmark this article for future reference, as these foundational concepts are timeless tools for relationship success. By embracing these principles, you’re paving the way for a future filled with understanding, joy, and lasting connections. Keep building, keep growing, and watch your relationships flourish.