Imagine stepping into your backyard and being greeted by a custom outdoor shelter that perfectly complements your lifestyle, whether you’re a beginner just starting to explore outdoor design or an experienced homeowner with an eye for detail. “15 Custom Outdoor Shelter Ideas for Your Yard” is your gateway to discovering a world of possibilities, offering inspiring solutions that blend style, function, and your personal touch.
From enhancing your home’s aesthetic to creating a serene retreat, this guide equips you with practical ideas that transform your outdoor space into a haven of joy and comfort. You’ll gain the confidence to tackle projects that maximize your yard’s potential, providing shade, style, and a welcoming atmosphere for gatherings and solitary moments alike. So, roll up your sleeves and get ready to elevate your outdoor living experience!
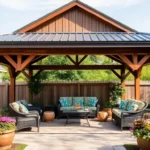
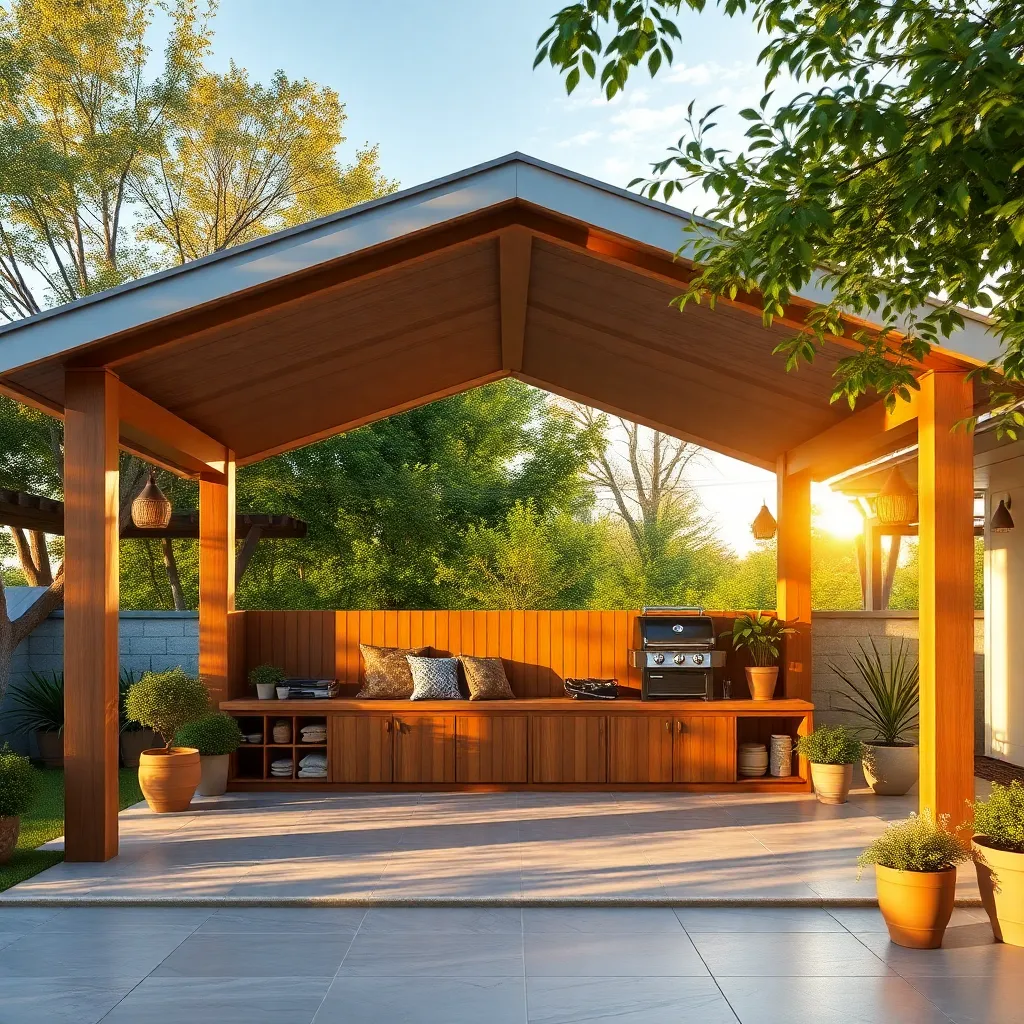
Incorporate Multi-Level Pergola Designs
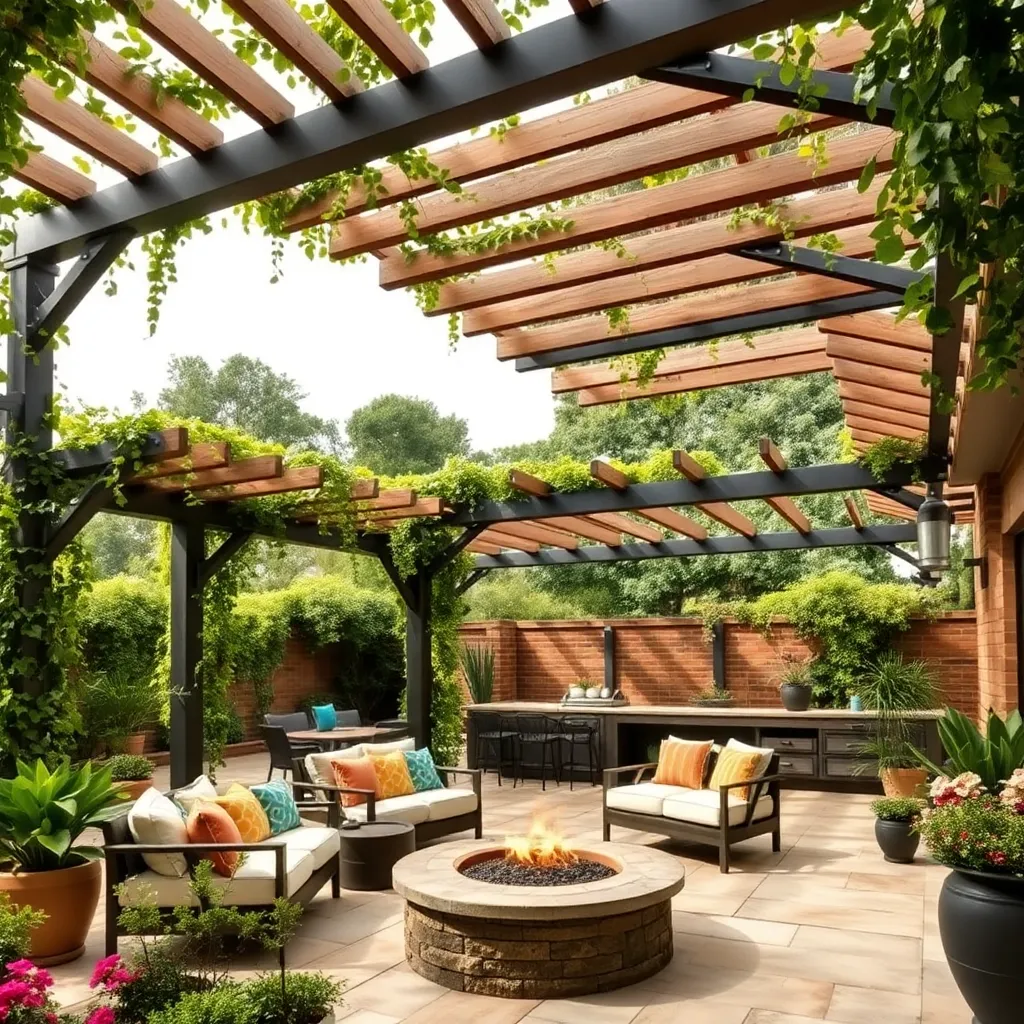
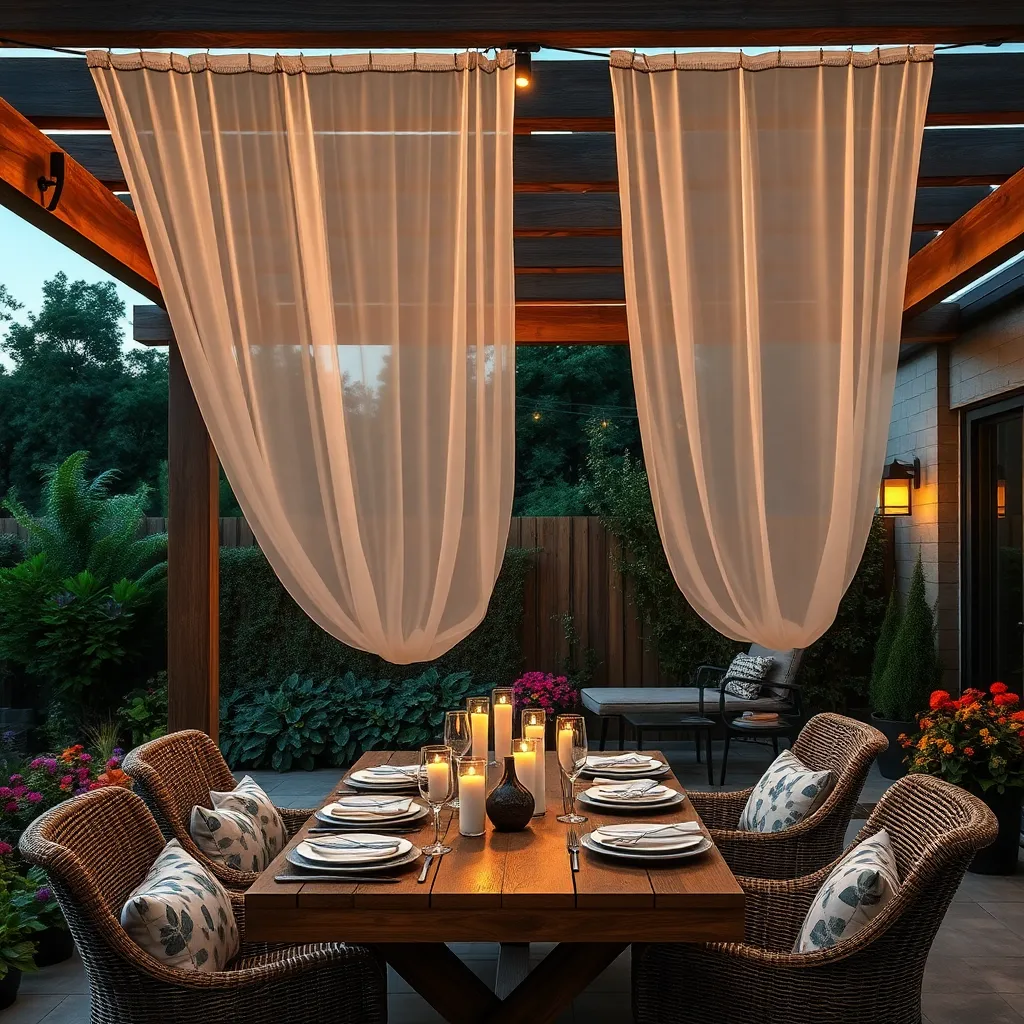
Incorporating multi-level pergola designs can transform your yard into a dynamic and visually appealing space. Start by using durable materials like cedar or pressure-treated wood, which offer both longevity and a natural aesthetic. Consider varying the heights of different pergola sections to create distinct zones, such as a dining area or a cozy lounge spot. For beginners, a simple two-level structure with varying post heights is an excellent starting point, while more experienced DIYers might experiment with complex, tiered designs that include built-in planters or seating.
To enhance the functionality and charm of your multi-level pergola, integrate features like climbing plants or outdoor lighting. Install string lights or LED fixtures along the beams to illuminate your space for evening gatherings. For an advanced touch, consider adding retractable canopies or weather-resistant curtains to provide shade and privacy. Ensure that each level is securely anchored and properly supported, taking care to use galvanized hardware for weather resistance. By thoughtfully combining design elements, your pergola can become not just a shelter but a centerpiece of your outdoor living area.
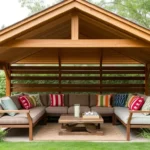
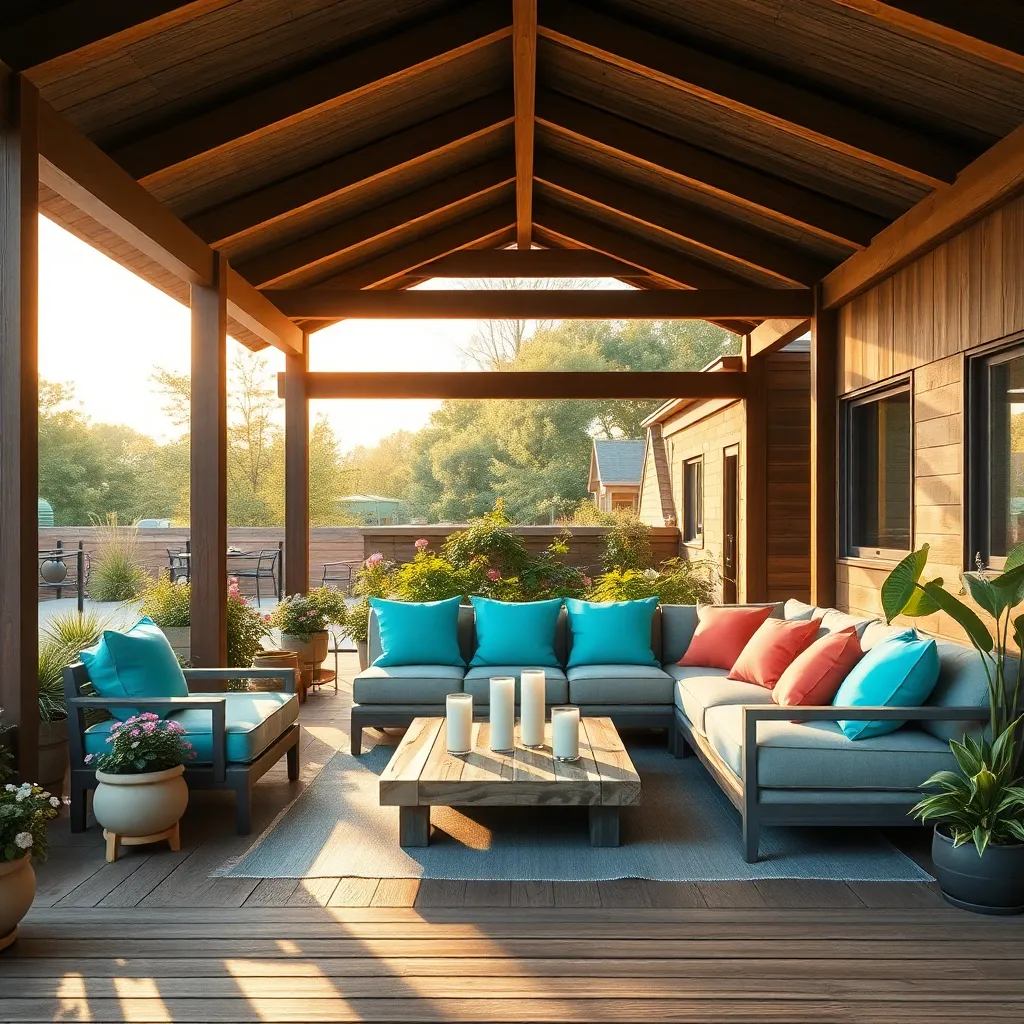
Utilize Reclaimed Wood For A Rustic Look
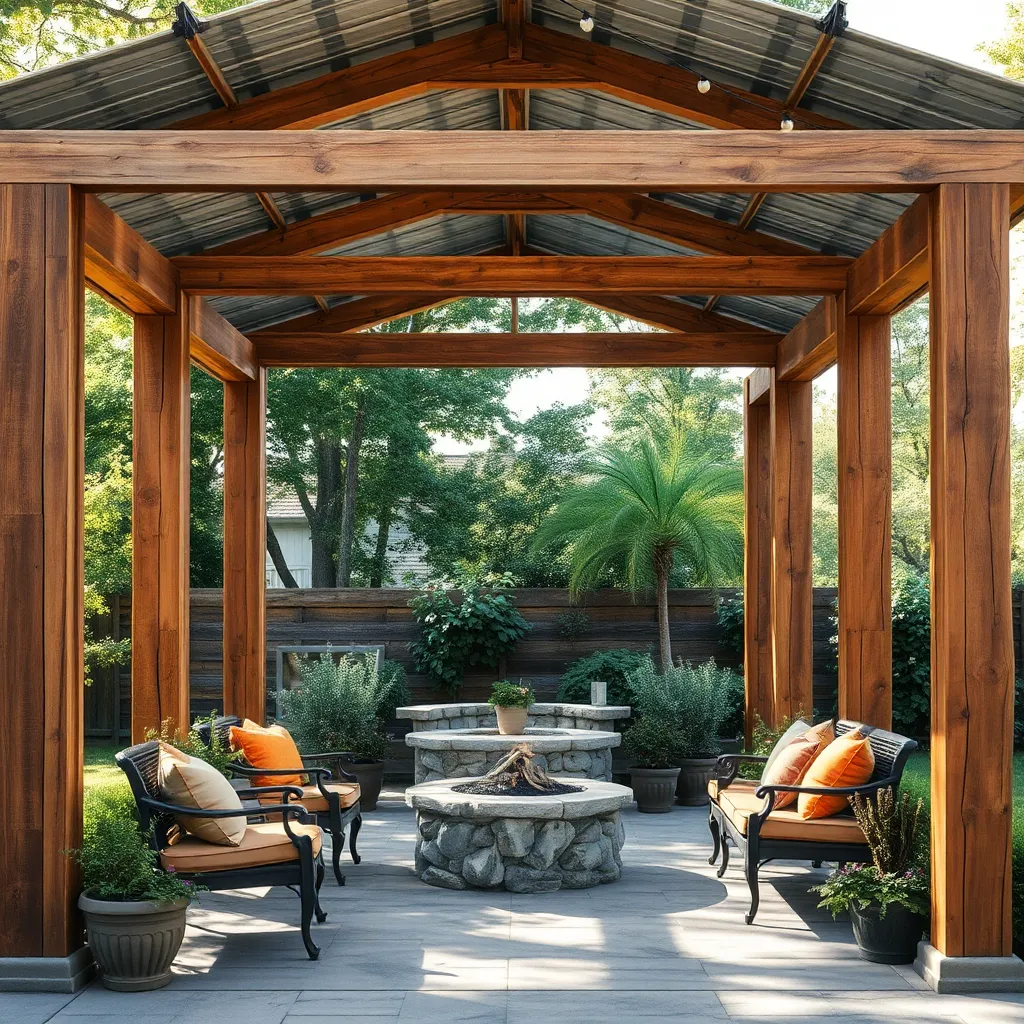
Utilizing reclaimed wood can imbue your outdoor shelter with a charming rustic aesthetic that blends seamlessly with natural surroundings. Begin by sourcing high-quality, weathered wood from local salvage yards or construction sites, ensuring each piece is free from rot and pests. Look for wood types like cedar or redwood, known for their durability and resistance to the elements, which will provide longevity to your structure. Beginners should focus on simple designs like a basic covered seating area, while advanced DIYers might explore more complex constructions, such as a gazebo with intricate detailing.
Start with a solid foundation, ensuring the reclaimed wood is properly treated and sealed to withstand outdoor conditions. Use stainless steel screws and brackets to securely join the pieces, as they resist rust and corrosion better than other metals. Consider integrating design elements like exposed beams or a natural wood ceiling to enhance the rustic appeal. A pro tip for seasoned builders is to incorporate a mix of plank widths and textures, creating visual interest and a more authentic, handcrafted look. For added functionality, install hooks or shelves made from leftover wood pieces, providing practical storage without sacrificing style.
Add Retractable Awnings For Flexibility
To enhance your outdoor space with versatility, consider adding retractable awnings. These awnings provide shade on sunny days while allowing you to enjoy the open sky when retracted. They come in various materials such as fabric, metal, or polycarbonate, each offering different levels of durability and aesthetic appeal. For beginners, installing a fabric awning with a manual crank system can be a straightforward weekend project. More advanced DIY enthusiasts might opt for a motorized version, which offers the convenience of remote control operation.
When choosing an awning, consider the size and location of the installation area. Awnings typically range from 8 to 20 feet in width and extend outwards up to 10 feet, making them suitable for most patios or decks. It’s crucial to ensure that the mounting surface is sturdy enough to support the weight of the awning. Aluminum frames are ideal for their lightweight yet strong properties, while fabric with UV protection will prolong the lifespan of your awning. Remember to periodically clean and maintain the awning, especially in regions with harsh weather conditions, to maximize its longevity and appearance.
Create A Privacy Screen With Plants
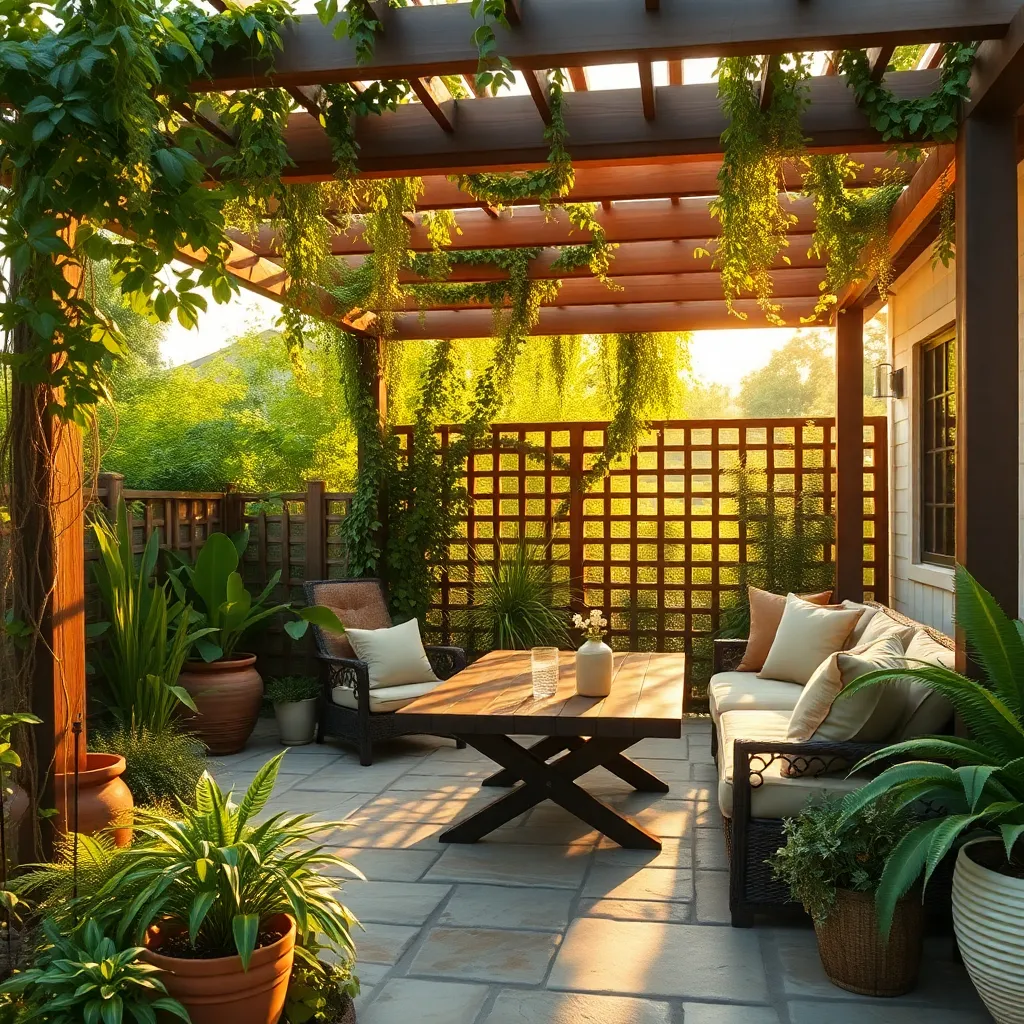
Creating a privacy screen with plants is a natural way to enhance your outdoor shelter while maintaining an eco-friendly approach. Start by selecting fast-growing plants like bamboo, arborvitae, or privet, which are ideal for quickly forming dense barriers. Ensure you space the plants appropriately—typically about 3 to 5 feet apart depending on the species—to allow room for growth and optimal coverage. Consider using trellises to support climbing plants like clematis or ivy for added vertical privacy without taking up much ground space.
For a more tailored look, mix different types of plants to create a layered effect, providing depth and interest to your privacy screen. Incorporate evergreens for year-round coverage and flowering shrubs to add seasonal color and fragrance. Advanced gardeners might consider training espaliered fruit trees along a fence or wall, combining privacy with functionality. Regular trimming is essential to maintain shape and density; investing in a quality pair of pruning shears will make this task easier. With these tips, your plant-based privacy screen will not only offer seclusion but also enhance your garden’s aesthetic appeal.
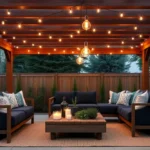
Install Solar-Powered Canopy Lights
Enhance your outdoor shelter with solar-powered canopy lights to create a welcoming, illuminated space without the hassle of wiring. Choose lights with a high lumens rating for brighter illumination, and ensure they are weather-resistant to withstand various climates. For an easy installation, use clip-on solar string lights that can be attached to the edges of your canopy. This setup is perfect for beginners, offering a simple yet effective way to light up your evenings.
For those looking to customize their setup, consider solar pendant lights with adjustable panels for optimal sun exposure. Install a small solar panel on the roof of your canopy or nearby area that receives ample sunlight throughout the day. This advanced option allows for a more tailored lighting scheme, letting you create different ambiances by varying the placement and style of lights. Remember, the key is to position the solar panel where it can charge efficiently, ensuring your lights shine brightly all night long.
Use Transparent Roofing For Natural Light
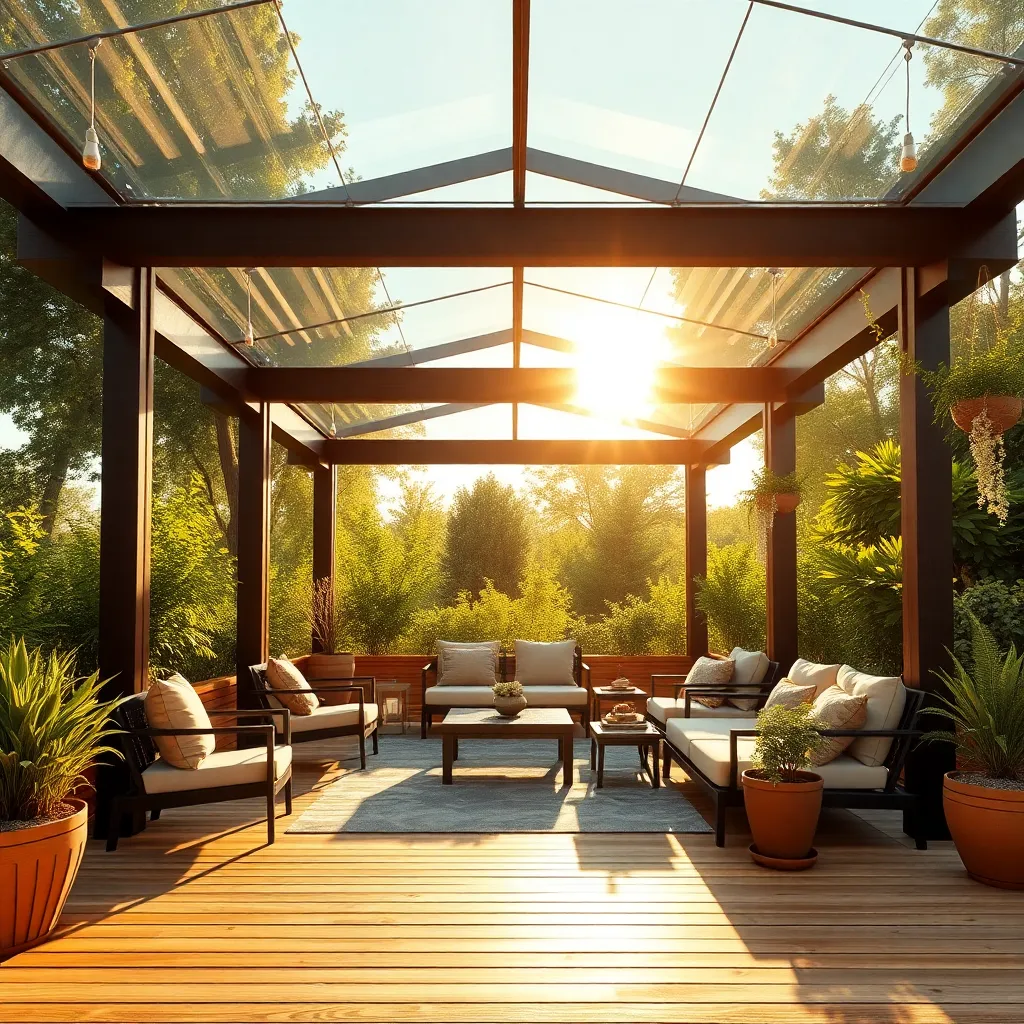
Incorporating transparent roofing into your outdoor shelter is a brilliant way to maximize natural light while maintaining protection from the elements. Consider using materials like polycarbonate panels or acrylic sheets, which are both durable and provide excellent clarity. When installing, ensure the roof has a slight pitch—around 5 degrees—to facilitate water runoff, preventing water pooling and extending the life of the structure.
For those looking to add a touch of sophistication, consider using frosted or tinted panels to reduce glare while still inviting ample sunlight. Advanced DIY enthusiasts might explore installing a retractable transparent roof for versatility in controlling light and ventilation. Remember, proper sealing around the edges is crucial to avoid leaks, and using UV-resistant materials will help prevent discoloration and maintain clarity over time.
Build A Stone Fireplace For Warmth
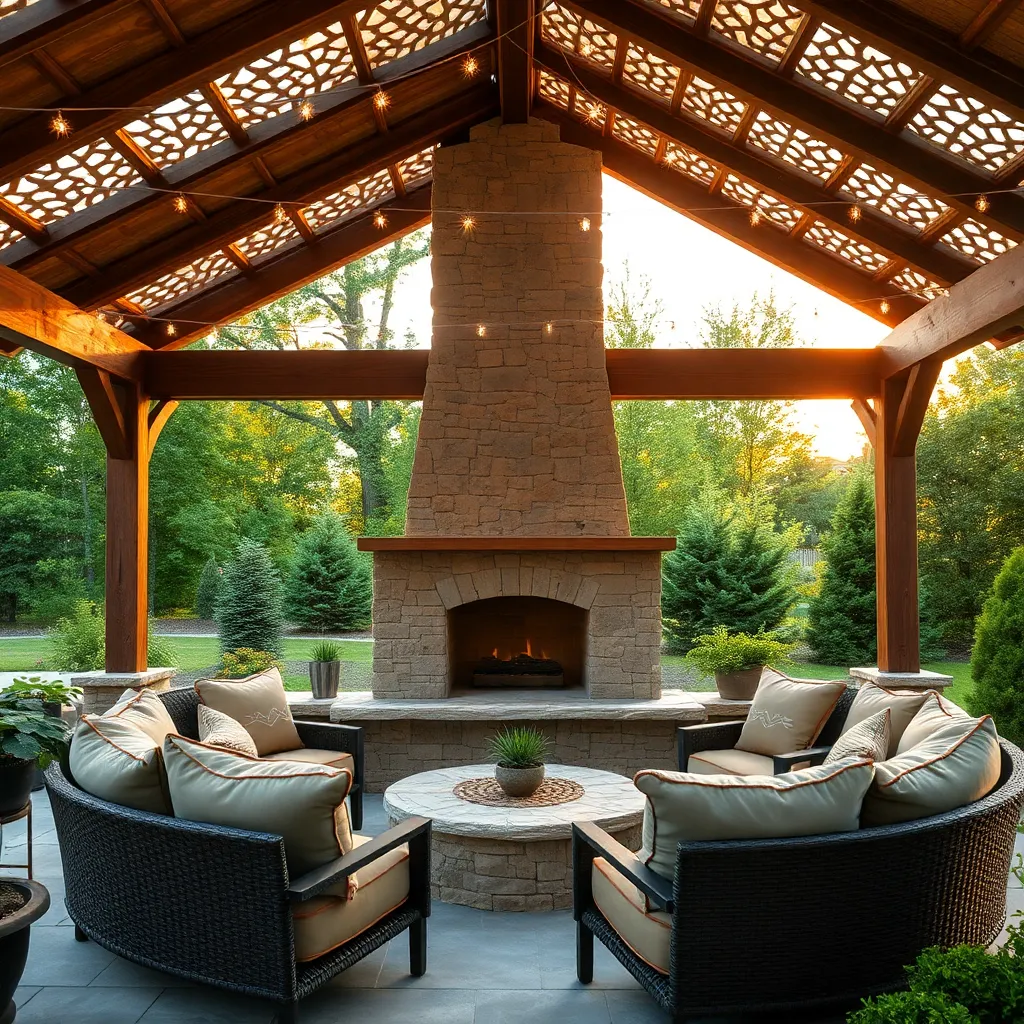
Building a stone fireplace can transform your outdoor area into a cozy retreat, perfect for chilly evenings. Start by selecting durable materials like granite, limestone, or fieldstone, which not only withstand the elements but also add a rustic charm. Ensure the fireplace is positioned away from flammable structures and has a solid foundation to support its weight. For beginners, a simple rectangular design about 4-5 feet wide with a depth of 3 feet is achievable, providing ample warmth and ambiance.
Consider adding a chimney to direct smoke away efficiently, enhancing both safety and comfort. For a more advanced touch, integrate a firebox with a metal grate to improve airflow and increase burning efficiency. Incorporate a hearth—a raised stone platform in front of the fireplace—to create extra seating or display space. Always check local regulations regarding outdoor fireplaces to ensure compliance and safety. With these elements in mind, your stone fireplace will become a stunning centerpiece for outdoor gatherings.
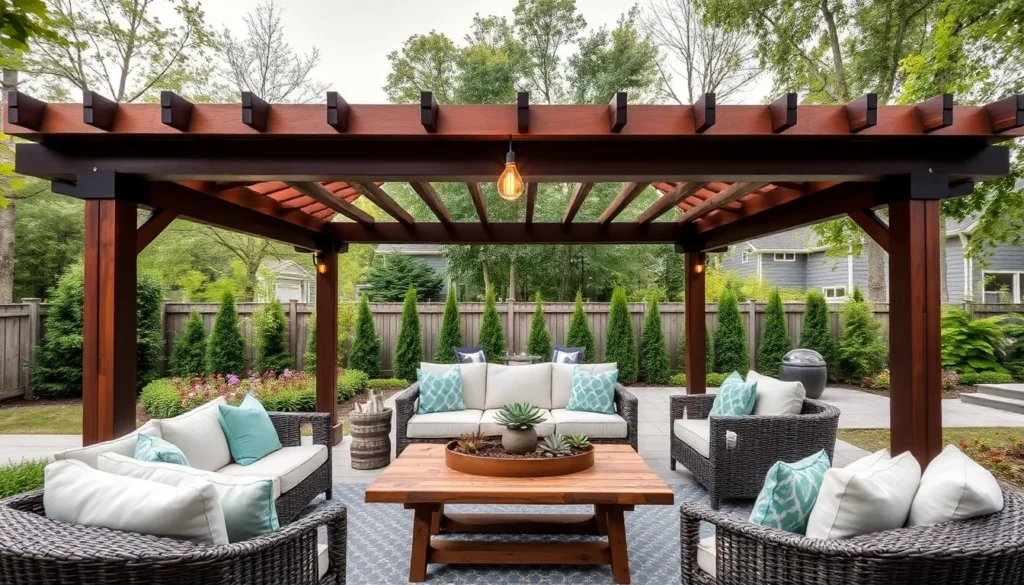
Design A Modular Seating Arrangement
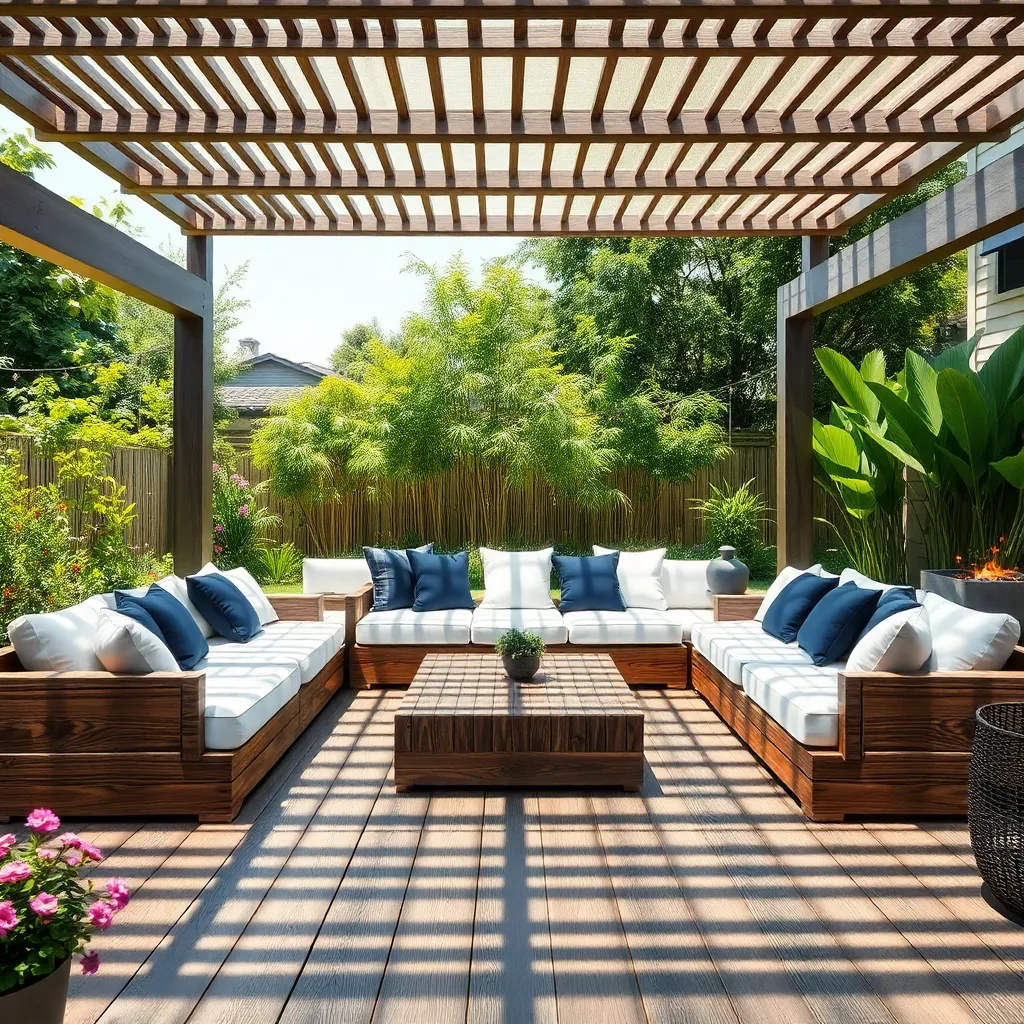
Creating a modular seating arrangement is an excellent way to maximize flexibility and comfort in your outdoor shelter. Start by selecting durable materials such as weather-resistant wood or powder-coated metal, which can withstand the elements. Consider using interlocking pieces that allow you to easily reconfigure the seating layout to suit different occasions—whether it’s a cozy family gathering or a lively outdoor party.
For a more personalized touch, incorporate cushions and fabrics that complement your outdoor decor. Opt for UV-resistant and quick-drying materials to ensure longevity and ease of maintenance. Experiment with different seat heights and depths to accommodate various preferences and ensure everyone can relax comfortably.
- Beginner tip: Start with simple box-style benches for easy construction.
- Advanced idea: Integrate storage compartments beneath the seats for added functionality.
Incorporate Built-In Storage Solutions
Maximize the functionality of your outdoor shelter by incorporating built-in storage solutions that blend seamlessly with your design. Consider using durable materials like weather-resistant wood or metal to create storage benches or cabinets that maintain their appearance over time. For beginners, starting with a simple bench that has a hinged lid can offer a straightforward way to keep cushions, garden tools, or outdoor toys neatly tucked away. Ensure these storage solutions are integrated into the structure without compromising on space or style.
For those looking to take their design to the next level, consider adding vertical storage elements like wall-mounted shelves or hooks for hanging tools and accessories. Use waterproofing solutions like marine-grade varnish to protect wooden components, and opt for stainless steel hardware to prevent rust. Advanced DIY enthusiasts can experiment with customized shelving units that fit snugly into corners or alcoves, providing both utility and an appealing aesthetic. This not only optimizes your outdoor area but also keeps it orderly and inviting year-round.
Select Weather-Resistant Fabrics For Cushions
When selecting fabrics for outdoor cushions, opt for weather-resistant materials to ensure longevity and comfort. Fabrics like solution-dyed acrylic or olefin are excellent choices because they resist fading, mold, and mildew. These materials are not only durable but also offer a range of colors and patterns to match any outdoor decor. For those new to outdoor design, consider starting with a neutral palette and adding pops of color through accessories like throw pillows.
Advanced designers might explore fabric treatments that offer additional protection, such as UV blockers or water-repellent coatings. Ensure that your cushion covers come with removable and washable options to maintain their pristine appearance through changing seasons. When measuring for your cushions, leave a little extra room for the fabric to account for shrinkage from weather exposure or laundering. This foresight will keep your cushions looking tailored and inviting year-round.
Add A Water Feature For Ambiance
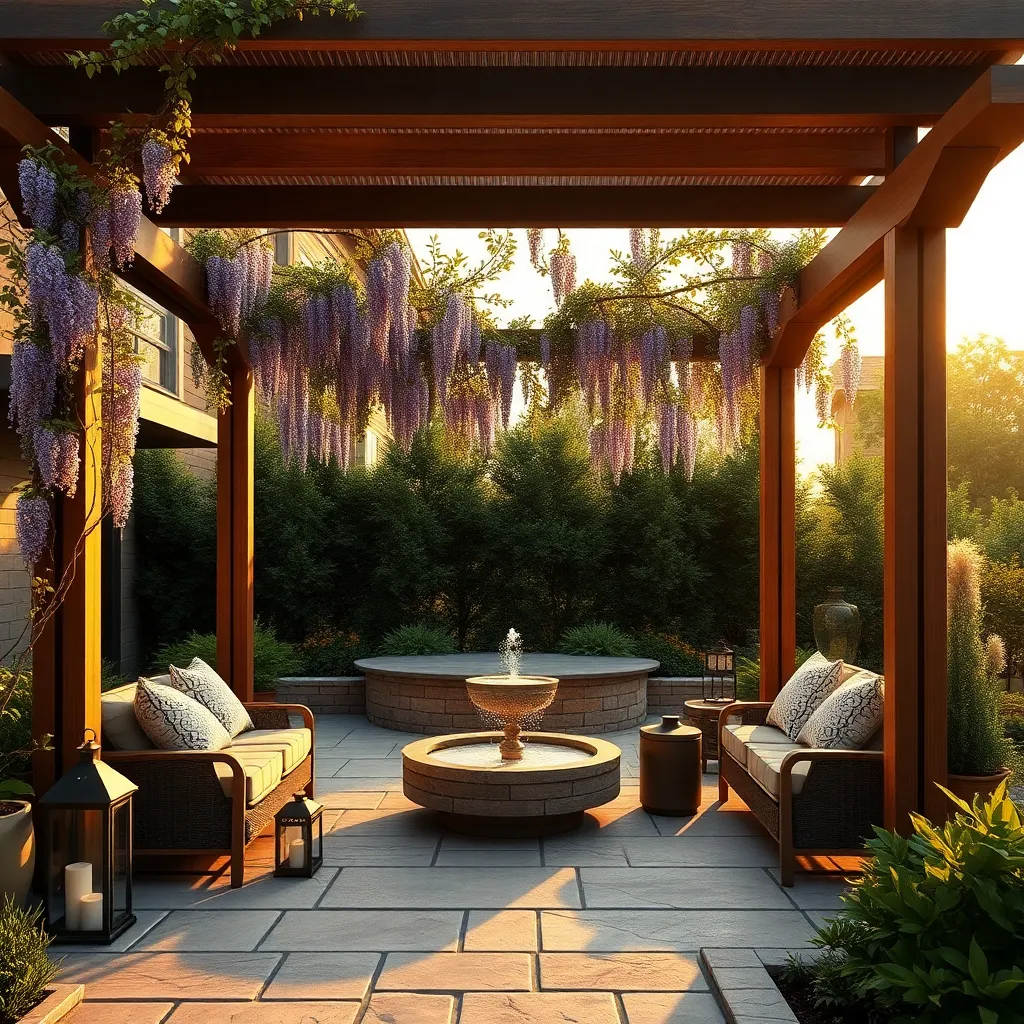
Adding a water feature to your outdoor shelter can significantly enhance the ambiance, creating a serene and inviting atmosphere. For beginners, consider starting with a simple, self-contained fountain that requires minimal setup and maintenance. These can often be found in various sizes and styles, making it easy to find one that complements your space. Position the fountain near seating areas to maximize the calming effect of trickling water, and ensure it has access to a power source if needed. For materials, opt for durable options like stone, ceramic, or weatherproof resin to withstand the elements.
For those looking to take their water feature to the next level, integrating a small pond or waterfall can be a rewarding project. Consider using natural stones to create a cascading effect, or incorporate aquatic plants to boost visual interest and create a thriving ecosystem. Advanced gardeners might explore solar-powered pumps to save on energy costs and reduce environmental impact. When designing your feature, pay attention to scale—ensure it’s proportionate to your shelter and yard size to maintain balance. With thoughtful planning, a well-placed water feature can transform your outdoor shelter into a tranquil oasis.
Use Vertical Gardens For Greenery
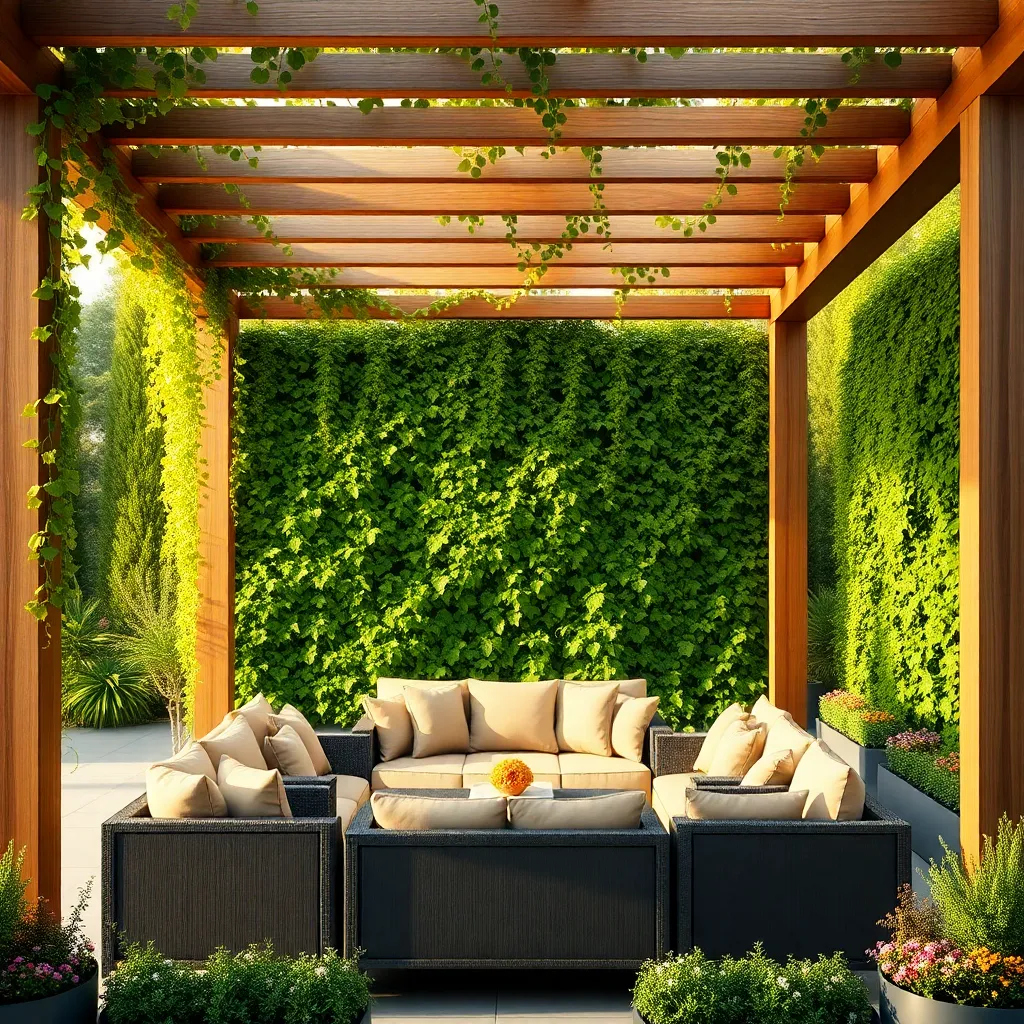
Incorporating vertical gardens into your outdoor shelter design adds lush greenery without taking up valuable ground space. Consider using sturdy materials like cedar, metal, or treated wood to create a lasting structure that can support a variety of plants. For beginners, start with a simple trellis or wall-mounted planter boxes that can host easy-to-grow climbers like ivy or jasmine. These options are not only space-efficient but also provide a refreshing backdrop to your outdoor area.
For those looking to elevate their design, integrate an automated irrigation system to ensure consistent watering, especially during dry spells. Mix in materials like moss or succulents for texture and use a modular panel system for easy customization and maintenance. When building your vertical garden, ensure proper drainage and sunlight exposure by positioning it on a south-facing wall if possible. These tips will help you create a vibrant vertical garden that enhances the beauty and functionality of your outdoor shelter.
Install A Swing Bed For Relaxation
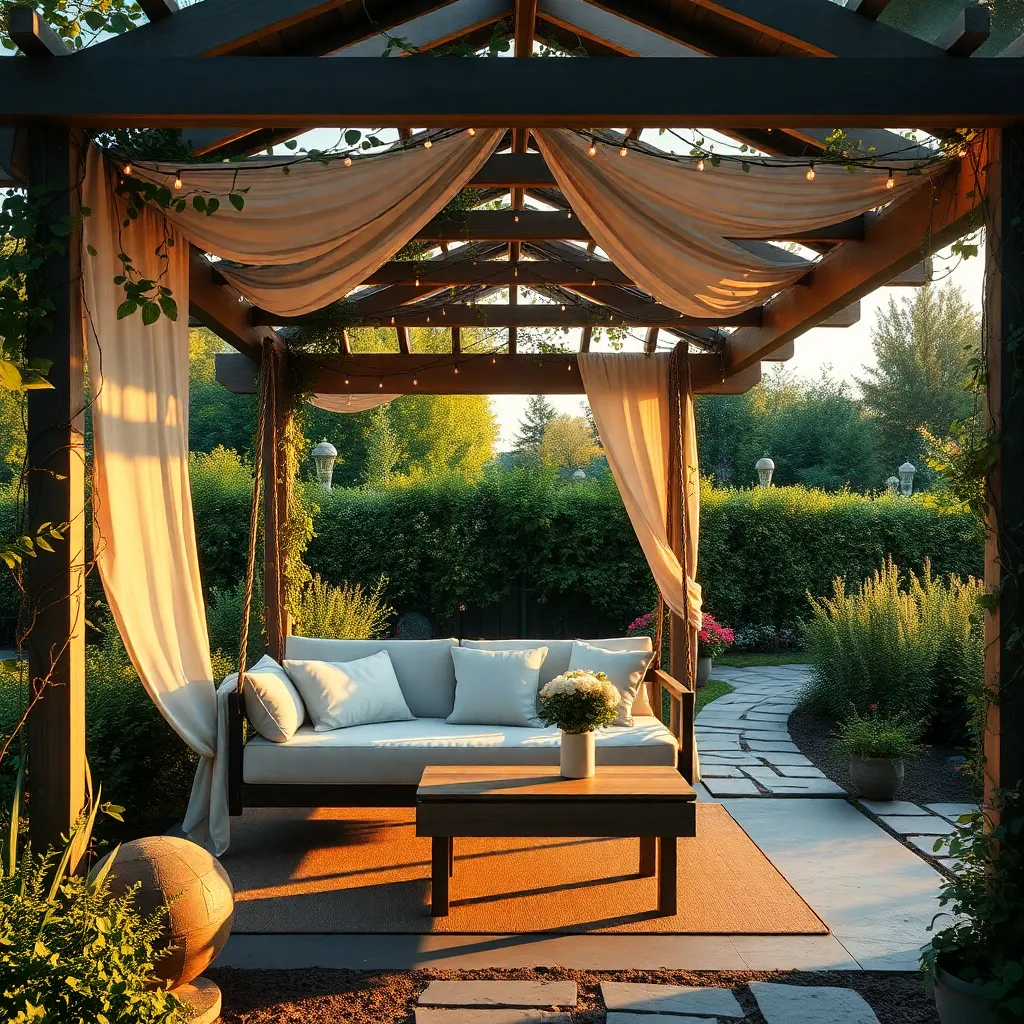
Transform your outdoor space into a personal retreat by installing a swing bed for relaxation. Start by selecting durable materials such as weather-resistant wood or powder-coated metal for the frame, ensuring longevity despite the elements. For a standard-sized swing bed, aim for dimensions around 75 inches by 39 inches, which comfortably fits a twin-size mattress. Use outdoor-rated, water-resistant fabrics for cushions and pillows to maintain comfort and style. Consider positioning the swing bed under a sturdy pergola or a large tree to provide natural shade and an inviting atmosphere.
Beginner gardeners can start by assembling a pre-made swing bed kit, which often includes all necessary hardware and instructions for straightforward installation. For those with carpentry skills, crafting a custom swing bed allows for personalized touches, such as adding decorative trims or incorporating unique design elements. Add a mosquito net or canopy for added comfort and to extend usability into the evening. Enhance the surrounding area with soft lighting, like string lights or solar lanterns, to create a cozy ambiance perfect for unwinding after a long day.
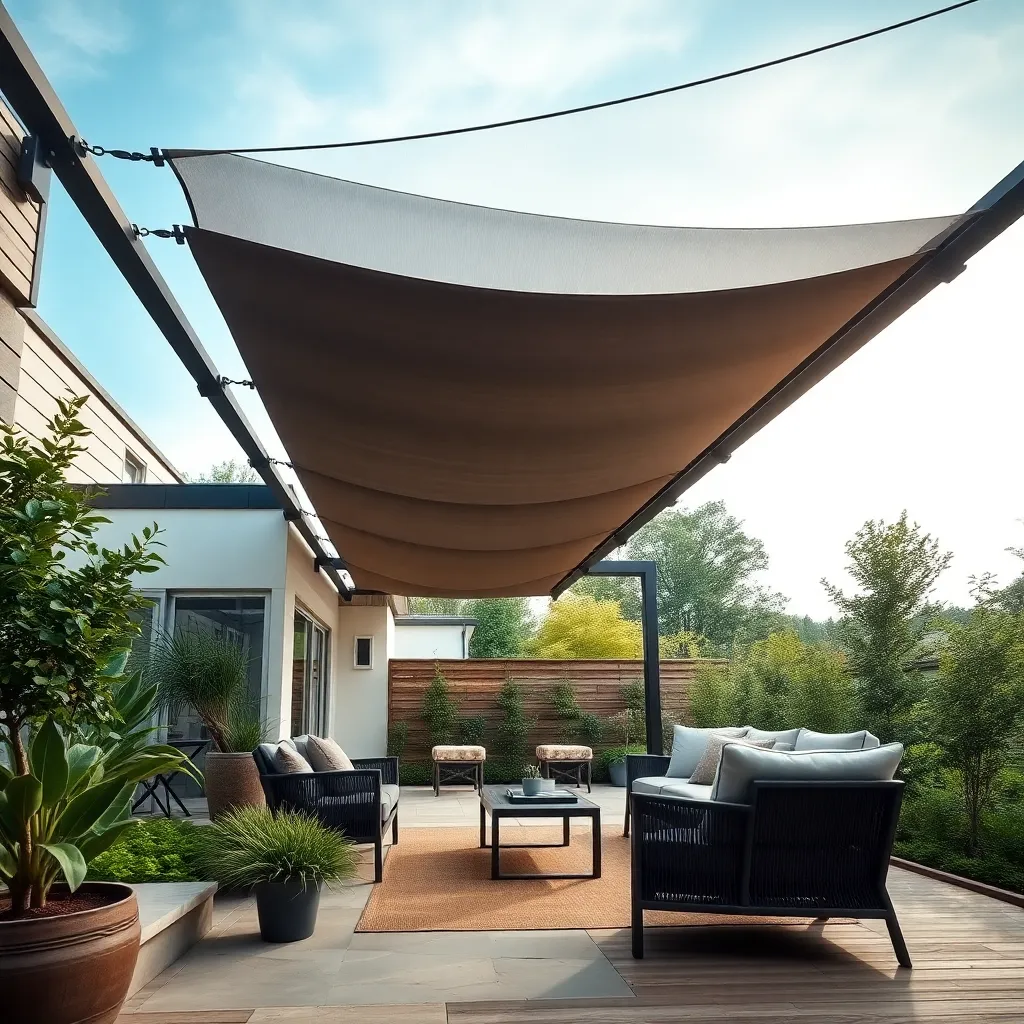
Create A Colorful Shade Sail Structure
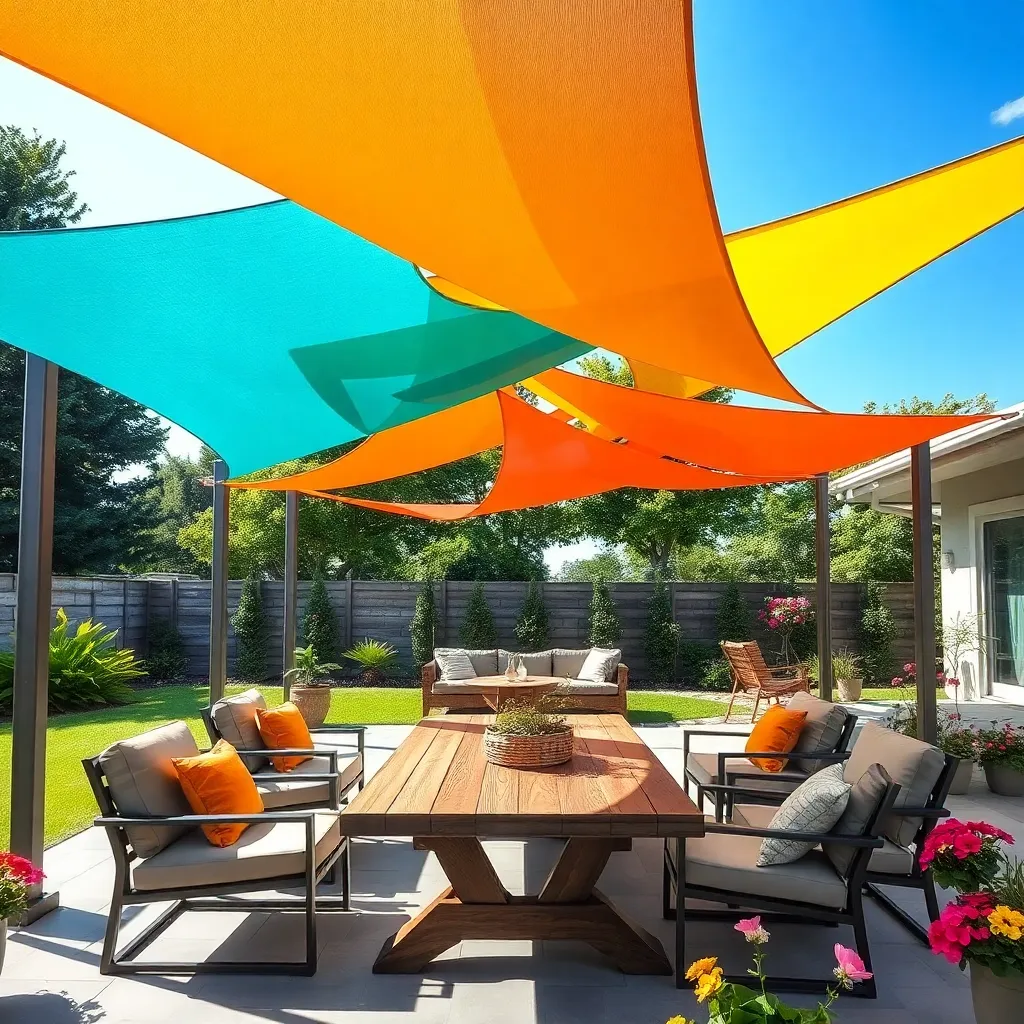
Transform your yard with a colorful shade sail structure, adding both style and function to your outdoor space. Begin by selecting UV-resistant, waterproof fabric in bold colors or patterns to create a vibrant canopy. Use durable materials like stainless steel or powder-coated steel posts for the frame, ensuring stability and longevity. Anchor the sails securely with adjustable turnbuckles, which allow you to tighten the fabric as needed, preventing sagging and wear.
For an easy setup, consider pre-made kits that include all necessary hardware and step-by-step instructions. Ensure proper tension and a slight angle to allow rainwater to run off effectively. Beginners can start with a simple triangle design, while more experienced DIYers might explore hexagonal or custom shapes for a unique look. Remember to measure your space accurately before purchasing materials to ensure a perfect fit. This project not only provides shade and comfort but also enhances your garden’s aesthetic appeal, making your yard a more inviting place to relax.
Incorporate Fire Pit Tables For Gatherings

Adding a fire pit table to your outdoor shelter can transform your yard into a cozy gathering spot. These tables combine the warmth and ambiance of a fire pit with the functionality of a table, making them perfect for socializing. To start, choose a fire pit table that complements your existing outdoor design, considering materials such as weather-resistant aluminum or stainless steel for durability. Ensure the table is placed on a stable surface like a stone or concrete patio to prevent any fire hazards.
For those looking to enhance the experience, consider installing a propane-powered fire pit table for ease of use and maintenance. They provide consistent heat and can be easily started with the turn of a knob. To add a personal touch, surround the table with comfortable seating options, such as weatherproof cushions and blankets, to encourage guests to linger. Additionally, include a mix of seating heights, like stools and lounge chairs, to accommodate different preferences and activities.
Conclusion: Creating Beautiful Outdoor Spaces
In exploring the ’15 Custom Outdoor Shelter Ideas for Your Yard,’ we’ve delved into how creating a personalized outdoor space can enhance your relationship, offering settings for communication, relaxation, and shared activities. From cozy pergolas that invite intimate conversations to functional cabanas perfect for hosting friends, each idea is designed to foster connection and strengthen bonds. We’ve learned how incorporating elements like fire pits, swings, or even garden gazebos can transform your yard into a haven for meaningful interactions.
To take immediate action, choose one idea that resonates with you and start planning its implementation with your partner—this collaborative project can be a bonding experience in itself. As you embark on this journey of enhancing your outdoor space, remember to revisit these ideas and let them inspire ongoing improvements in your relationship.
Bookmark this article now for easy access to these creative concepts whenever you need a spark of inspiration. As you invest in your outdoor environment, you’re simultaneously nurturing the foundation of your relationship, paving the way for lasting success and deeper connections. With each step, you’re not just building a shelter, but a sanctuary for love and togetherness.